-
Connect the power cable to the device.
-
Press and hold the power button until the Clover logo displays on the screen.
The Clover Flex powers on and displays the Welcome screen.
-
Select a language and press Set Language.
-
On the Network screen, do the following to configure the device's network connection:
- To connect to a Wi-Fi network, tap Configure next to the Wi-Fi option, and select your network.
Note: PCI compliance standards require the device to connect to a secure, password protected network.
- To connect to a LTE network, tap Configure next to Mobile (SIM card).
The device briefly displays "Successfully Connected to Server" once the network configuration is complete. The device then begins to download the CardPointe App and other required components.
Once complete, the CardPointe App launches and displays the Terminal Registration screen.
- To connect to a Wi-Fi network, tap Configure next to the Wi-Fi option, and select your network.
-
Continue to Register the Clover Flex for more information.
Device Features and Benefits
- Stay connected on the go with support for Wi-Fi and LTE networks.
- Minimize your scope of PCI compliance with point-to-point encryption. Encrypted data traverses the wireless network using a secured connection (HTTPS over TLS 1.2).
- Accept all card-present payment methods, including EMV (chip), magnetic-stripe, and NFC (contactless).
- Accept card-not-present payments by manually entering card data.
- Provide receipts using the convenient built-in printer.
- Easily add devices to your existing integrations. See the CardPointe Integrated Terminal Developer Guide for Clover Terminals for more information.
Clover Flex 4 and Flex Pocket
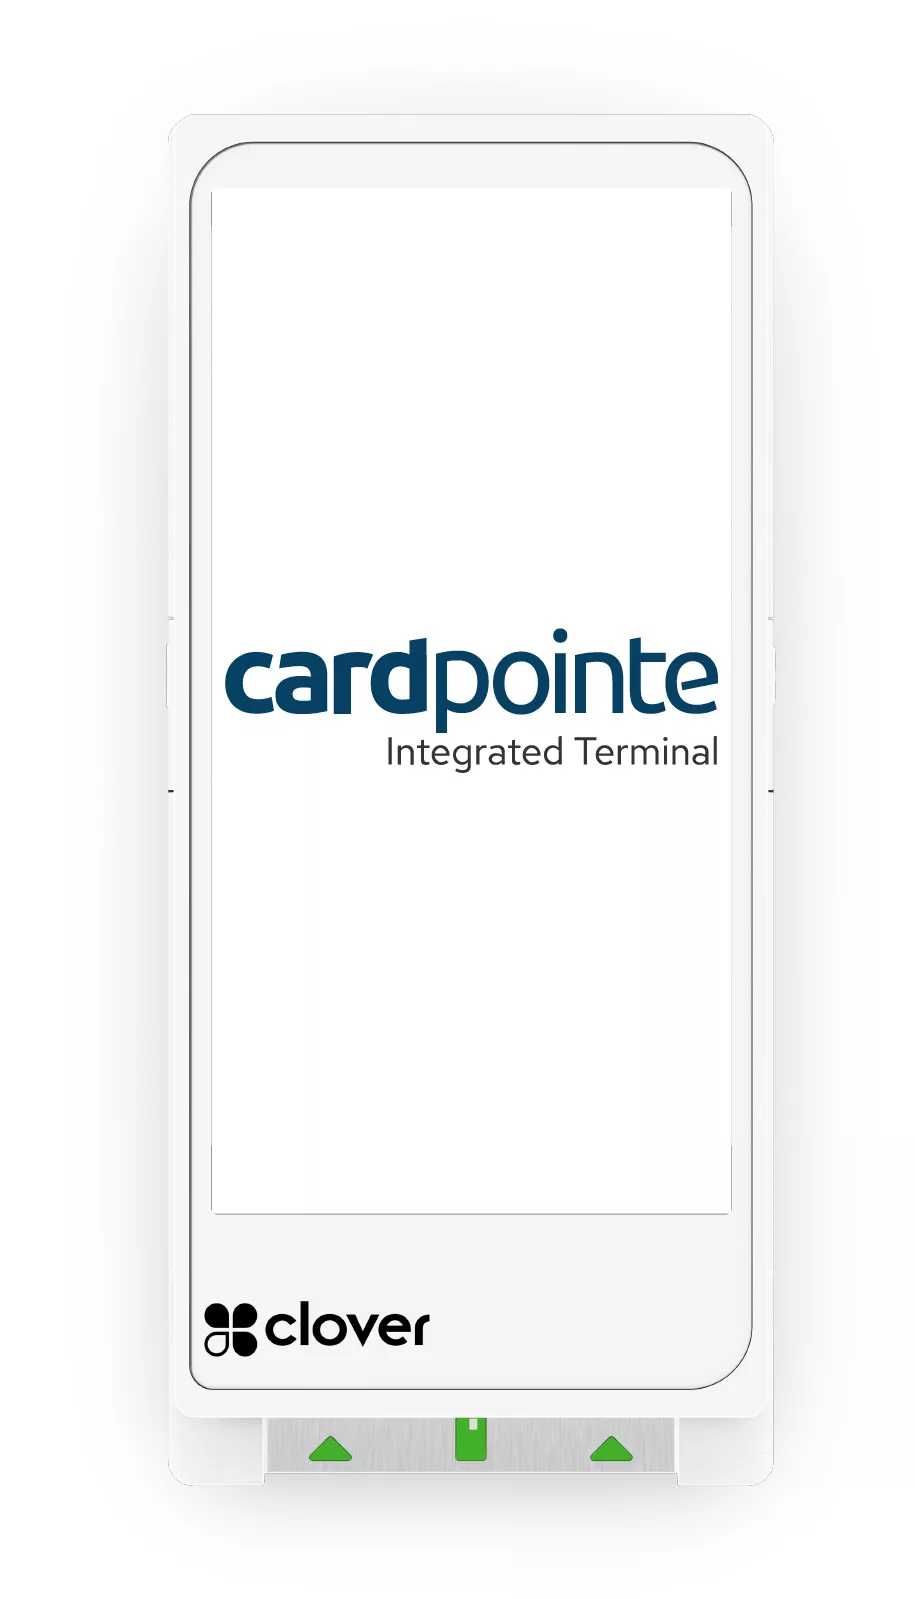
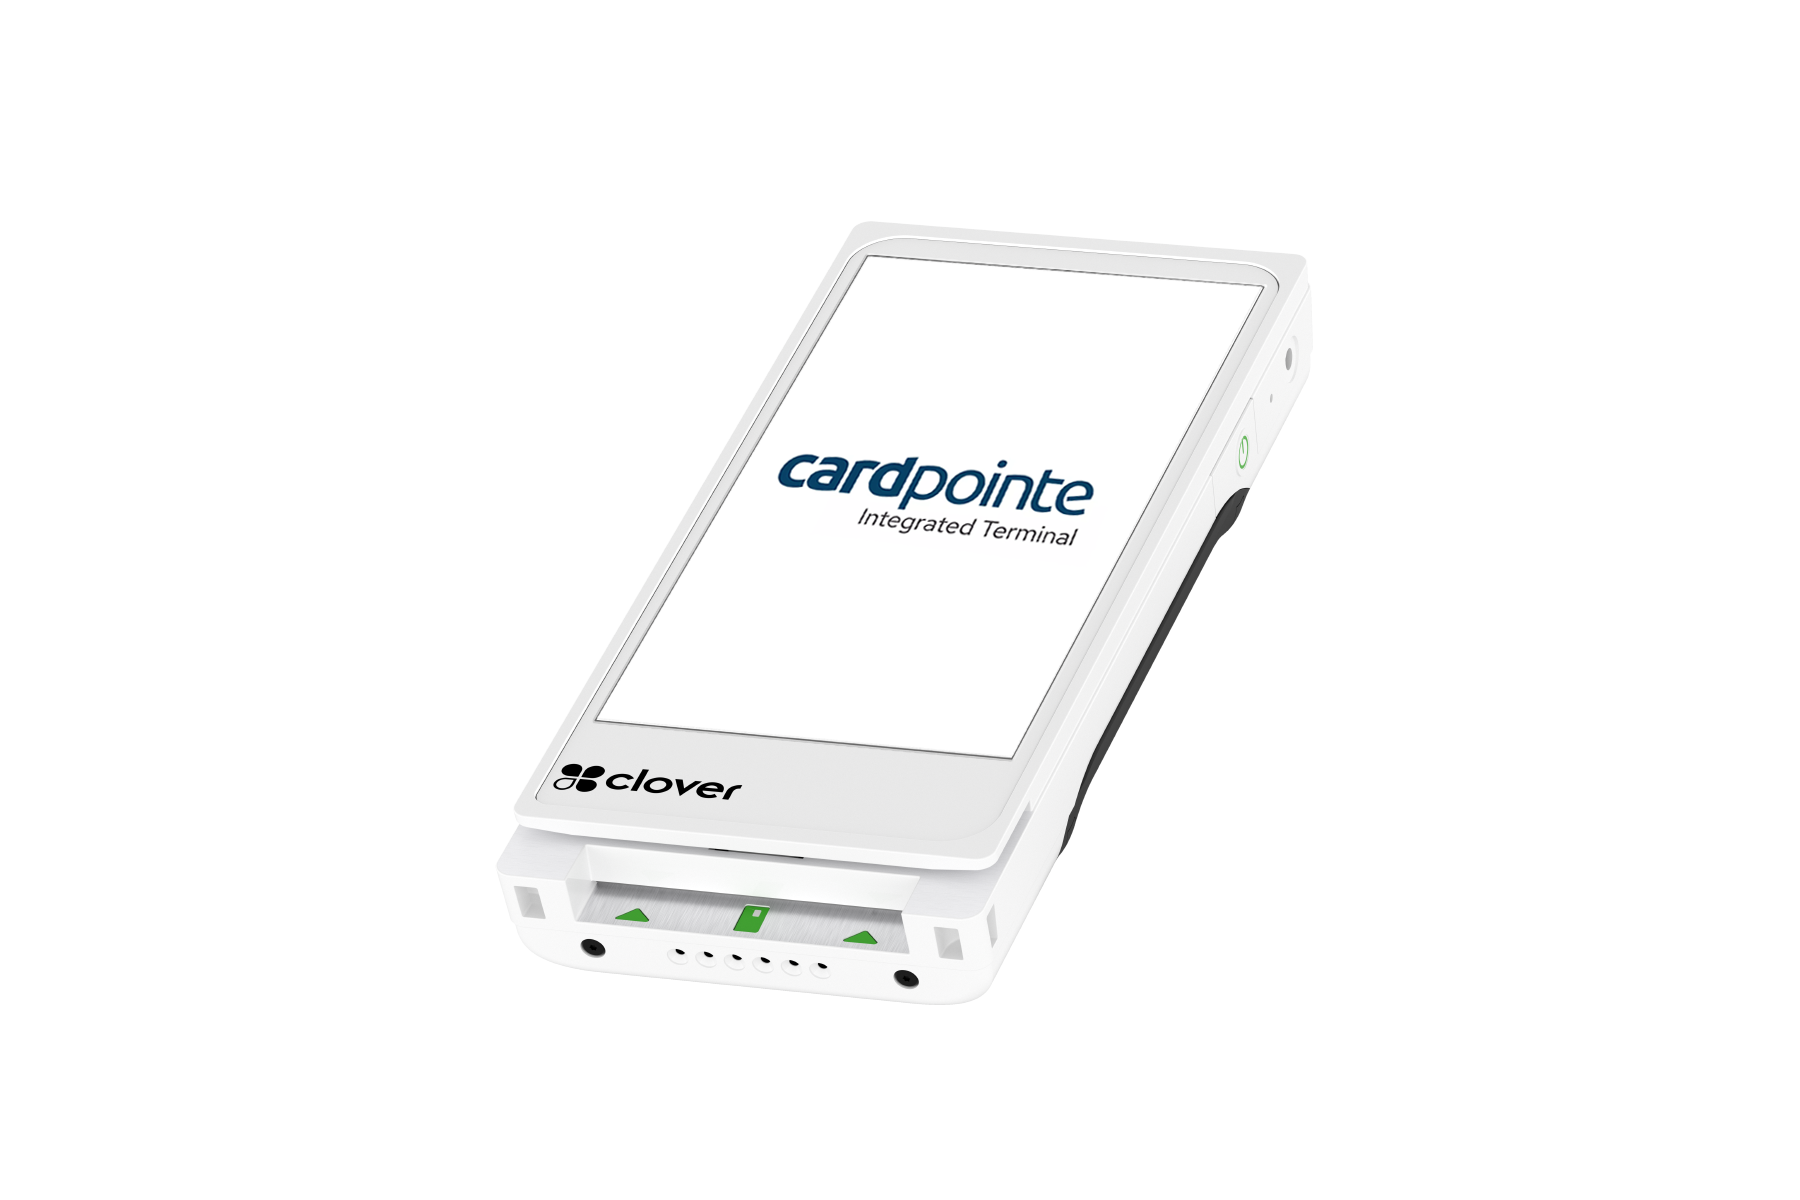
The Clover Flex 4 and Flex Pocket are now available for CardPointe Integrated Terminal merchants.
Flex 4
Flex 4 retains all of the same features as the Flex 3, but introduces a higher-resolution 720x1440 5.99" display.
Device Features:
- 5.99”, 720x1440 XHDPI Display (Please note, custom wallpapers will need to be updated to 720×1440 to fit the updated display.)
- Supports Wi-Fi and LTE
- Built-in receipt printer
- Accepts all card-present payments, including debit, credit, tap, insert or swipe
- Accepts card-not-present payments by manually entering card data
- Supports Credit Card Surcharging via the Merchant Surcharge Program
Flex Pocket
The Flex Pocket provides merchants with a new level of convenience. It’s portable, lightweight and fits right into your back pocket! The Flex Pocket delivers the same Flex functionality in a lighter (30% lighter), more portable form, so that it’s even easier to carry.
Device Features:
- 5.99”, 720x1440 XHDPI Display (Please note, custom wallpapers will need to be updated to 720×1440 to fit the updated display.)
- Supports Wi-Fi and LTE
- Accepts all card-present payments, including debit, credit, tap, insert or swipe
- Accepts card-not-present payments by manually entering card data
- Supports Credit Card Surcharging via the Merchant Surcharge Program
- If you currently use a Clover Flex with custom wallpaper and logo images, you may need to update your images to display properly on the higher-resolution (720x1440) display used by the Flex 4 and Flex Pocket. Submit a CardPointe Terminal/Gateway Support ticket or contact your account representative for assistance.
- The Flex Pocket does not include a built-in receipt printer.
Before you begin, ensure that you have your CoPilot equipment order email (titled "Your CardPointe Terminal Order Has Shipped!") handy. You'll need the Registration Code included in the email to register the device.
Network Requirements
The Clover Flex connects to your network using Wi-Fi or LTE.
If you are using Wi-Fi, consider the following best practices for configuring your network:
- The terminal device does not support the use of a TLS proxy for internet access; the device must have a direct connection from your network to the internet.
- Configure a DHCP IP address range to connect terminal devices to a dedicated subnet. Alternatively, use static IP addresses reserved for your devices.
- Configure a new WPA Wi-Fi (with password requirement) network for the new device subnet. Optionally, restrict access to this network to specific MAC addresses or IP addresses. For extended security, you can restrict the services or ports that are allowed to communicate over the network.
Do the following to get started with your new device:
Using the CardPointe Integrated Terminal Application for Clover Flex
The CardPointe Integrated Terminal App was installed during the device set up and activation process.
The CardPointe App supports has two modes of operation:
- Merchant Mode - Merchant Mode is the merchant-facing interface. In Merchant Mode, you can access the CardPointe Admin Panel to manage CardPointe application and terminal settings. You can also access the Android device settings.
- Customer Mode - Customer Mode is the customer-facing interface. In Customer Mode, the merchant or customer can use the device to submit a payment.
Launching the CardPointe App
From the CardPointe App Launcher, tap the CardPointe icon to launch the CardPointe app to begin accepting payments. Additionally, you can launch the Settings app to modify the Android device settings.
The CardPointe app initially launches in Merchant Mode and displays the Welcome screen. If the Clover Flex is connected to the CardPointe service and is ready to begin accepting payments, the status displays Connected. If the status displays Disconnected, the device is unable to communicate with the CardPointe Integrated Terminal service. Access the CardPointe Admin Panel to troubleshoot the network connection.
To begin accepting payments, tap the Customer Mode button. To access the CardPointe Admin Panel to view or modify CardPointe App settings, tap the Admin Panel button.
Accepting Payments
To accept payments, the CardPointe Application on the Clover Flex device must be connected to the CardPointe service (Connected) and must be in Customer mode. Once the CardPointe app is in Customer mode, your POS software sends and receives data using the CardPointe Terminal API.
The Clover Flex must be in Customer mode to accept payments. The device cannot communicate with your POS software when Merchant mode is enabled.
It is strongly recommended that the device remains in Customer mode during normal operation. You can enable the Lock Customer Mode option to launch the CardPointe App in Customer mode. See Using the CardPointe App in Merchant Mode for more information.
Using the CardPointe App in Merchant Mode
The CardPointe App initially launches in Merchant Mode. Merchant Mode provides access to the CardPointe Admin Panel, a merchant-facing interface that you use to configure and troubleshoot the CardPointe App.
To switch to Merchant Mode from Customer Mode, tap all 4 corners of the touch screen simultaneously.
In Merchant Mode, you can access the CardPointe Admin Panel.
The CardPointe Admin Panel provides access to the following information:
| Label | Description |
|---|---|
| Status | Displays Connected if the device is successfully connected and authenticated to the CardPointe Integrated Terminal service, or Disconnected if the device is not connected to CardPointe Integrated Terminal. |
| HSN | Displays the terminal hardware serial number (HSN). If you need to contact CardPointe Support, you will need to provide the HSN. |
| Lock Customer Mode | Enabling this setting forces the terminal to bypass the unlock screen and automatically start in Customer Mode. |
| Contact Support | Opens a browser window to the CardPointe Support Center. |
| CardPointe Properties | Displays the CardPointe Integrated Terminal properties. This menu provides useful information for troubleshooting CardPointe application and device issues. |
| Internet Connection | Displays the internet connection status and configuration. Select Advanced Configuration to modify the network settings and other Android device settings. |
| Application Properties | Displays the CardPointe App version as well as the Payment Card Industry (PCI) PIN Transaction Security (PTS) validation level. |
Support
The following topics provide support and troubleshooting information for some common issues that you might encounter.
To order equipment or for additional assistance, contact CardPointe Support at 877-828-0720, or reach out to your account representative.

