-
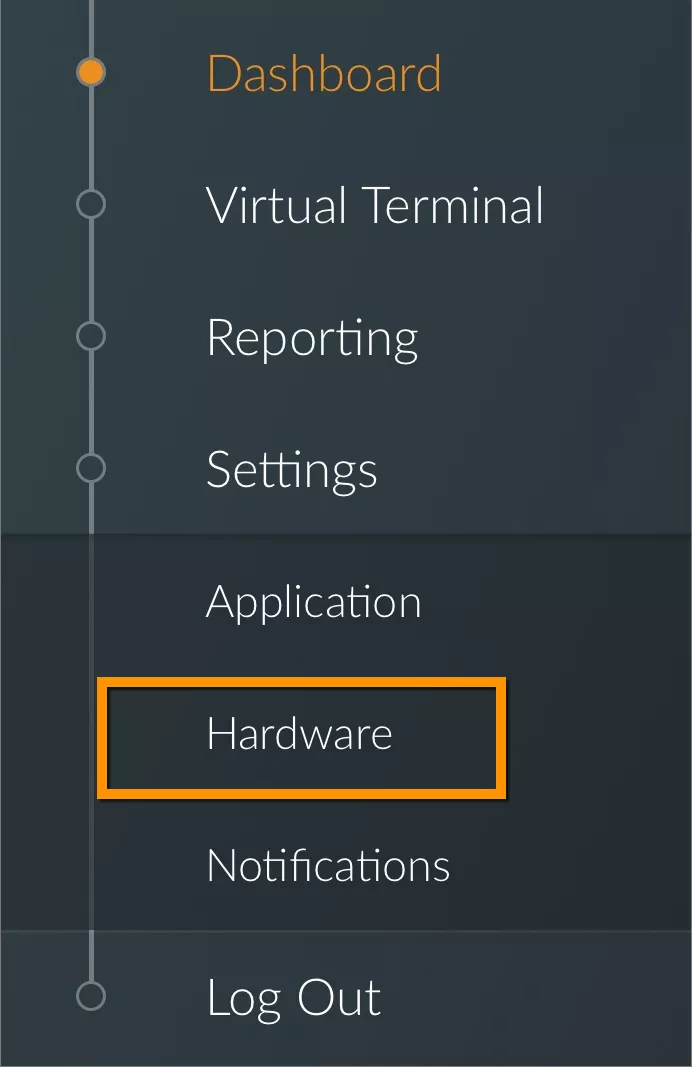
Tap the menu icon at the top-left of the app.
-
Tap Settings > Hardware.
-
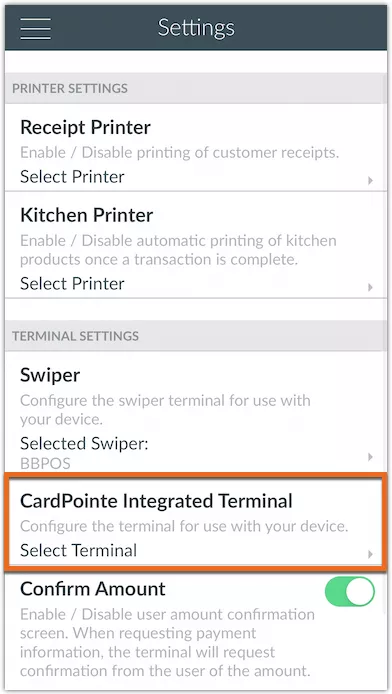
Under "Terminal Settings", tap CardPointe Integrated Terminal.
-
Search for and select the appropriate terminal from the "Your Terminals" list. If you have multiple merchant IDs (MIDs), the terminals that display in this list are those that are associated with all of your MIDs.

Overview
CardPointe Mobile users can accept EMV transactions when pairing a CardPointe Integrated Terminal with the CardPointe Mobile app. Our terminals protect your transactions with a powerful combination of EMV (chip) technology and point-to-point encryption (P2PE), making each transaction secure and PCI compliant.
The CardPointe Integrated Terminal and the mobile phone or tablet powering the CardPointe Mobile app must be connected to the same internet network to successfully pair them.
To configure a CardPointe Integrated Terminal in the app:
The CardPointe Integrated Terminal is now paired with the CardPointe Mobile app.
Process Mobile Payments with a CardPointe Integrated Terminal
The manner in which you process payments in CardPointe Mobile is dependent on whether you leverage the app's Catalog functionality. If you have the Catalog feature enabled, then you process payments using the app's Register feature. If you do not have have the Catalog enabled, then you process payments using the app's standard Virtual Terminal.
The instructions on this page are specific to using a CardPointe Integrated Terminal to process payments with the CardPointe Mobile app. If you are not using a CardPointe Integrated Terminal to process transactions in the app, see the general CardPointe Mobile documentation.
Processing Payments with the Virtual Terminal and a CardPointe Integrated Terminal
The app's Virtual Terminal supports credit and debit card payments and allows you to manually enter payment card information using the on-screen keypad. You can also swipe or dip a payment card using a CardPoitne Integrated Terminal, or swipe a payment card using the CardPointe Mobile Device.
Upon entering payment information, all sensitive data is instantly encrypted, ensuring that sensitive data never touches a merchant's systems.
The Virtual Terminal is available only if you do not have the CardPointe Mobile Catalog enabled. If you have the Catalog enabled, then the Register feature replaces the Virtual Terminal.
To process a payment by using the app's Virtual Terminal:
-
Tap the menu icon at the top left of the app and tap Virtual Terminal.
-
Enter the payment amount using the on-screen keypad.
-
If necessary, select the appropriate Merchant ID (MID) from the MID dropdown.
-
Tap Proceed to Payment.
-
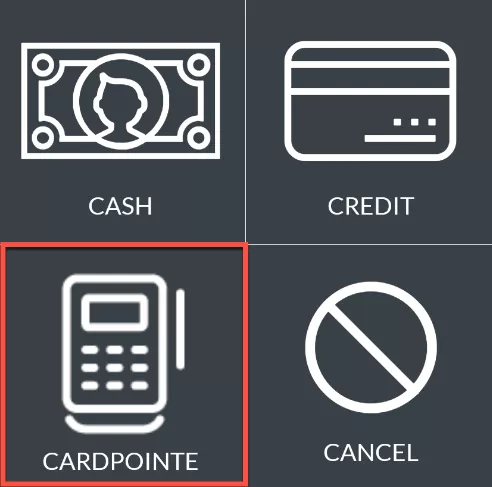
Select CardPointe as the "Tender Type."
.webp)
-
The message "Transaction Status - Confirm Amount" displays in the app, and the Terminal prompts the customer to confirm the total sale amount by hitting the green Enter button on the terminal.
-
Upon confirming the amount, the message "Transaction Status - Read Card" displays in CardPointe Mobile, and the customer is prompted to swipe or insert a payment card.
-
The message "Transaction Status - Signature" displays in CardPointe Mobile, while the customer is prompted to provide their signature on the terminal screen.
-
Upon providing a signature, the sale is authorized and captured.
-
Tap Process Payment at the top of the screen.
-
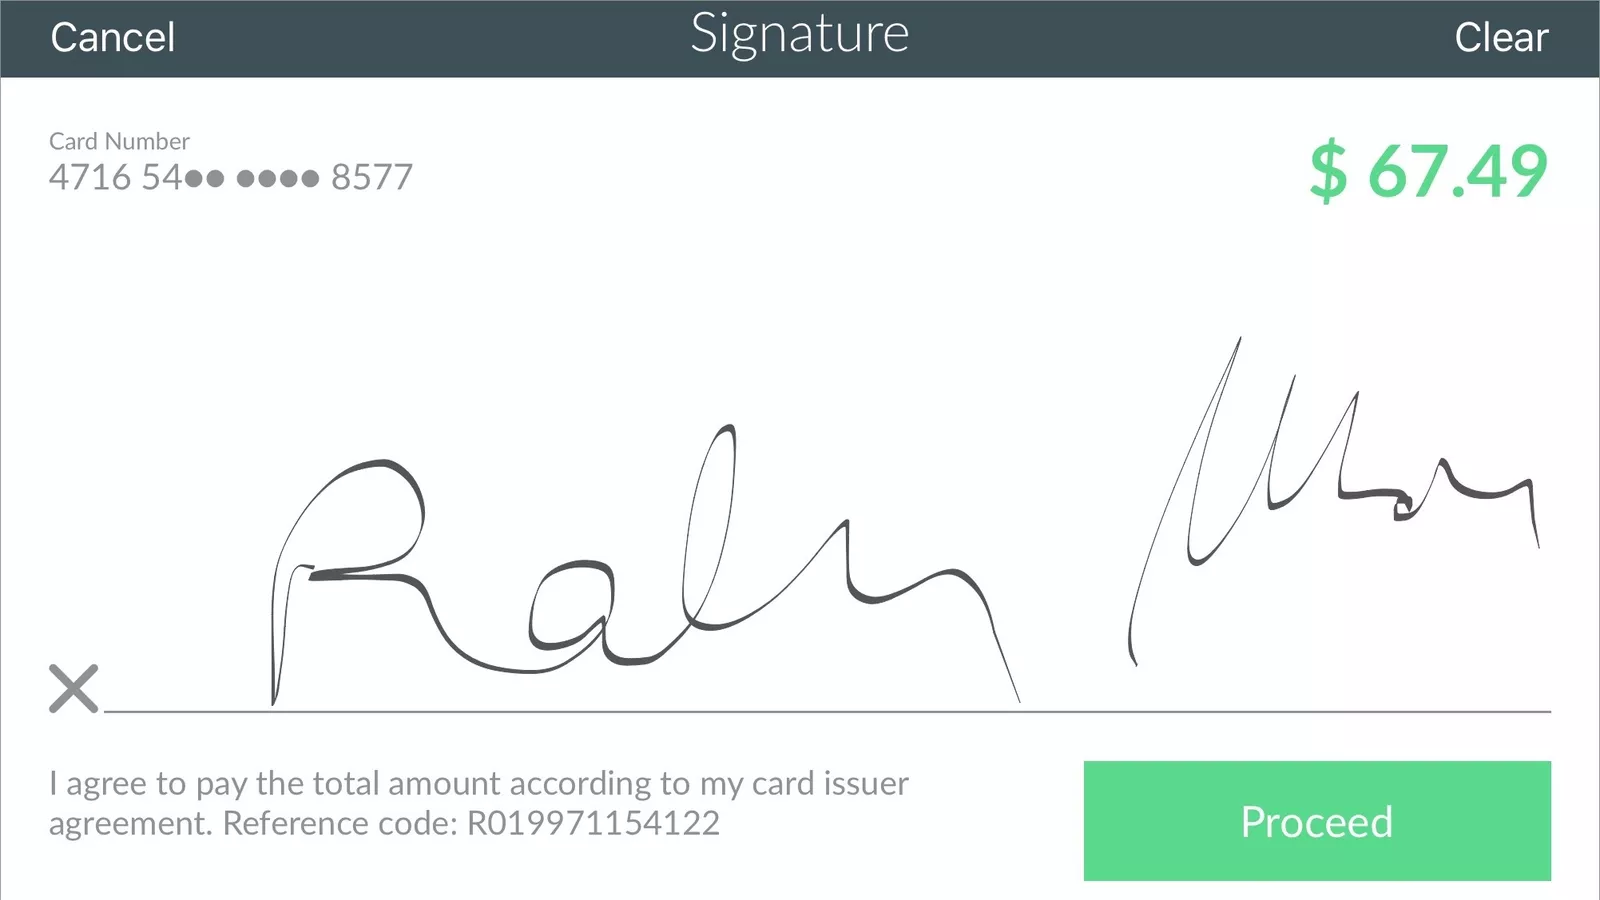
Obtain the customer's signature by having them sign their name on the screen with their finger. Tap Proceed when finished.
-
Choose the preferred sales receipt format and tap DONE when finished.
Processing Payments with the Register and a CardPointe Integrated Terminal
The Register screen allows you to:
- Choose specific products that your customers wish to purchase from your product catalog.
- Apply discounts to the sale, if applicable.
- Manually enter the payment card information using the on-screen Keypad.
The instructions below explain how to to process payments by selecting products from the Catalog. If you are selling items that are not listed in your Catalog, you can manually enter the price of each item using the register's "Keypad" feature (skip to step 5 for more details).
To process payments using the Register:
-
Tap the menu icon at the top left of the screen and select Register.
-
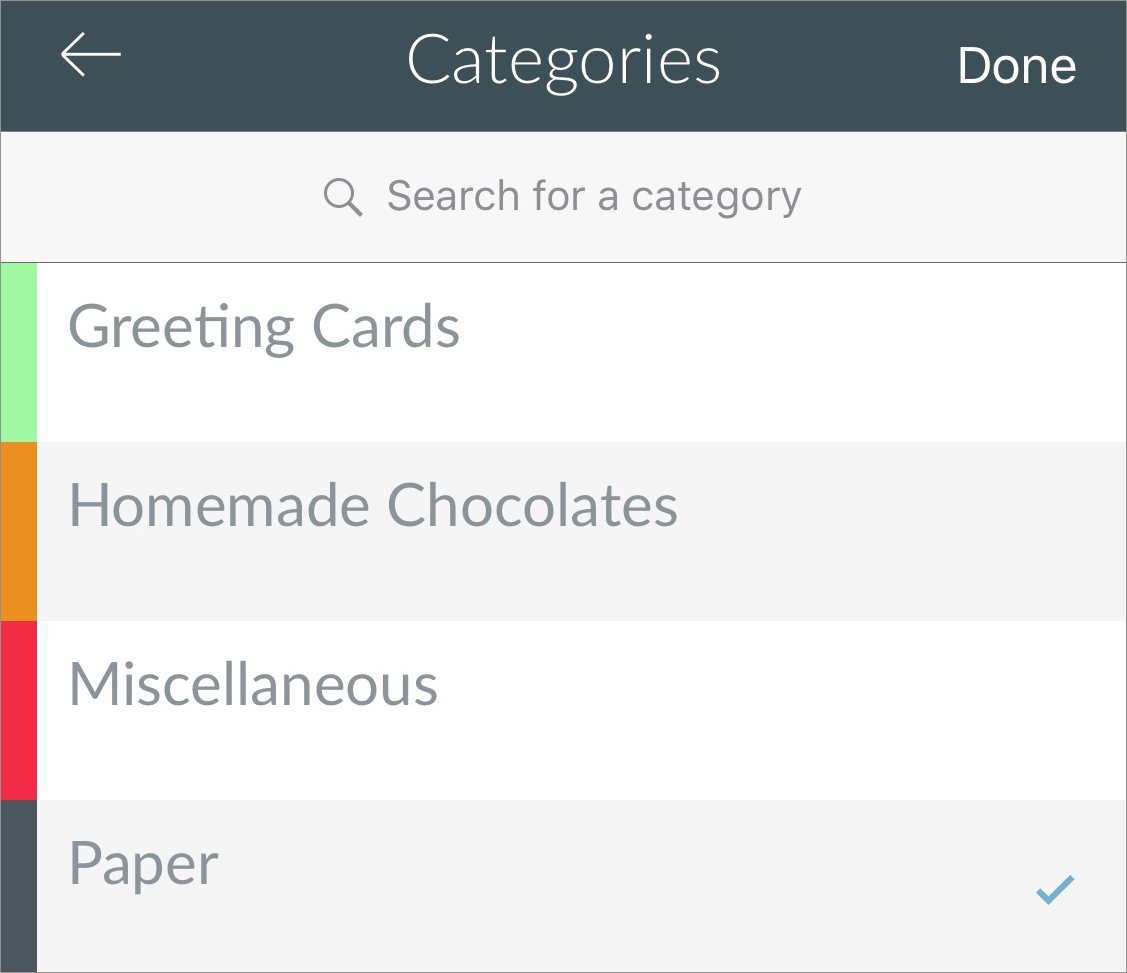
Search for and select the desired product category. In this example, the customer is purchasing gift wrapping paper, so we selected the "Paper" category.
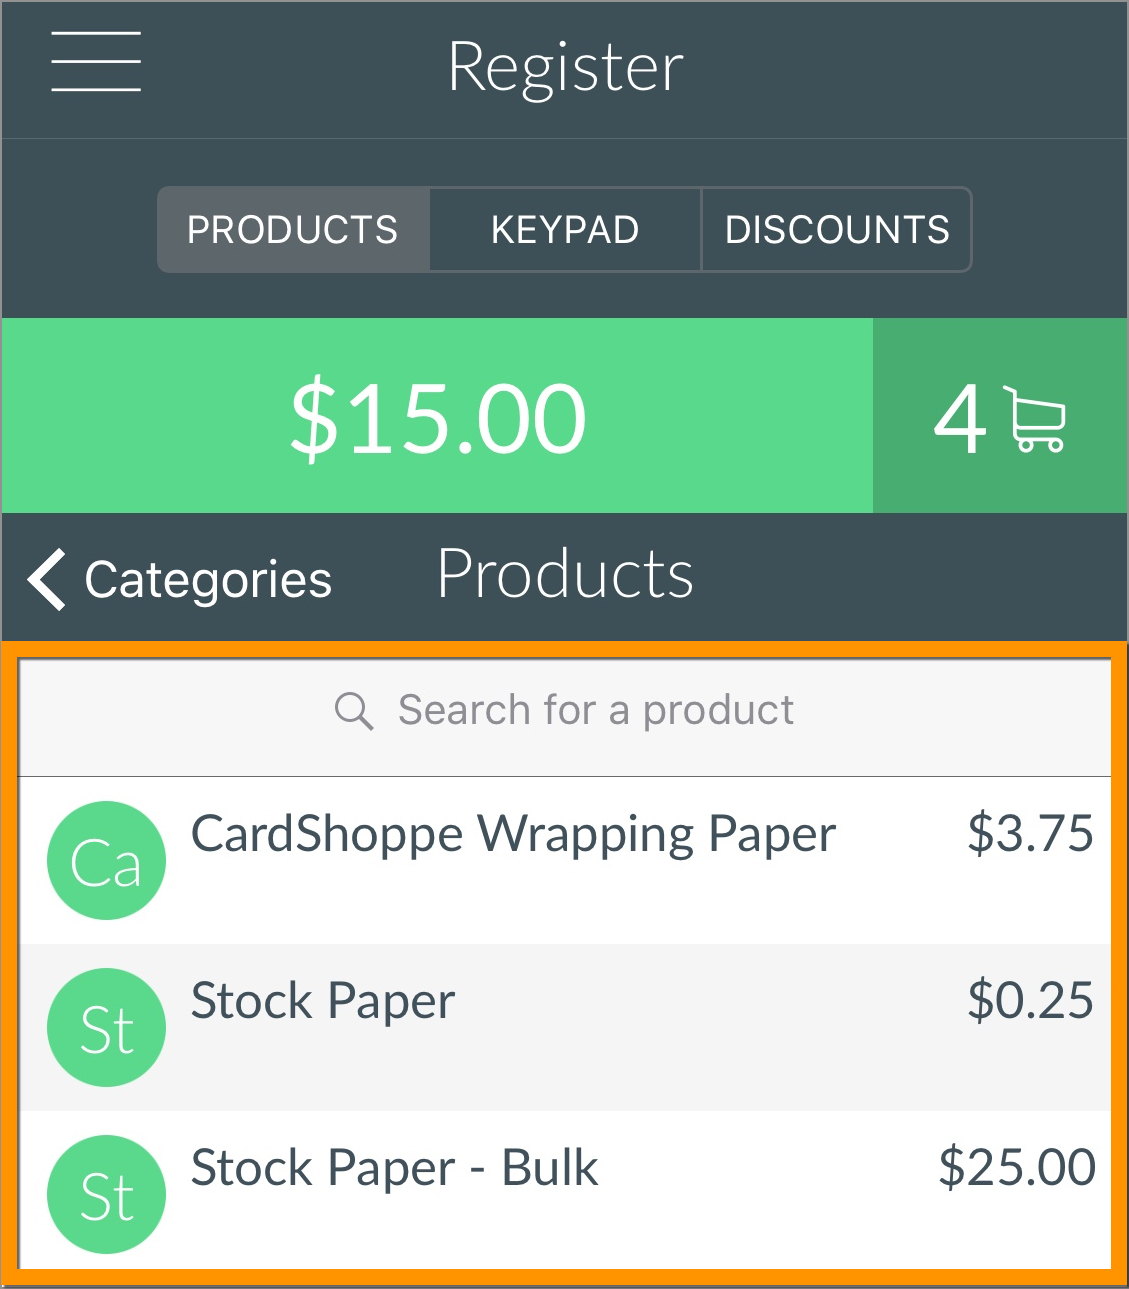
-
Select the product(s) that the customer wishes to purchase from the list. If the customer wants to purchase more than one of the same product, simply tap the product multiple times until the desired quantity is added to the cart.
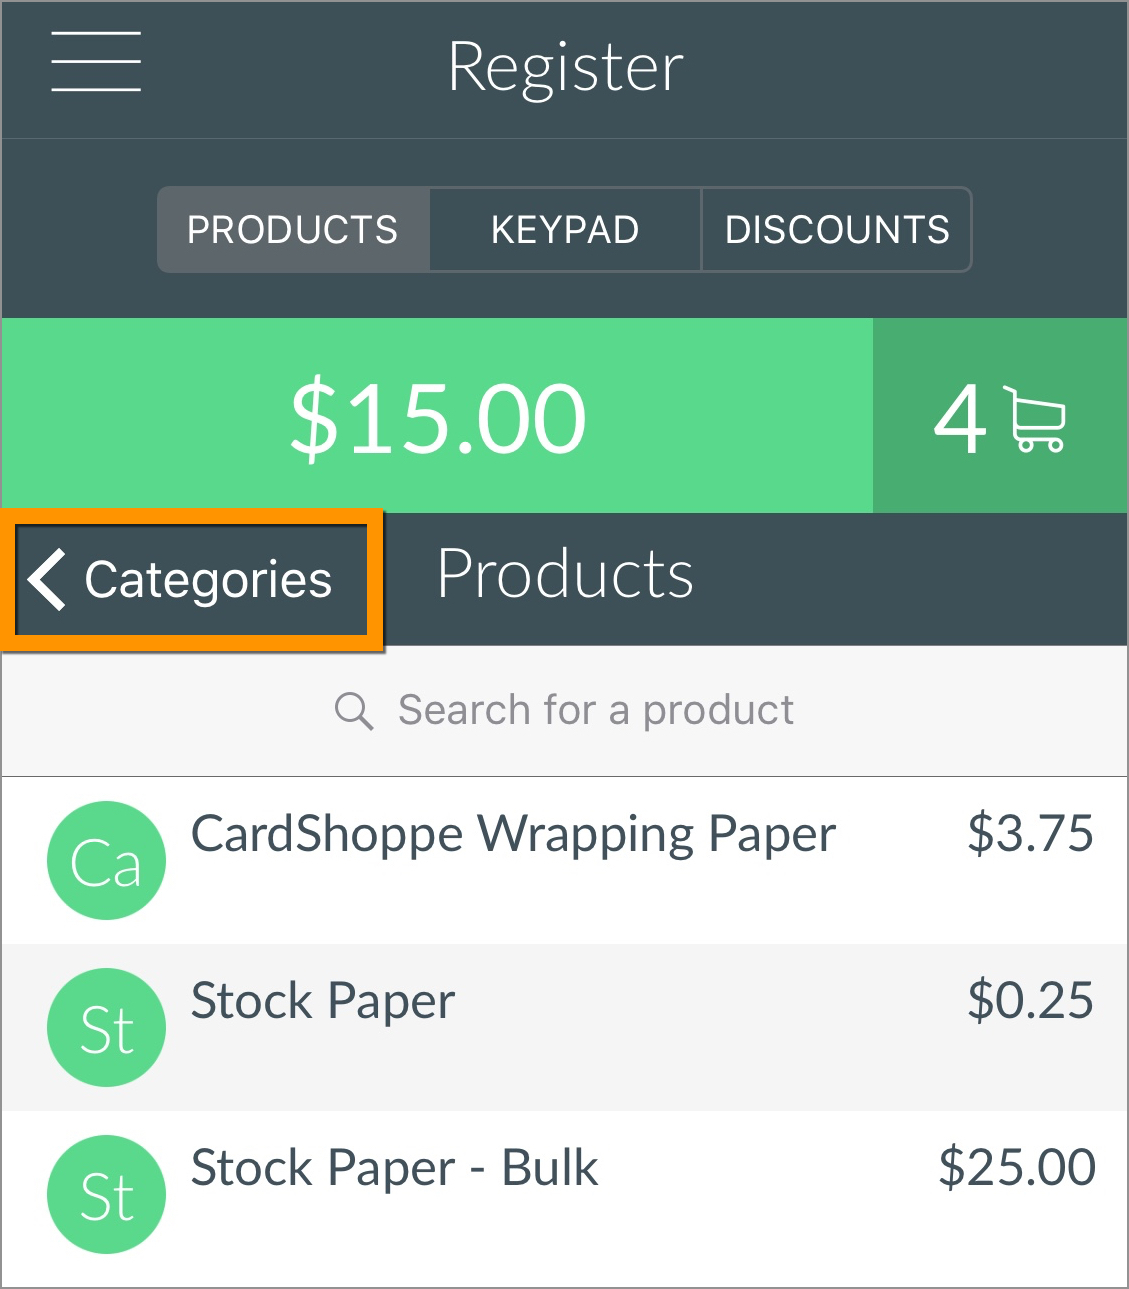
-
If the customer wishes to purchase additional products that are not in the same category, simply tap < Categories to go back to the list of categories and repeat steps 2-3.
-
On the "Register" screen, manually enter the price, and tap the "+" icon at the bottom right of the keypad to add it to the cart.
-
If you wish to apply any discounts to the cart, tap DISCOUNTS at the top of the "Register" screen.
-
Select the discount type from the list to apply it to the cart.

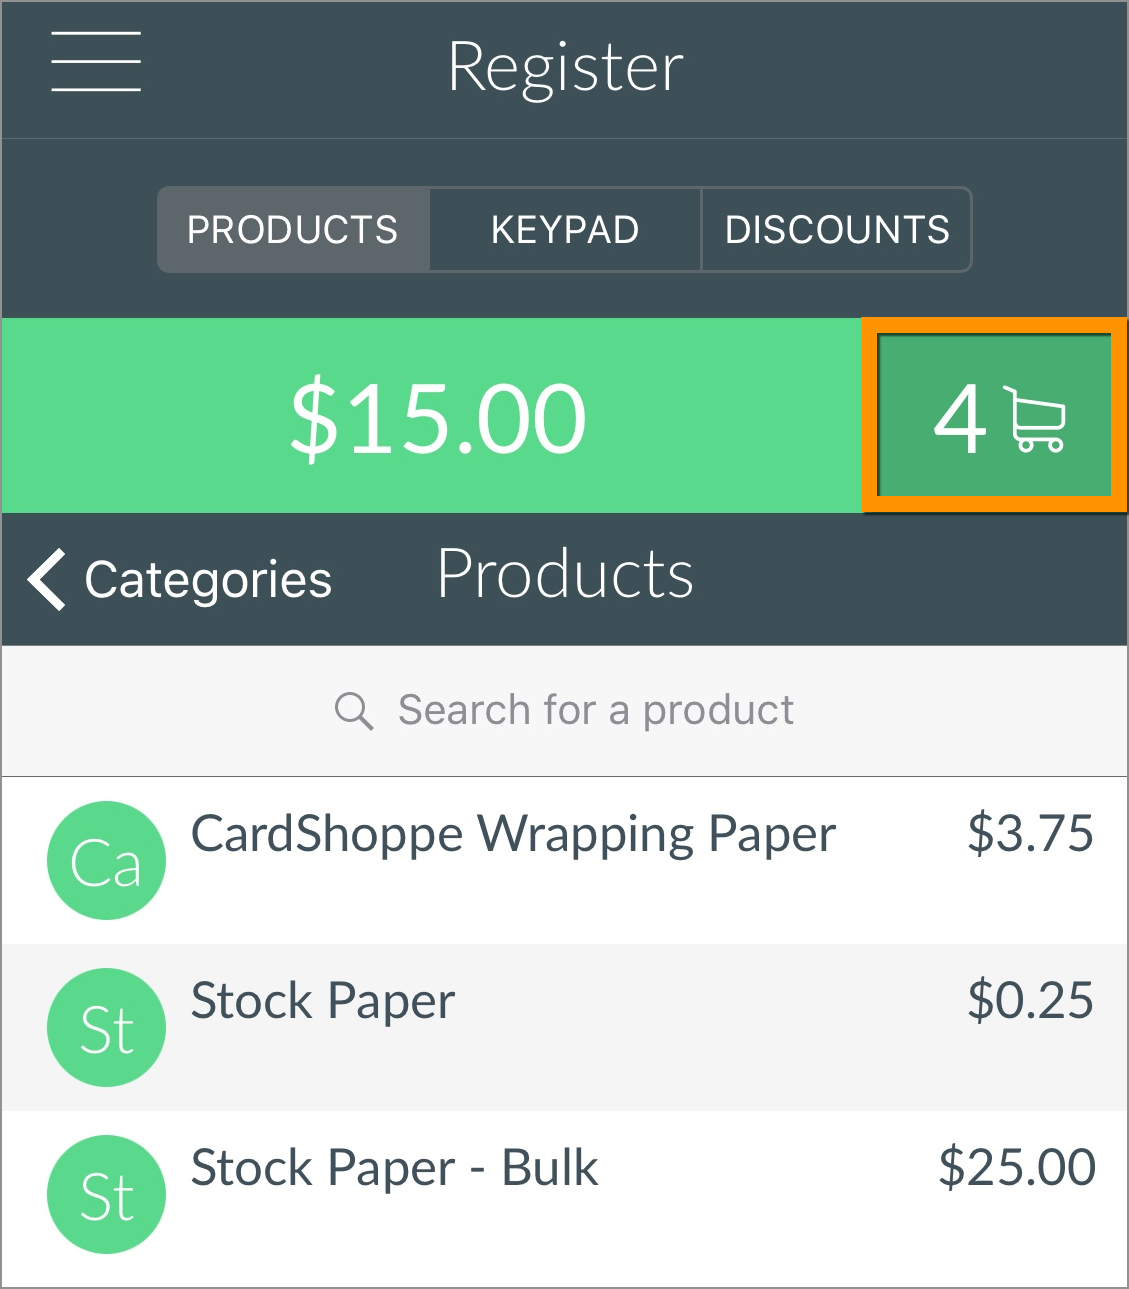
-
When ready to checkout, tap the cart icon.
-
On the "Cart" screen, confirm that the products and product quantity are correct, and verify that the discount is applied (if applicable).
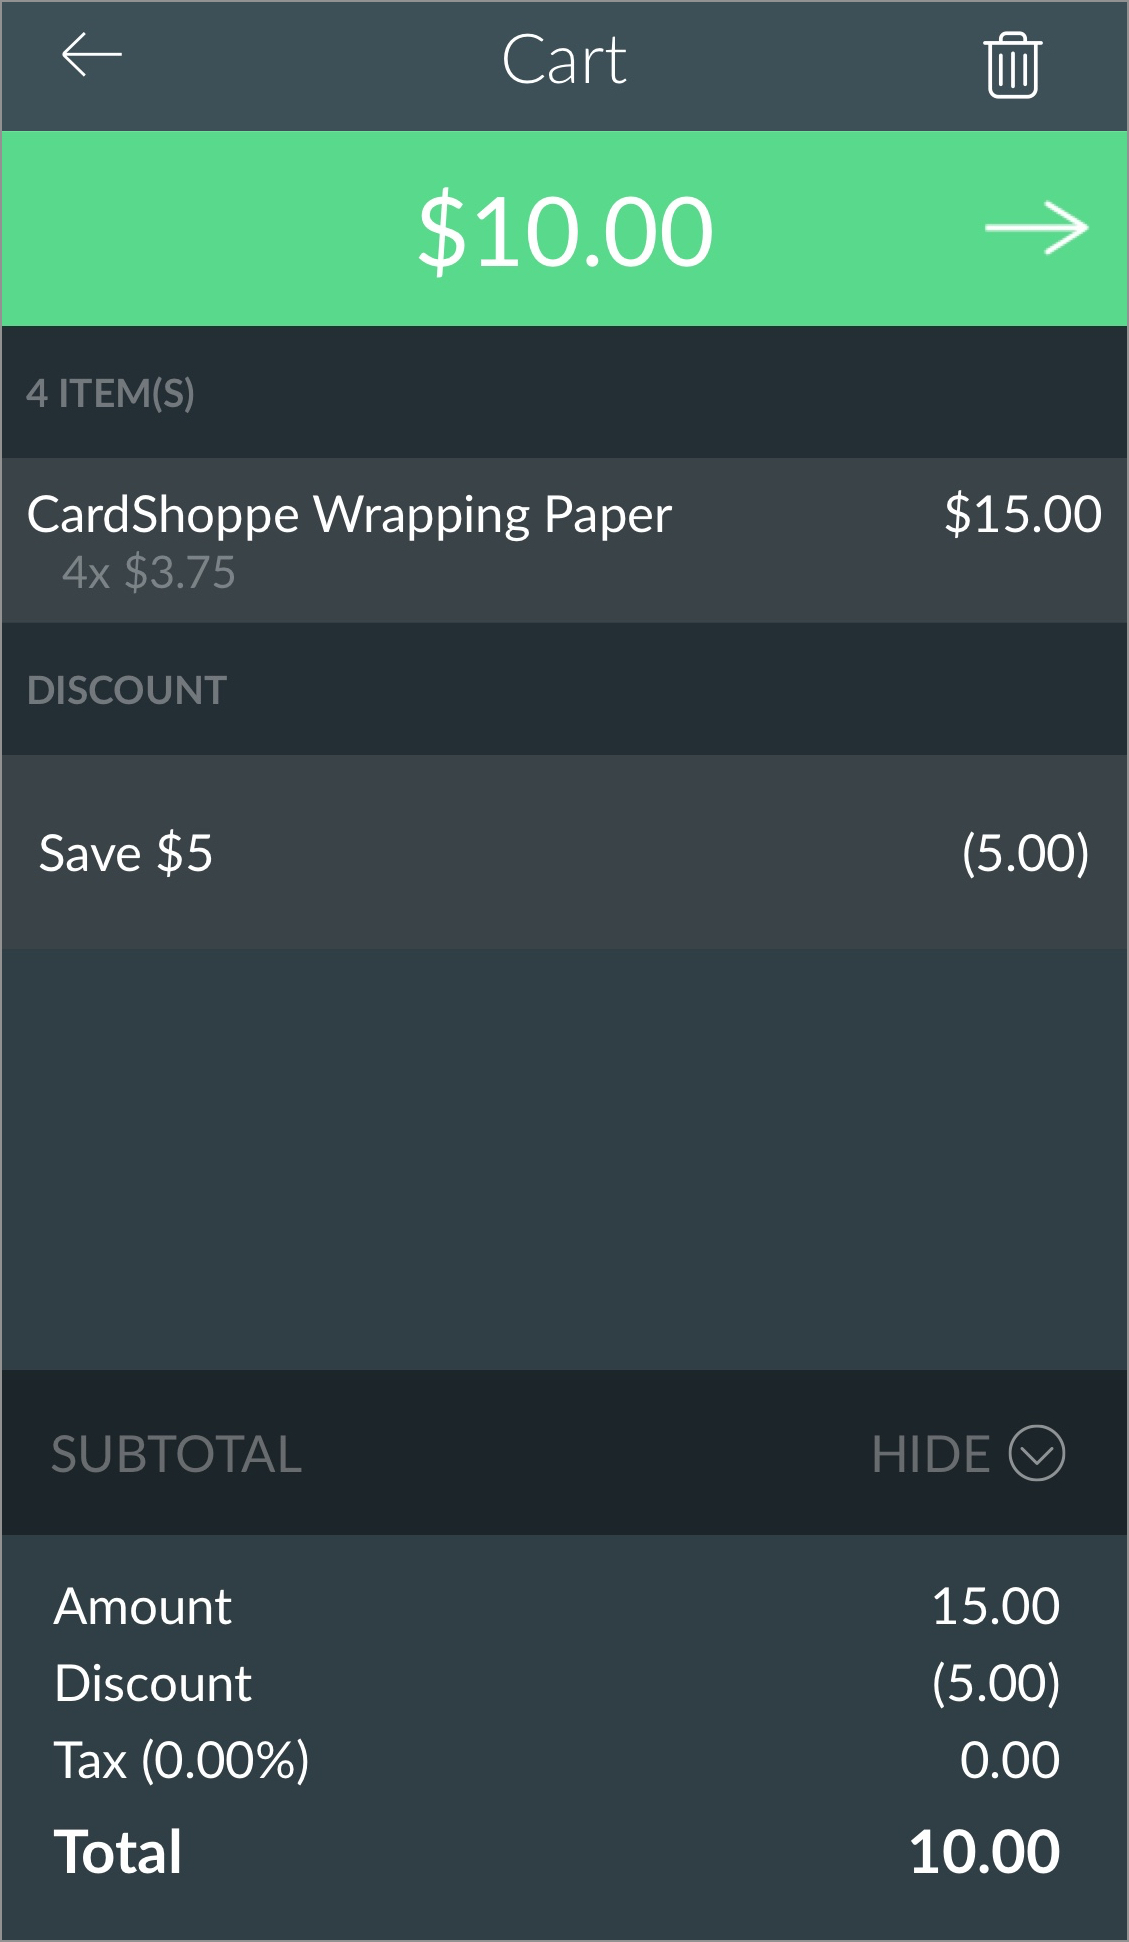
-
Tap the arrow at the top-right of the screen and select CardPointe as the "Tender Type."
-
The message "Transaction Status - Confirm Amount" displays in the app, and the Terminal prompts the customer to confirm the total sale amount by hitting the green Enter button on the terminal.
-
Upon confirming the amount, the message "Transaction Status - Read Card" displays in CardPointe Mobile, and the customer is prompted to swipe or insert a payment card.
-
The message "Transaction Status - Signature" displays in CardPointe Mobile, while the customer is prompted to provide their signature on the terminal screen.
-
Upon providing a signature, the sale is authorized and captured.
-
Tap Process Payment at the top of the screen.
-
Obtain the customer's signature by having them sign their name on the screen with their finger. Tap Proceed when finished.
-
Choose the preferred sales receipt format and tap DONE when finished.