-
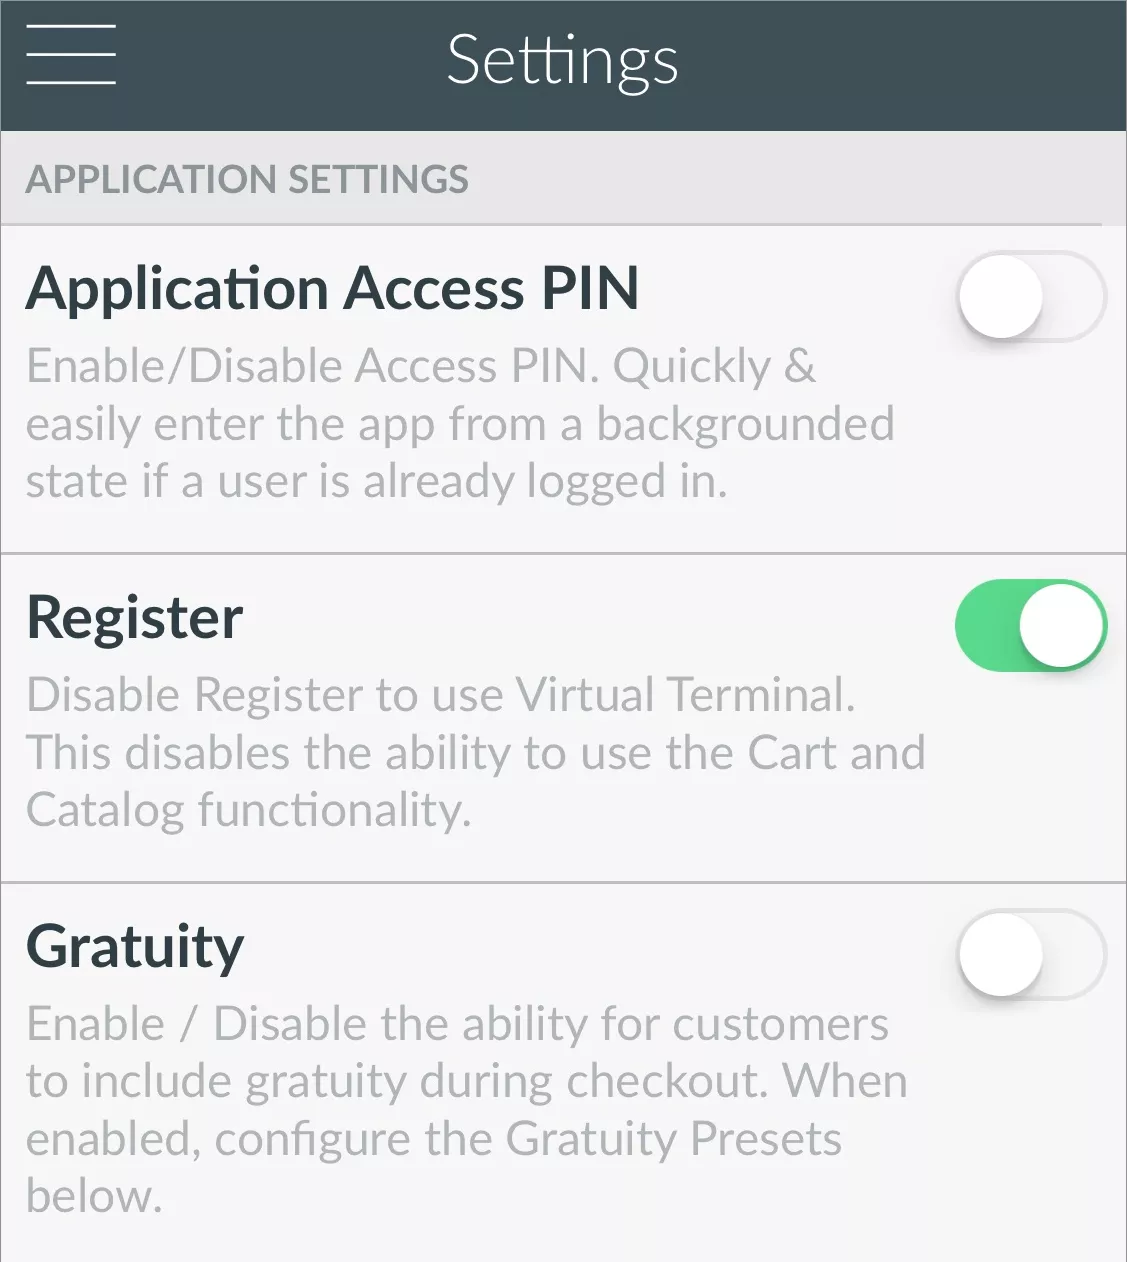
Tap the menu icon at the top left of the screen and select Settings > Application.
-
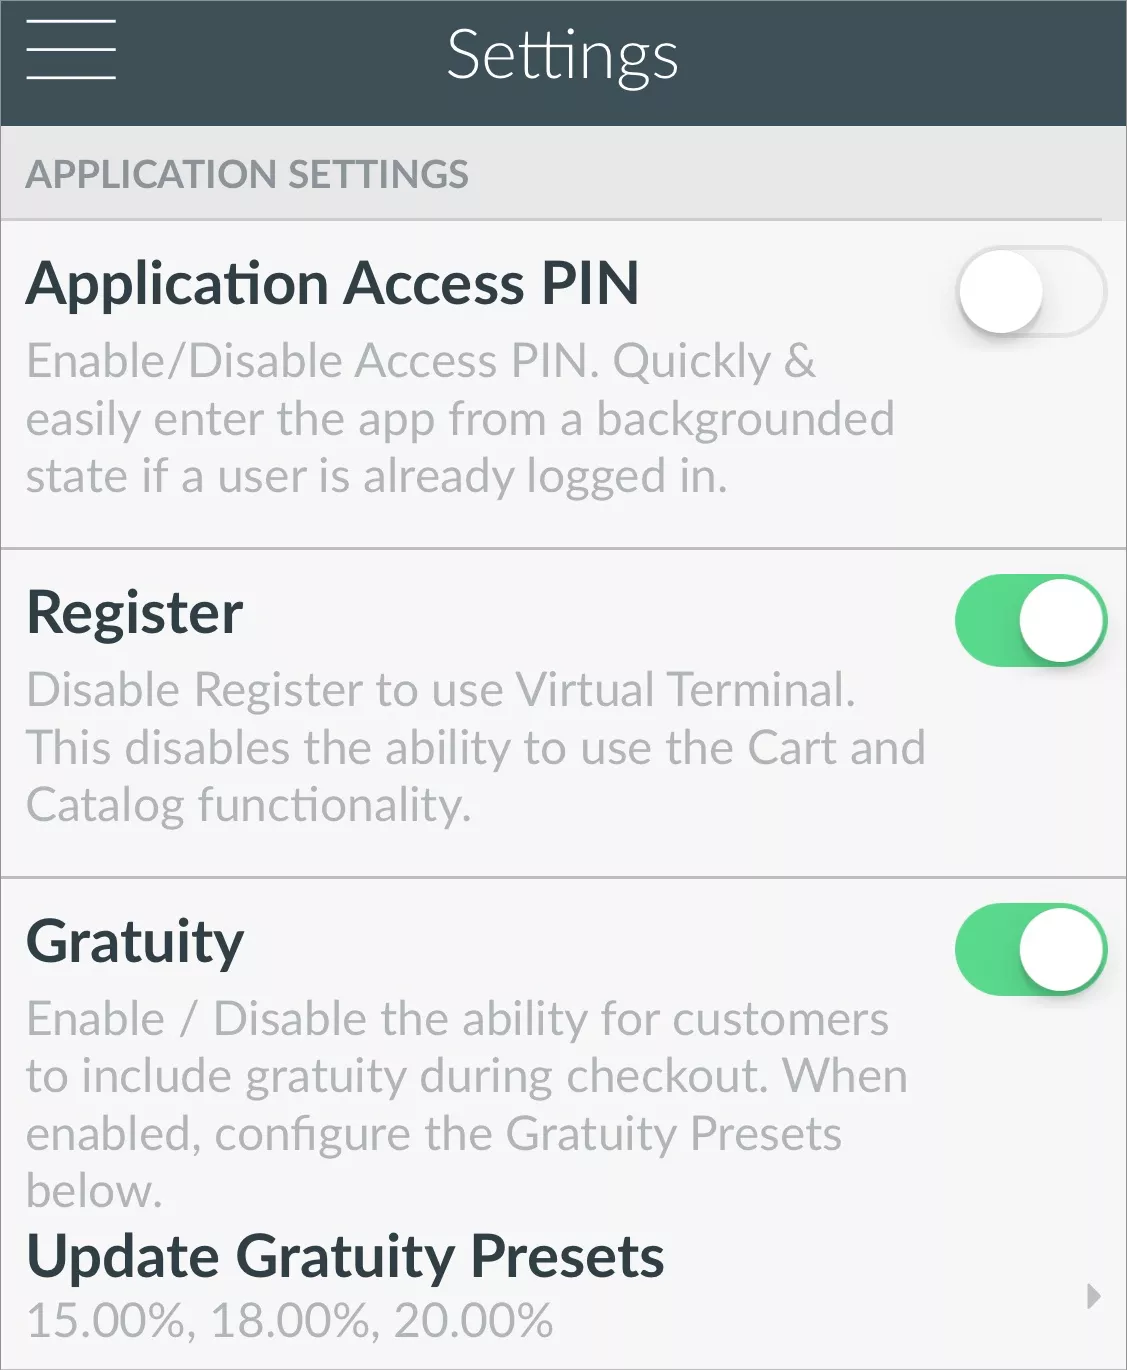
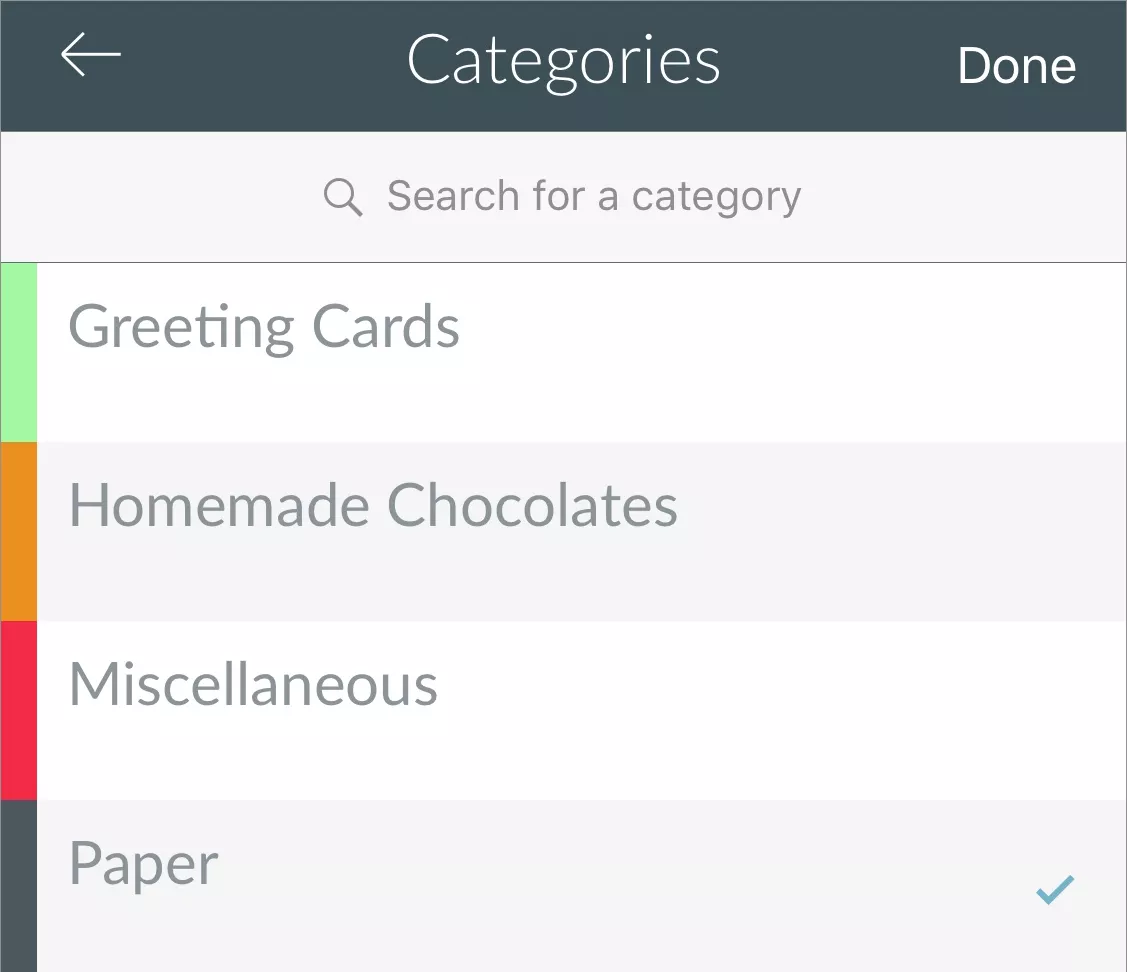
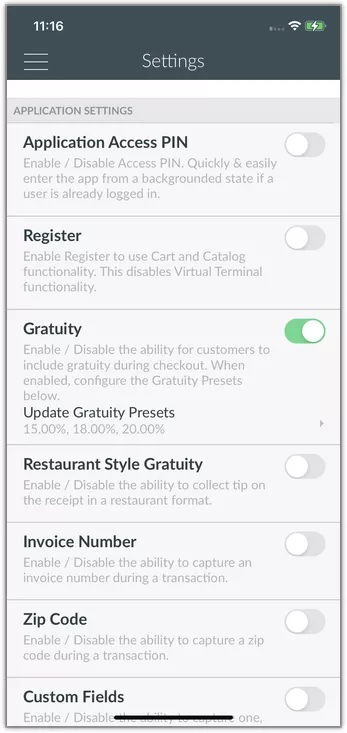
Tap the Register toggle to enable the Catalog feature.
Overview
The CardPointe Mobile app extends the features and benefits of the CardPointe platform to iOS and Android devices and is available to CardPointe customers free of charge. Easily accept and manage payments from your mobile device using the app's intuitive interface. Benefits of the app include but are not limited to:
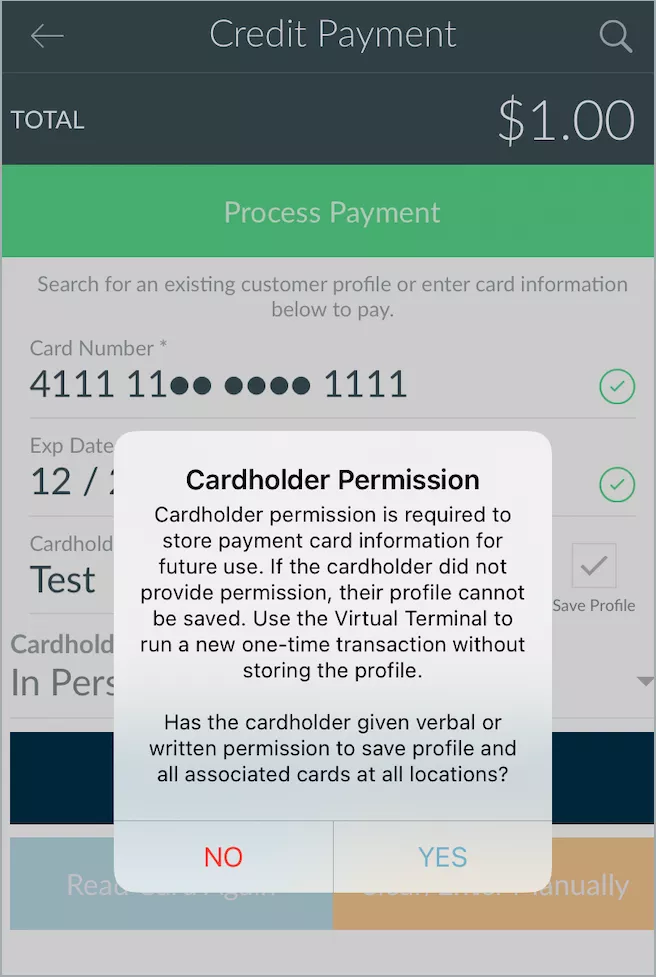
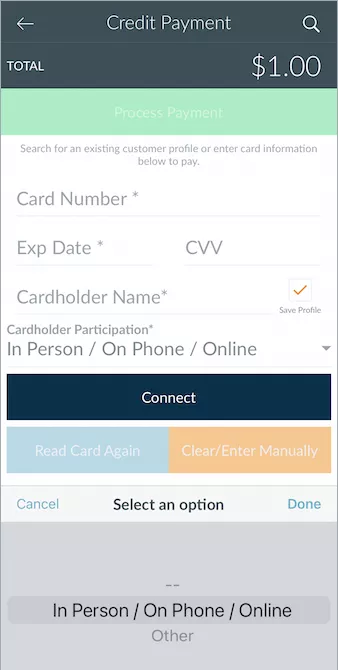
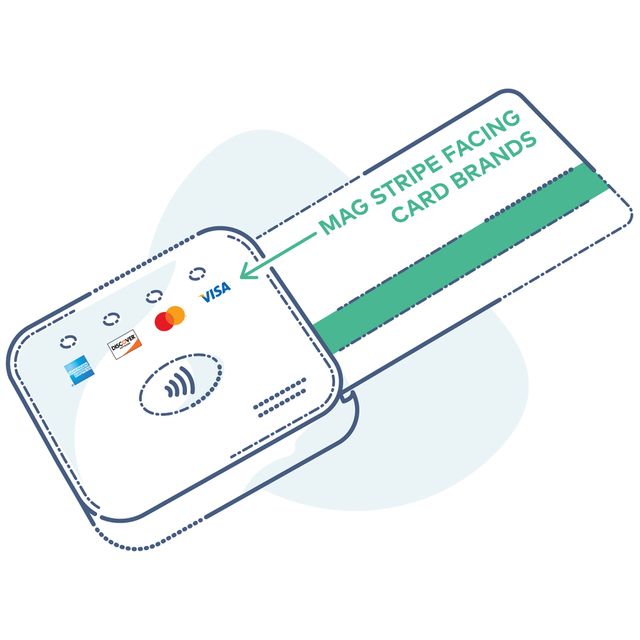
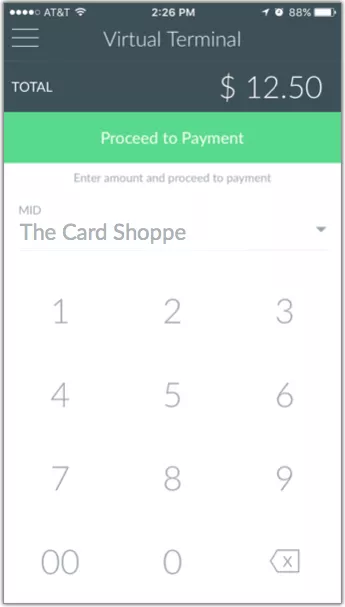
- Virtual Terminal - Securely accept all major credit cards via the Virtual Terminal. Optionally, add the CardPointe Mobile Device to accept card-present payments.
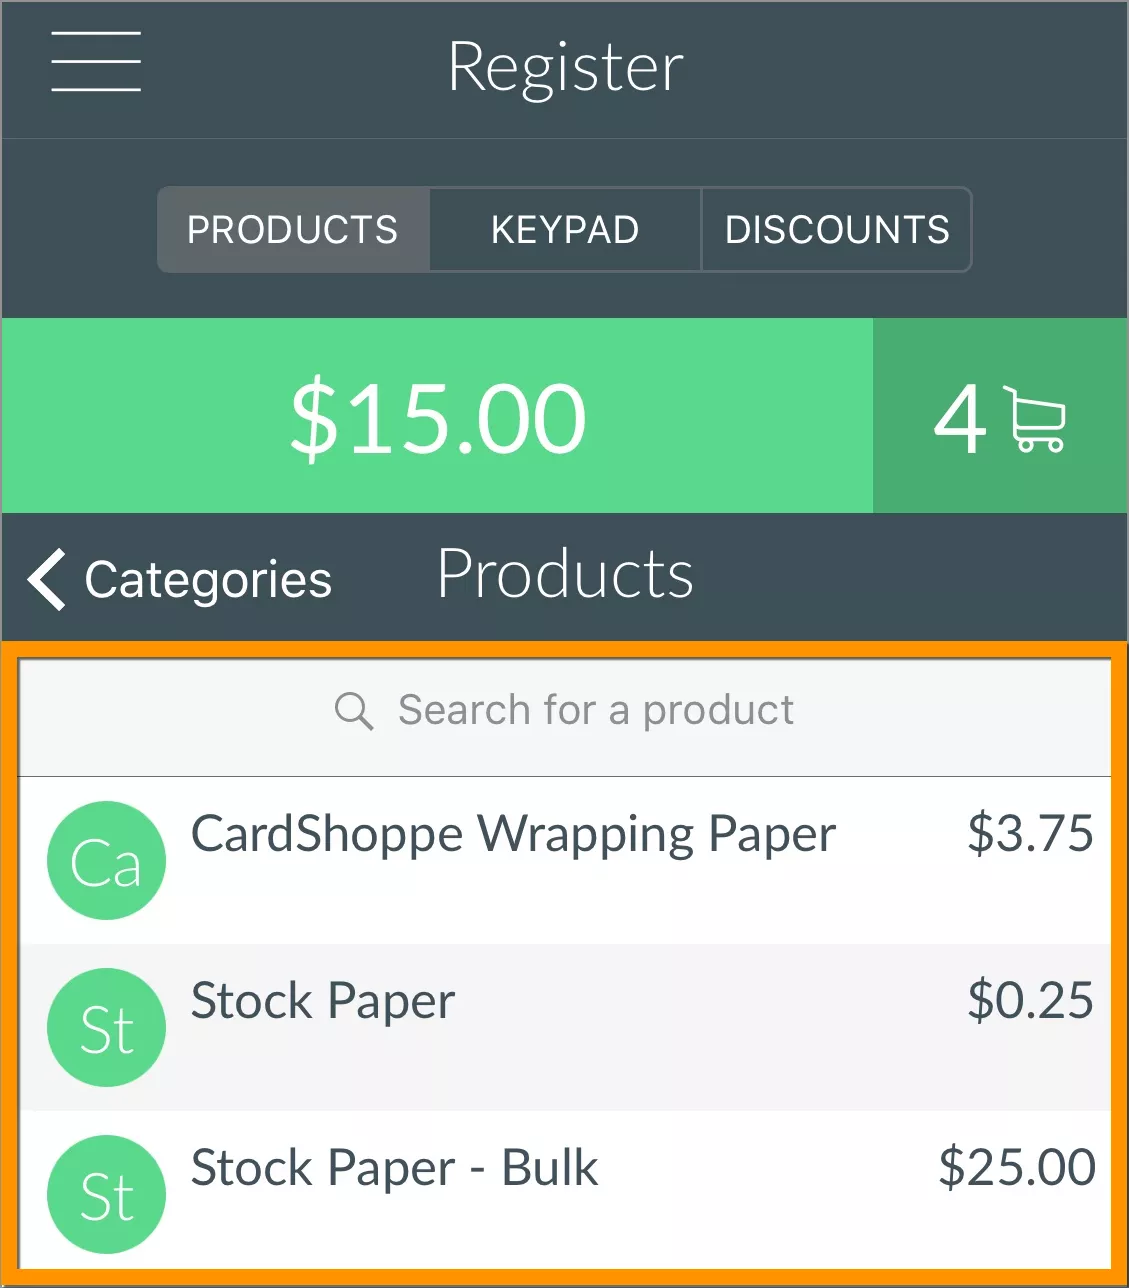
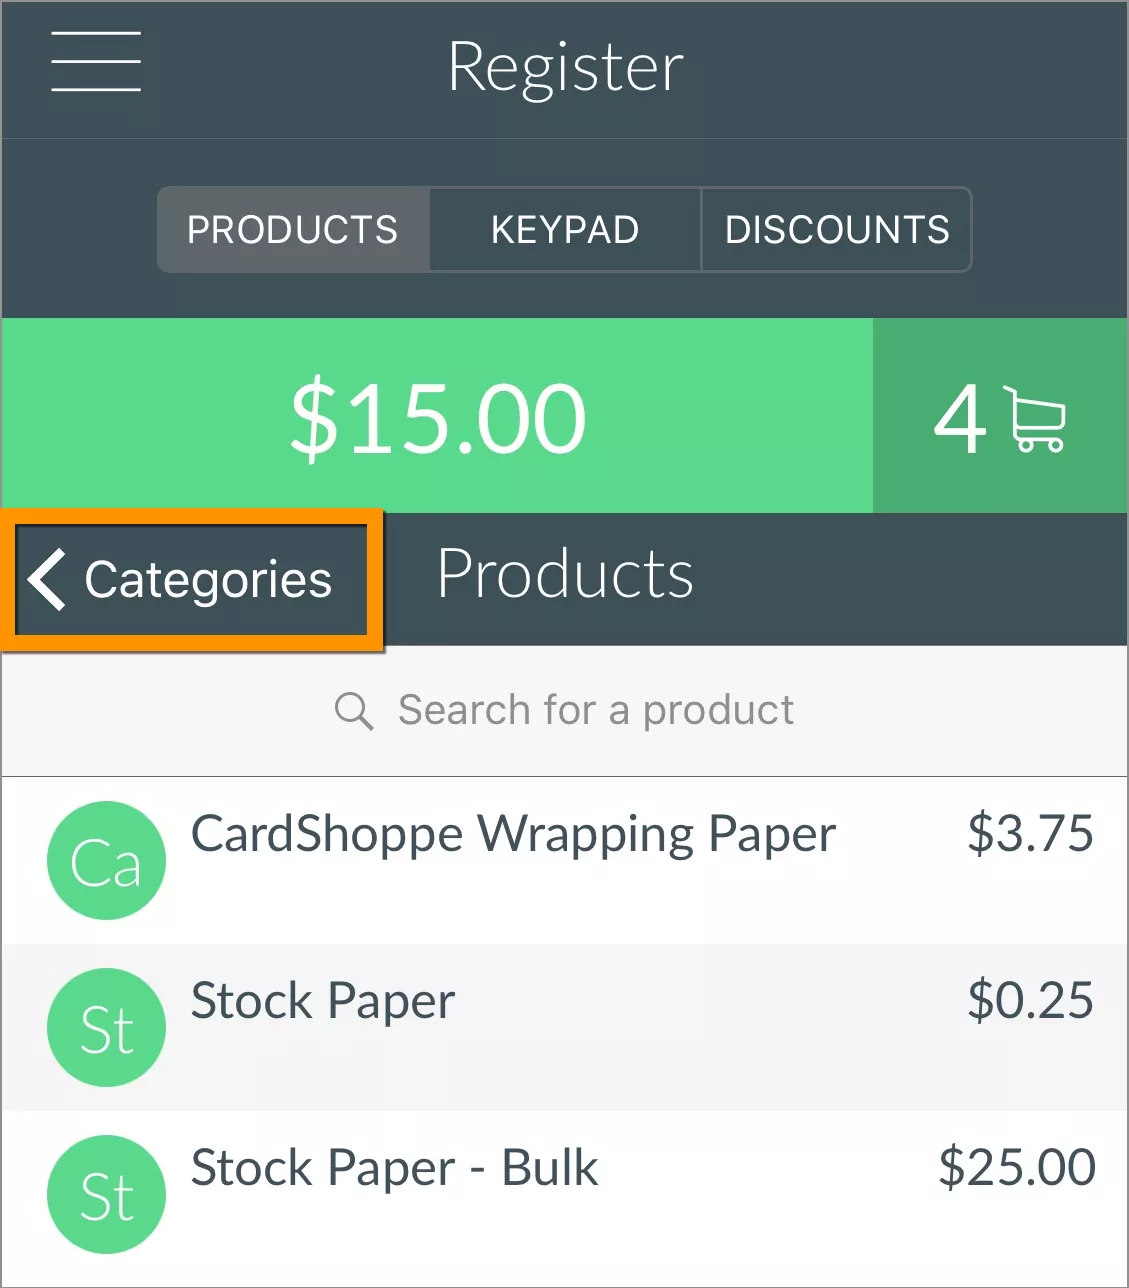
Note: If you use the Catalog feature, the Virtual Terminal is replaced by the Register, which is integrated with your product catalog.
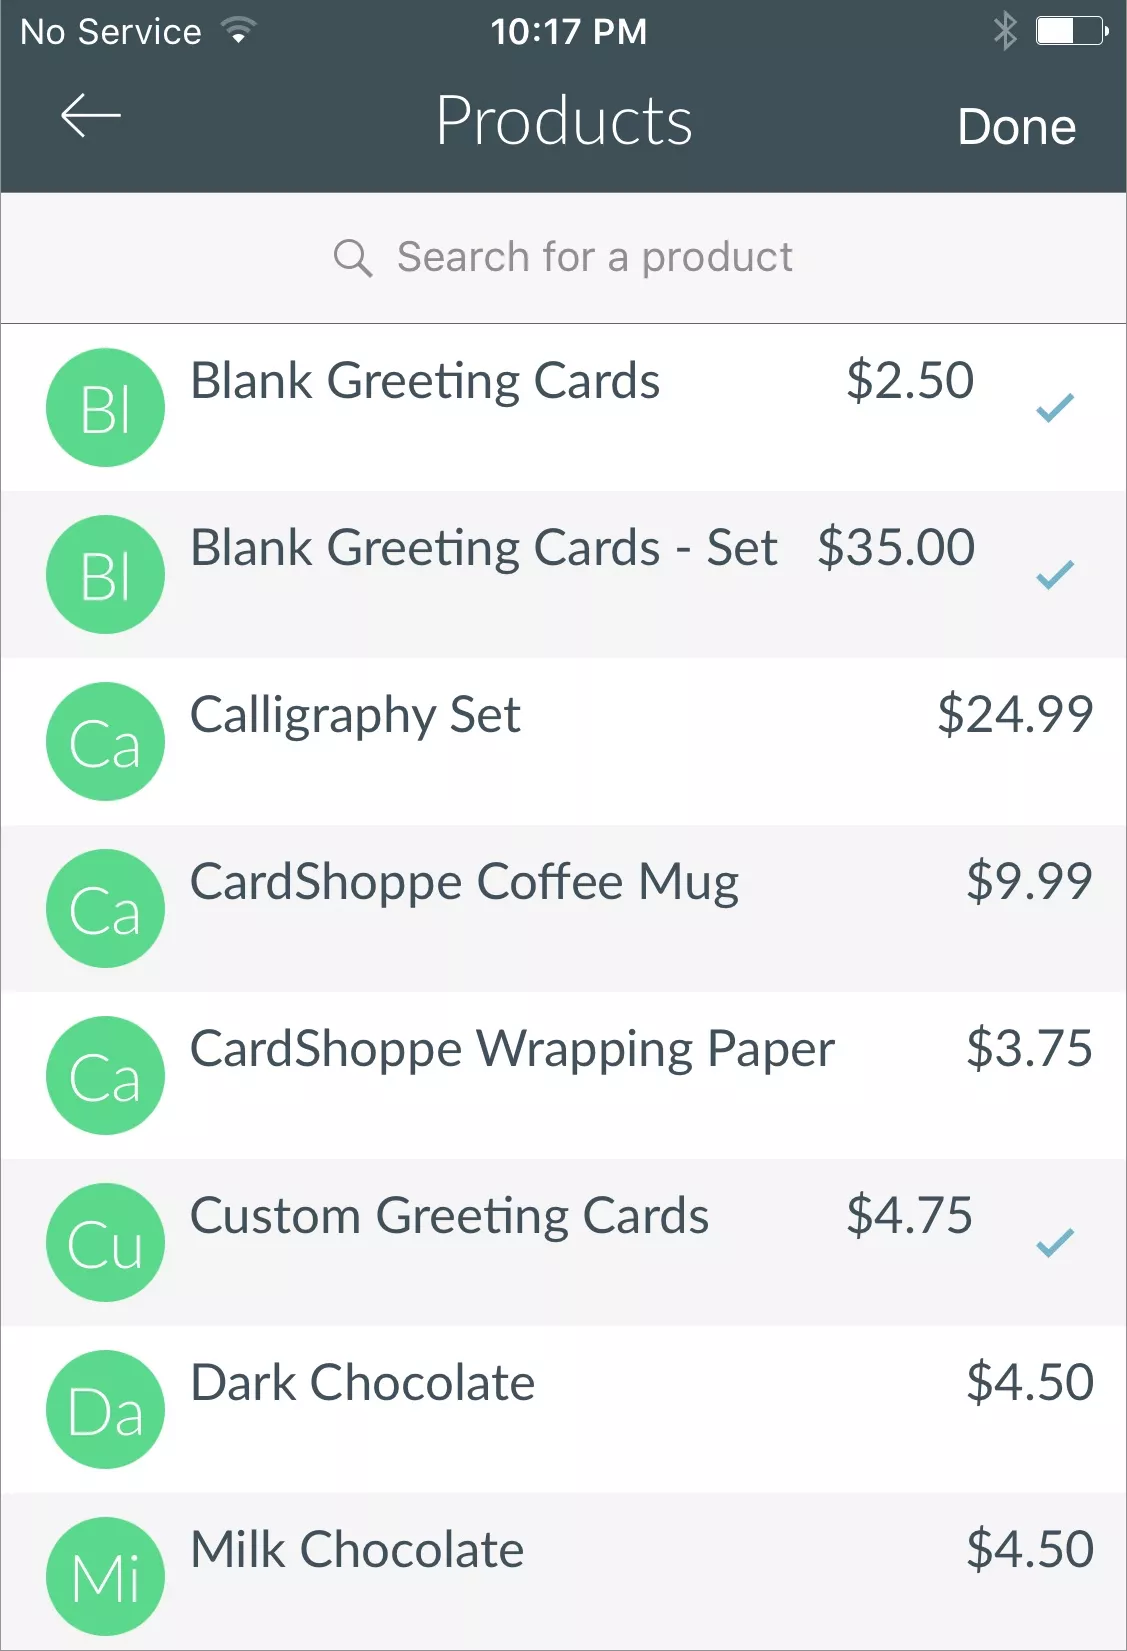
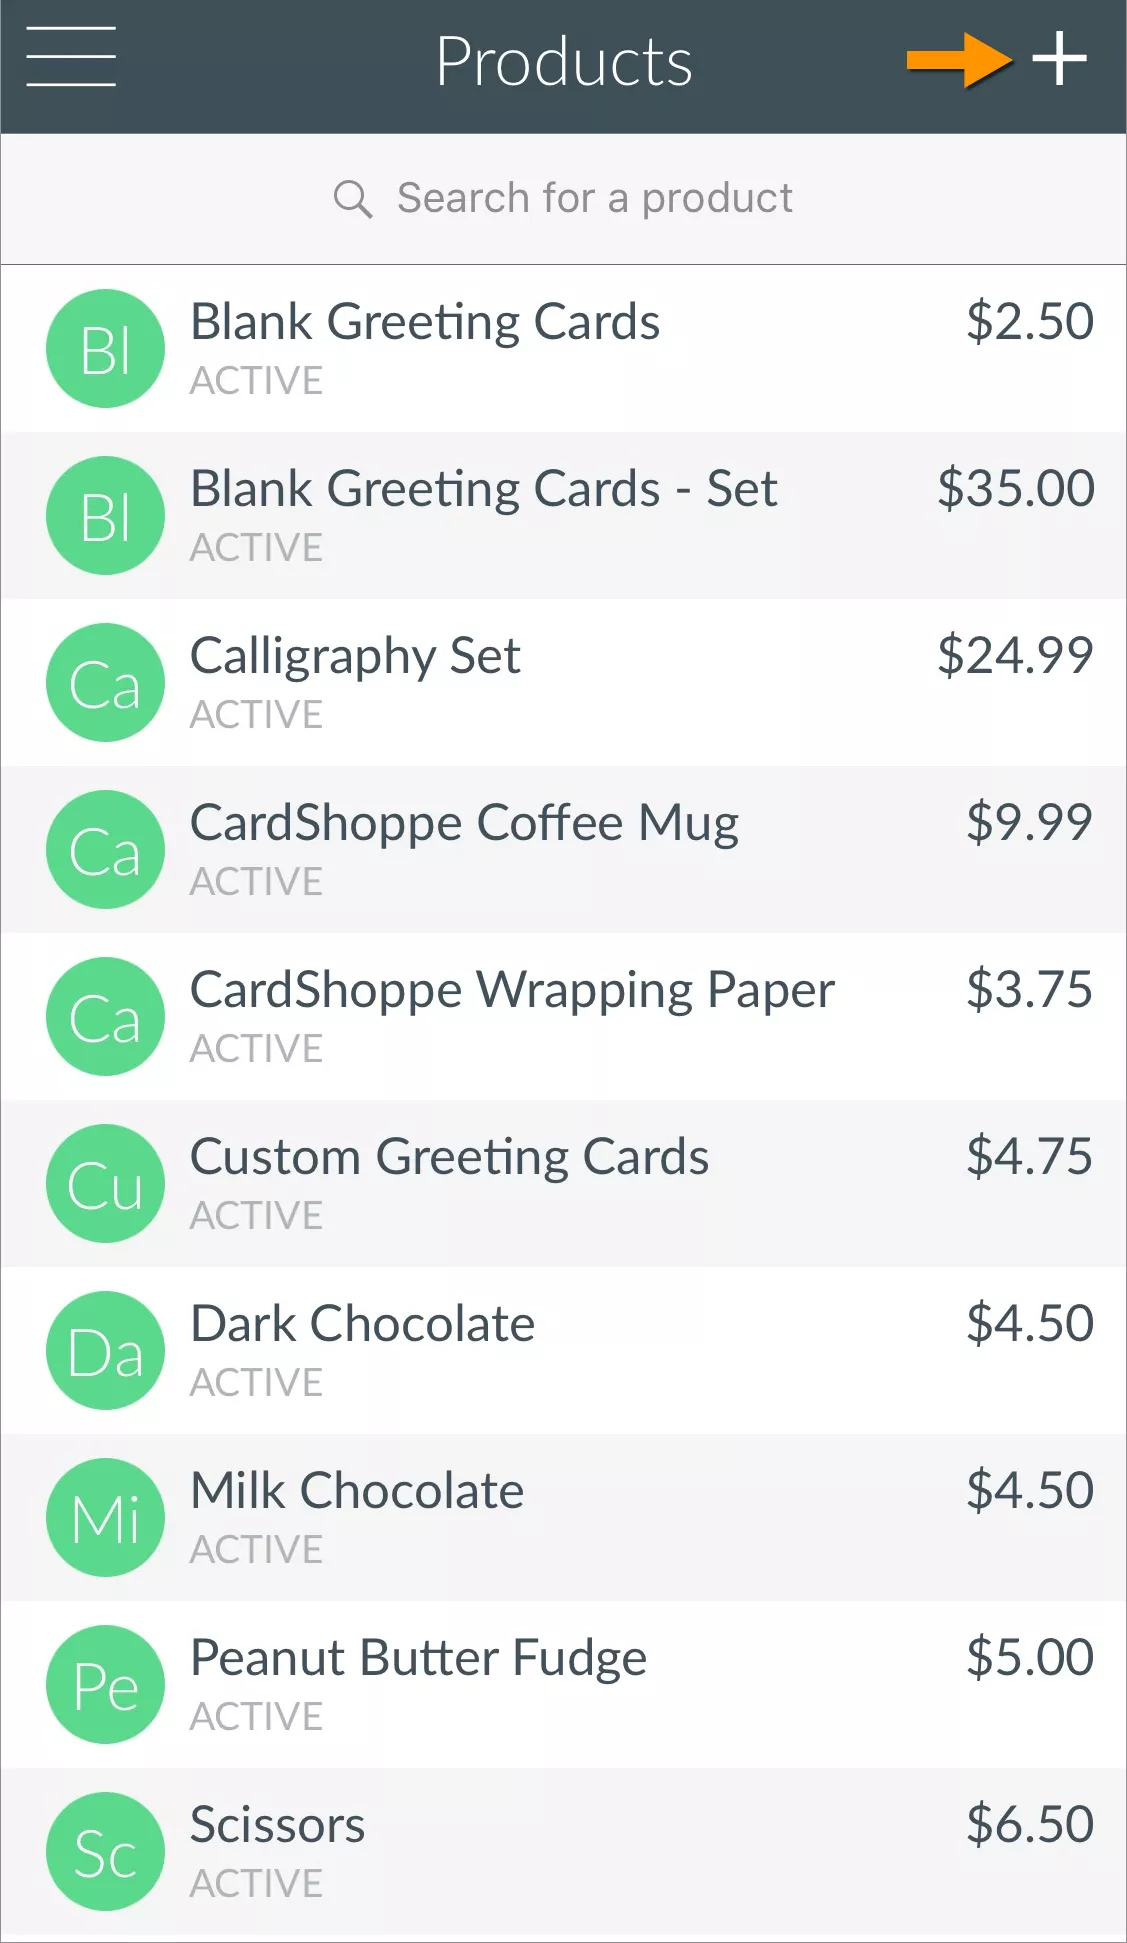
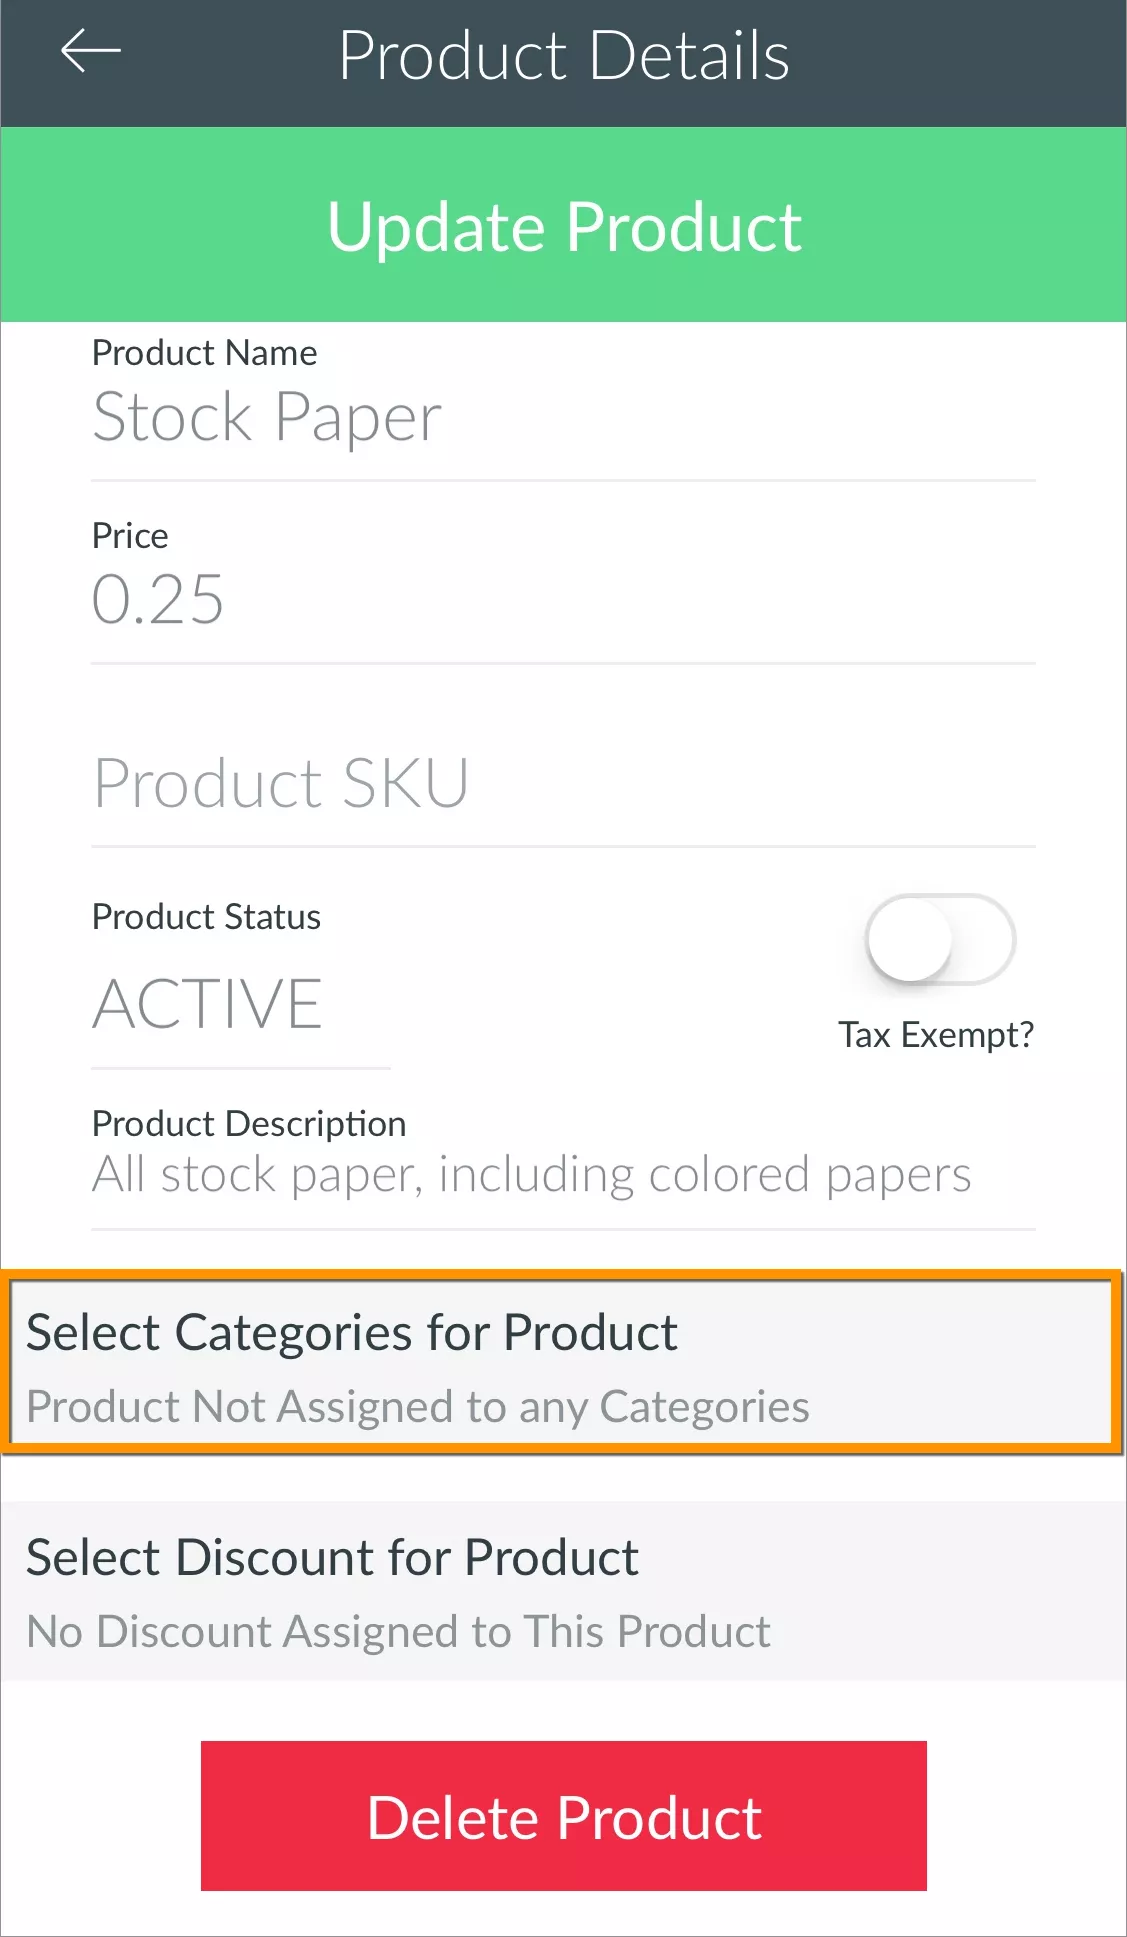
- Product Catalog and Register - Unlock the power of the CardPointe Catalog, allowing you to:
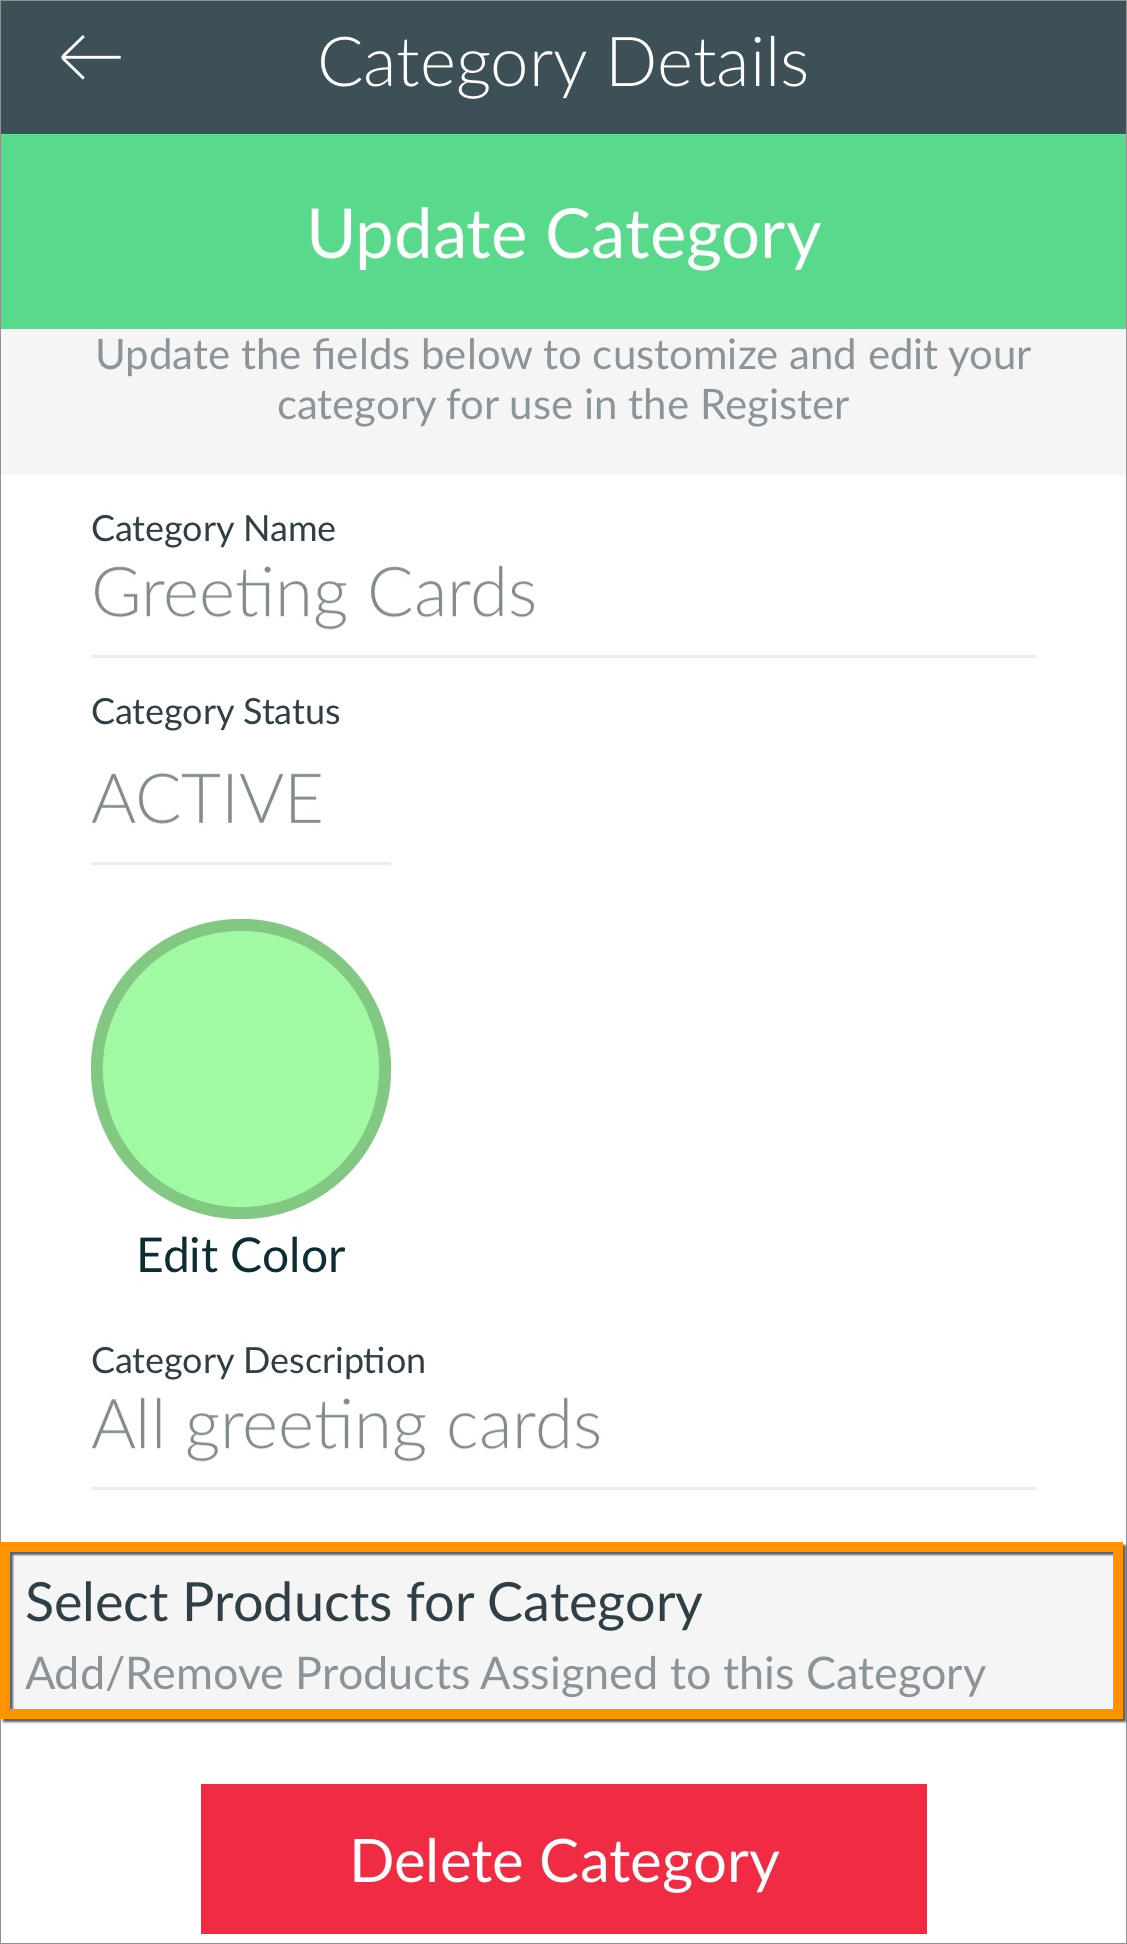
- Easily create products with custom pricing.
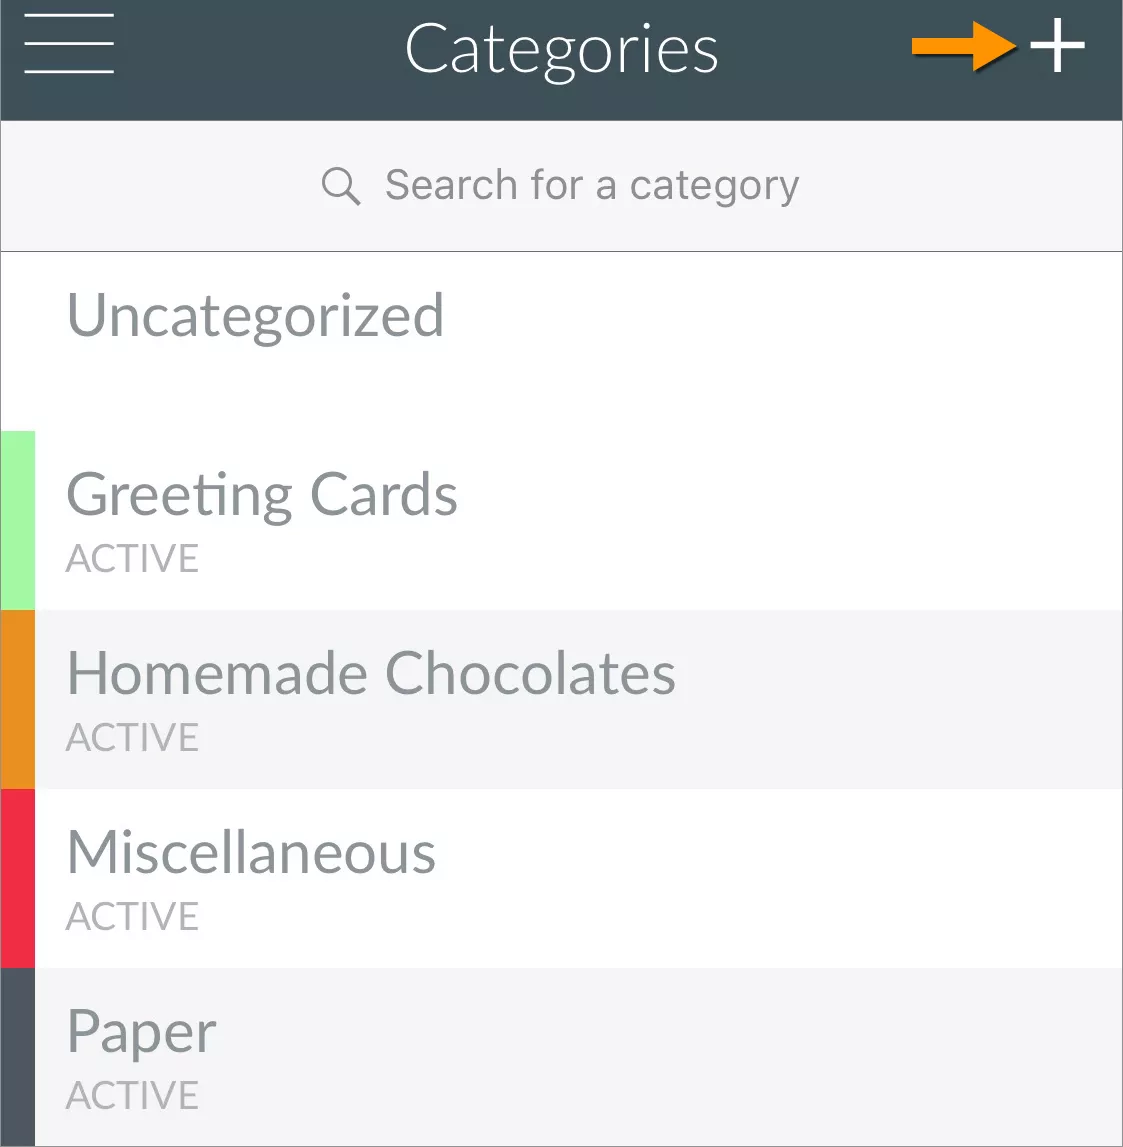
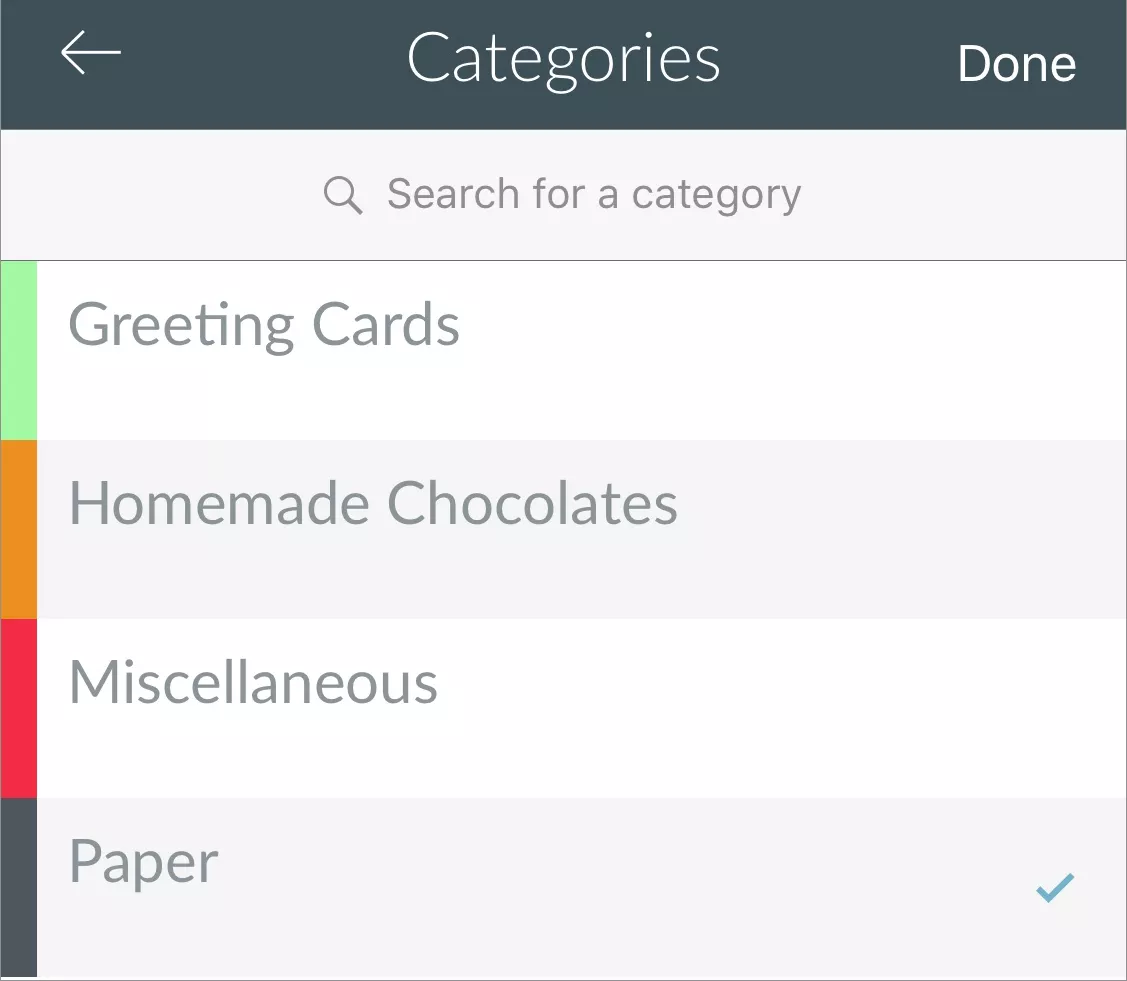
- Assign your products to product categories.
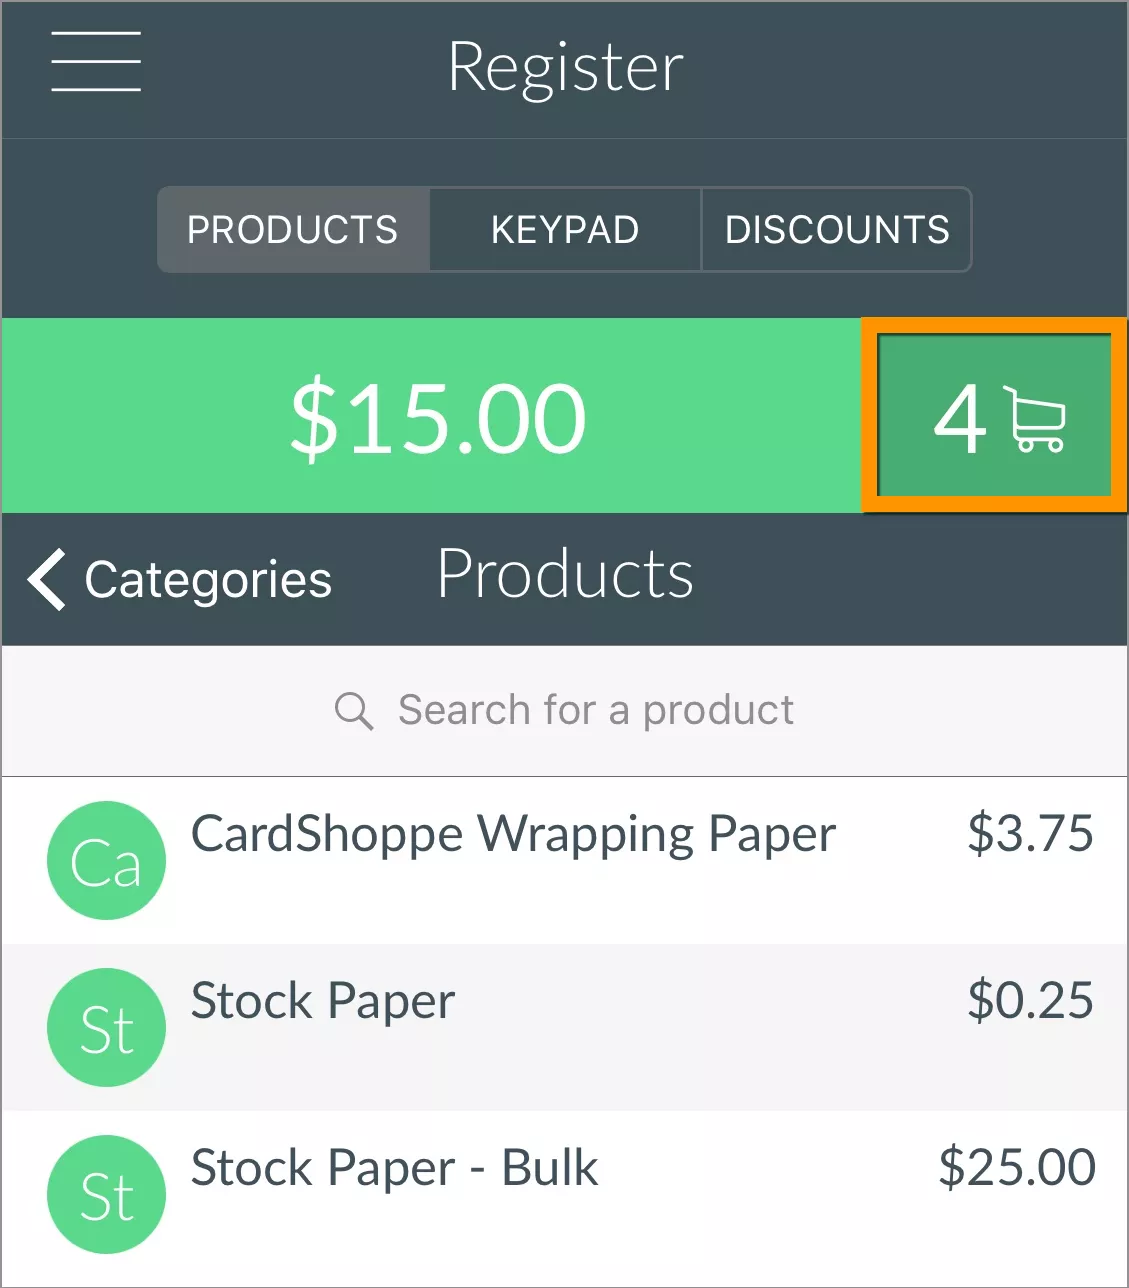
- Select products from the Catalog during checkout.
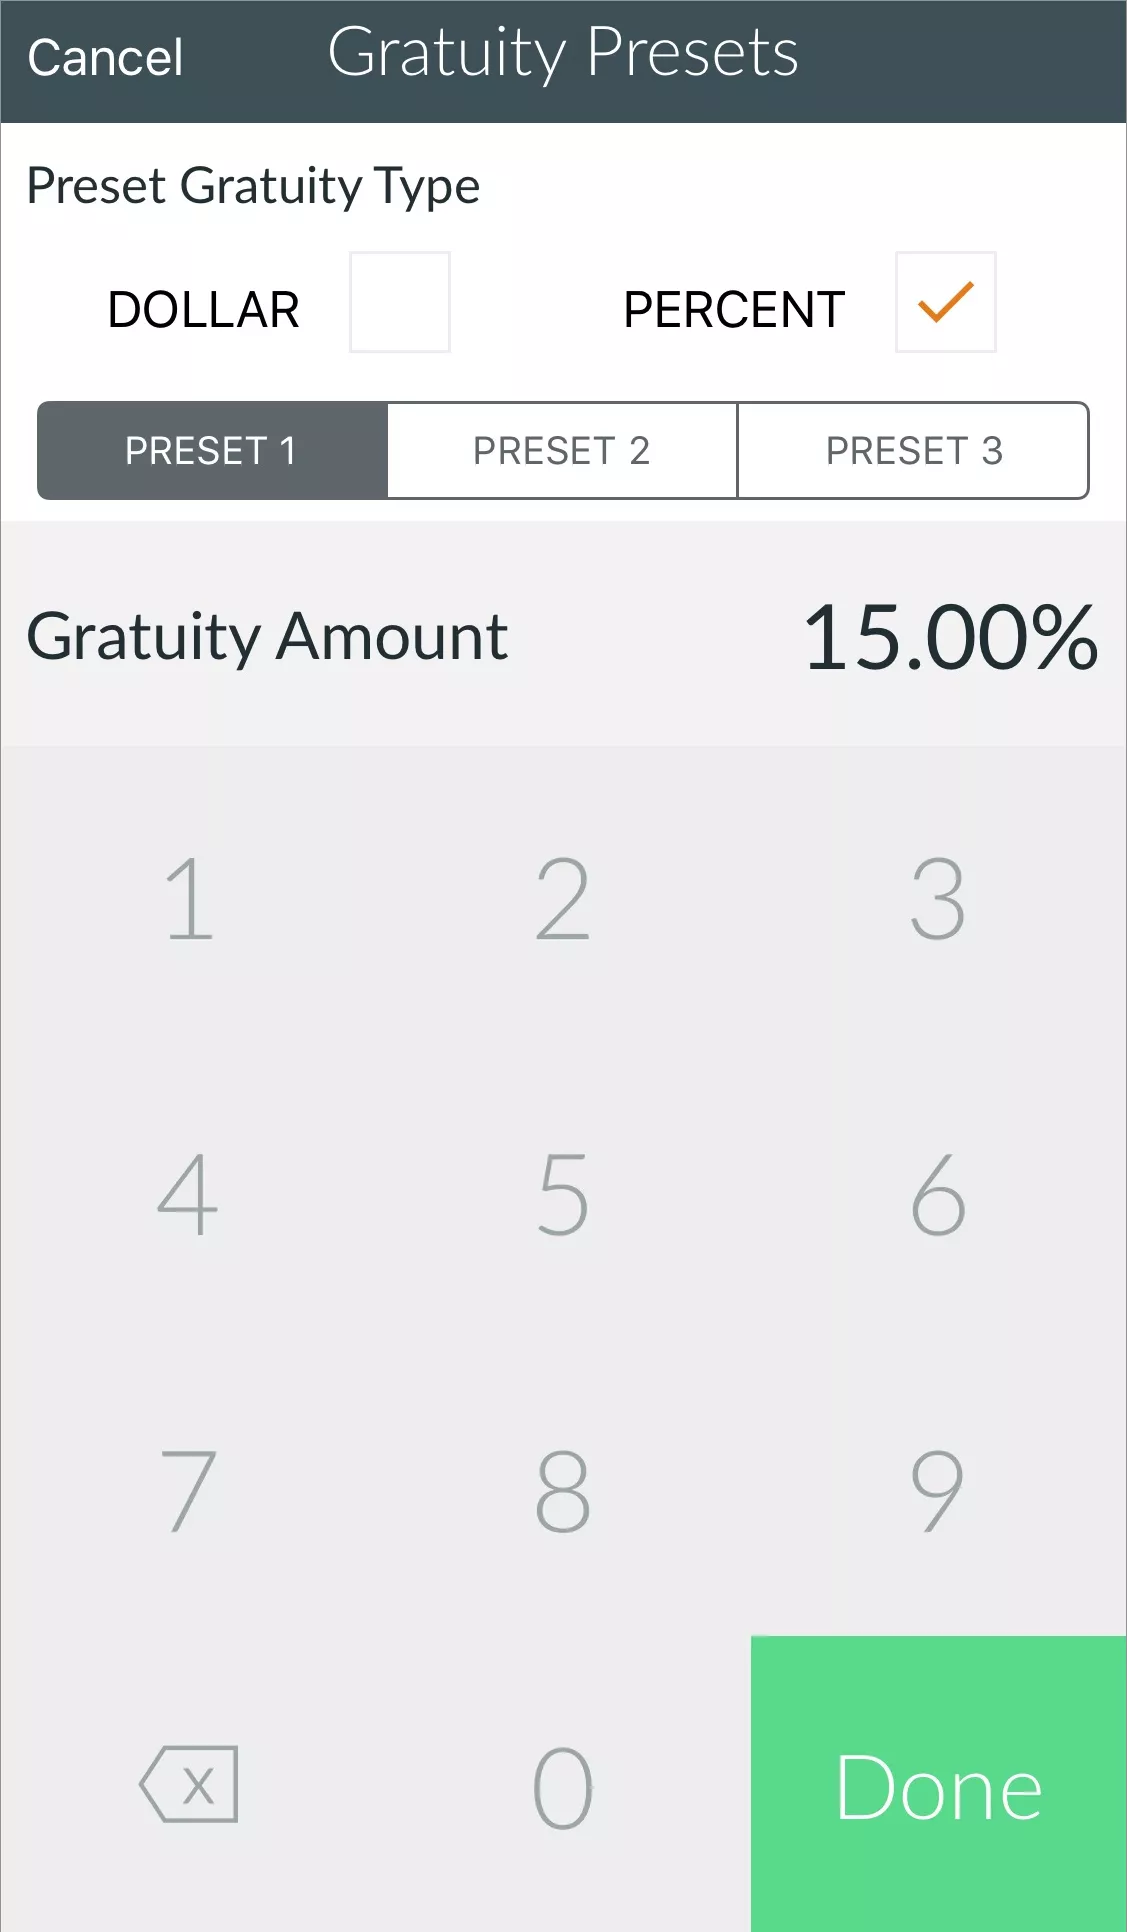
- Offer your customers the ability to pay gratuity during checkout.
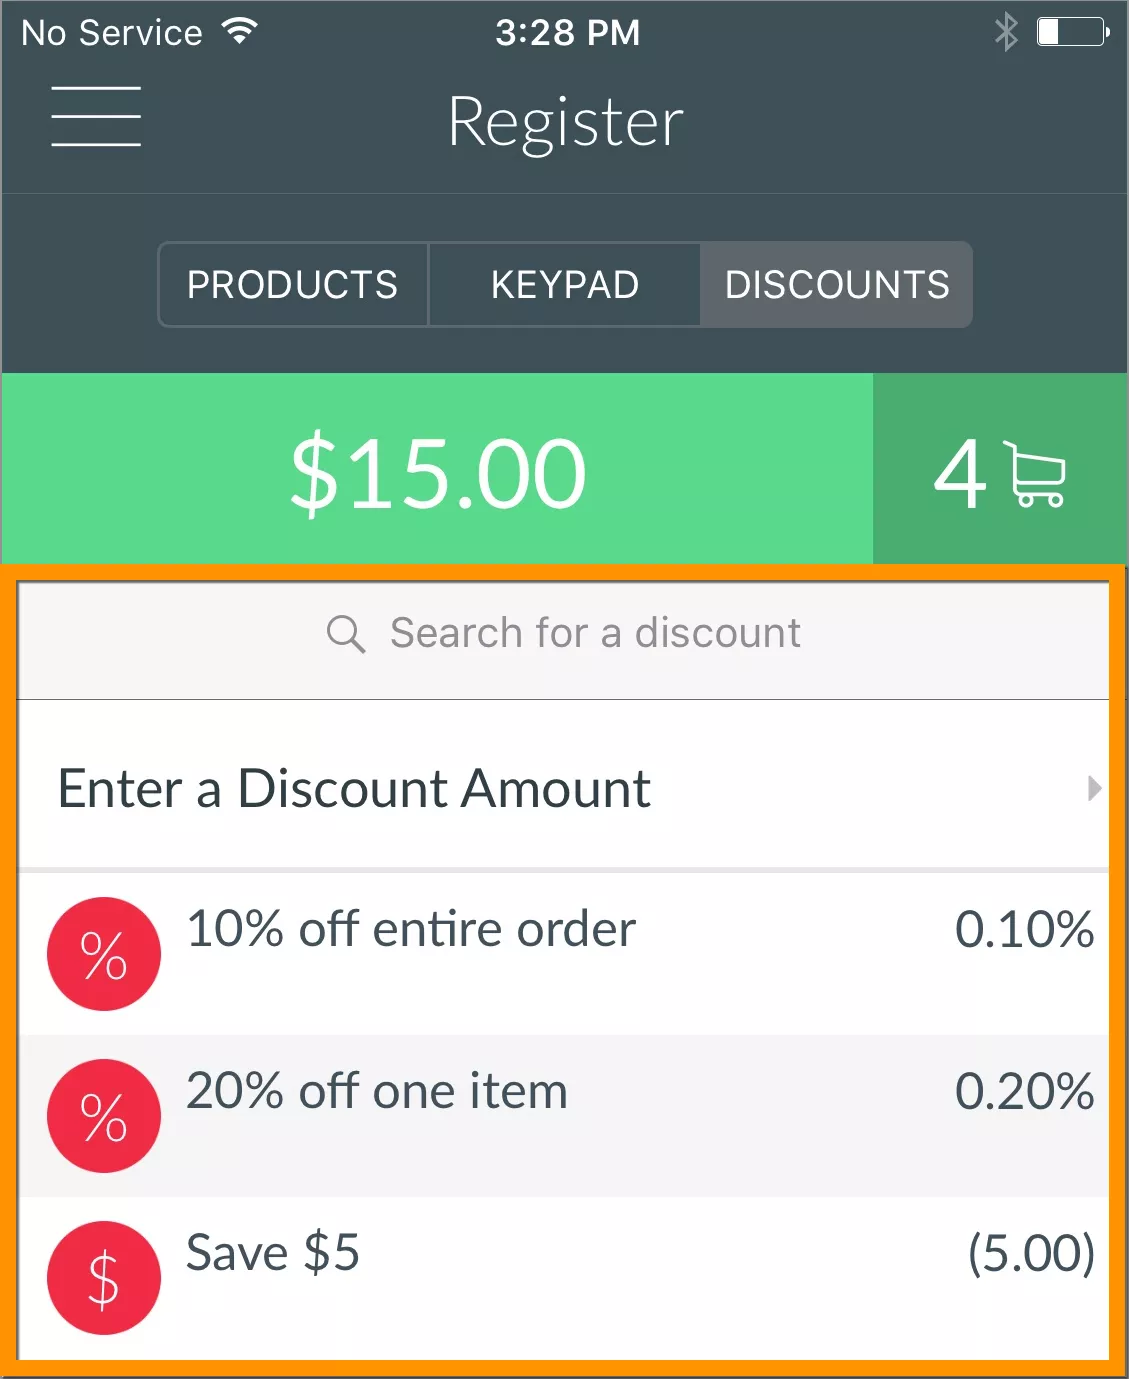
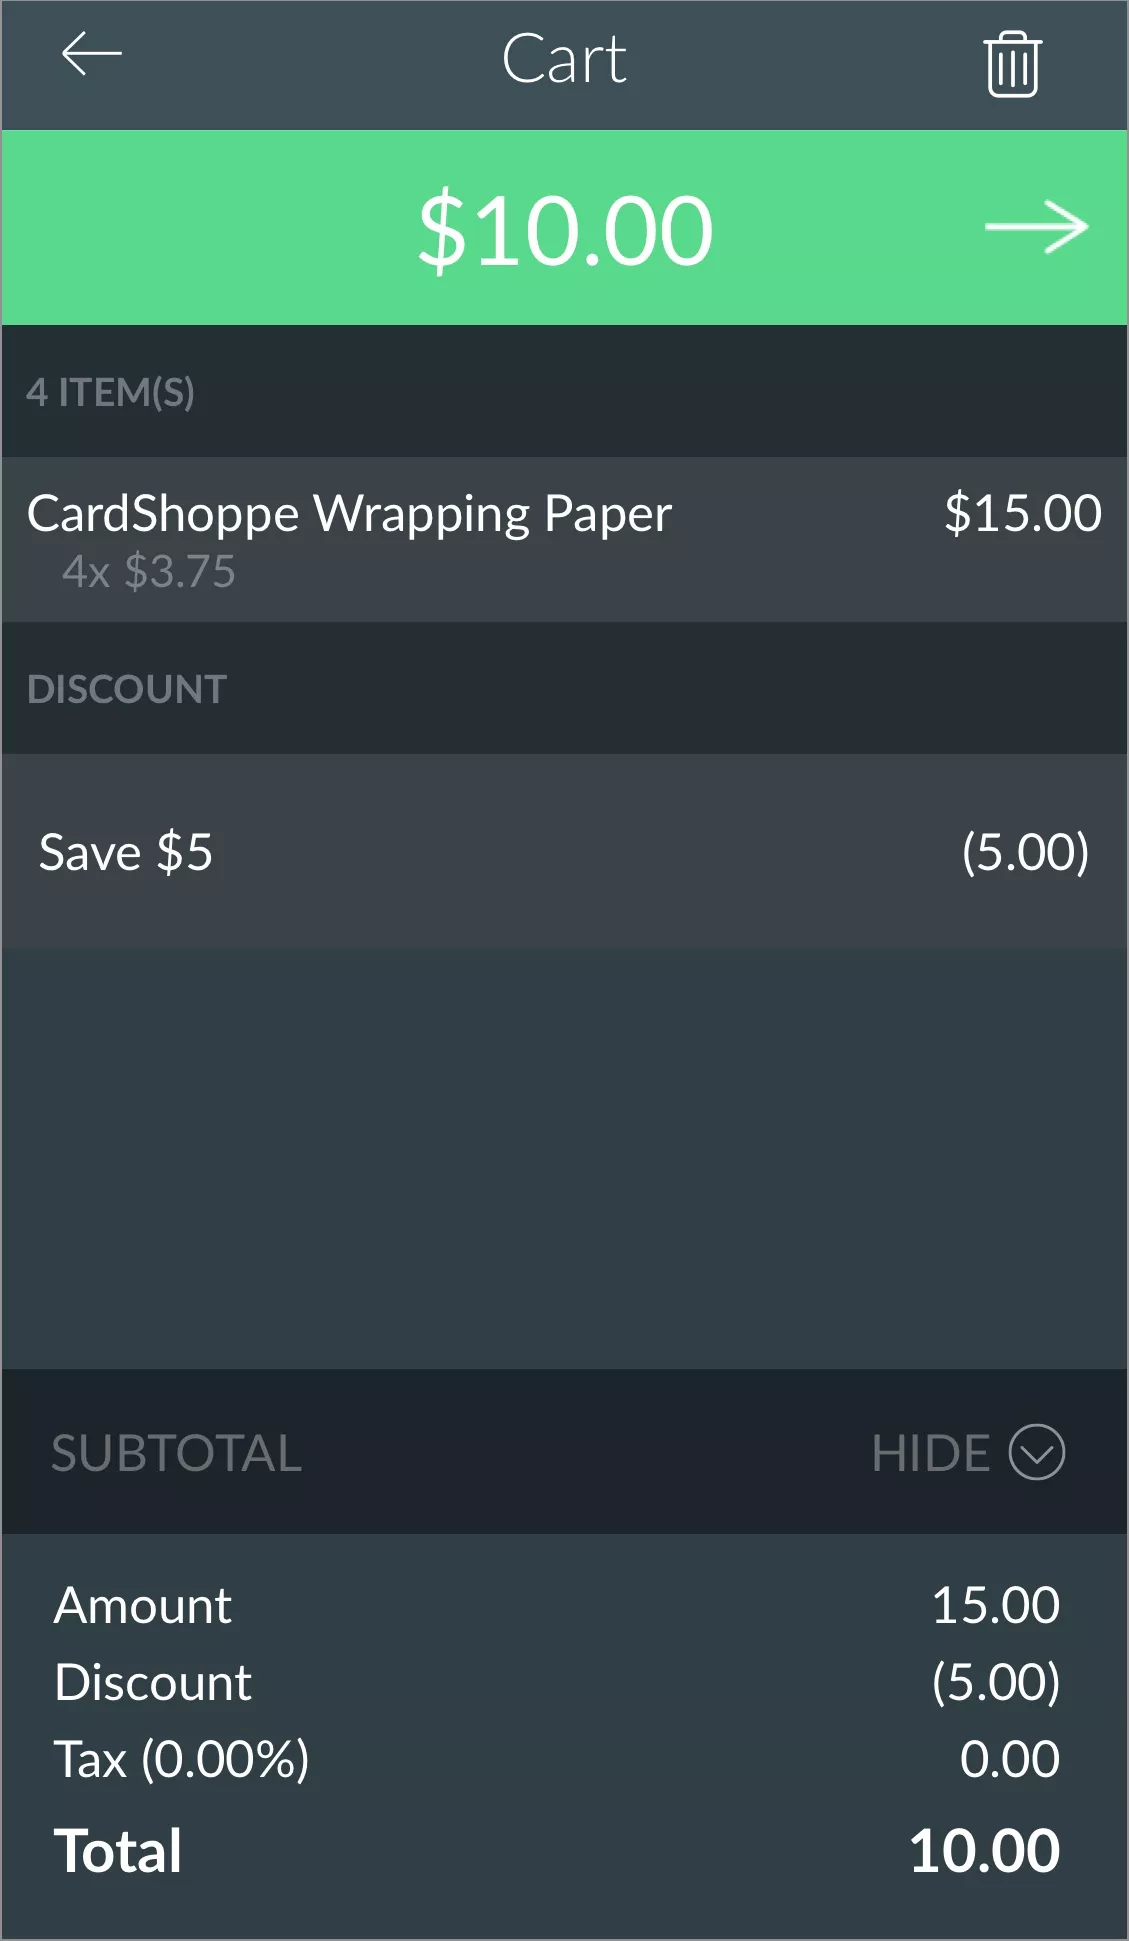
- Provide product-level and cart-level discounts to your customers.
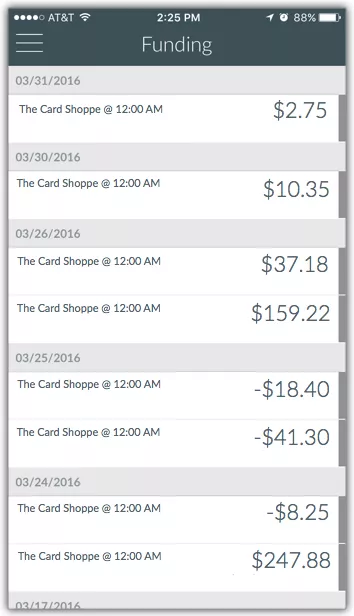
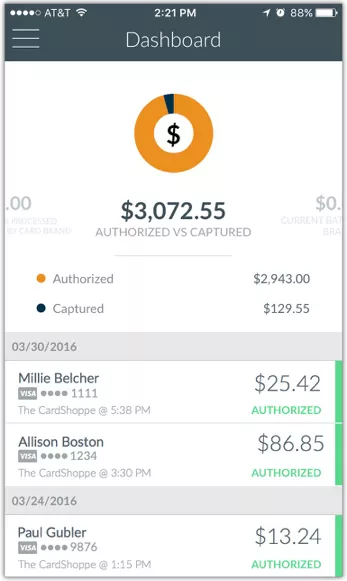
- On-Demand Reporting - Use the Reporting dashboard to:
- View key sales and transaction data.
- Access transaction history.
- View the details of a particular payment.
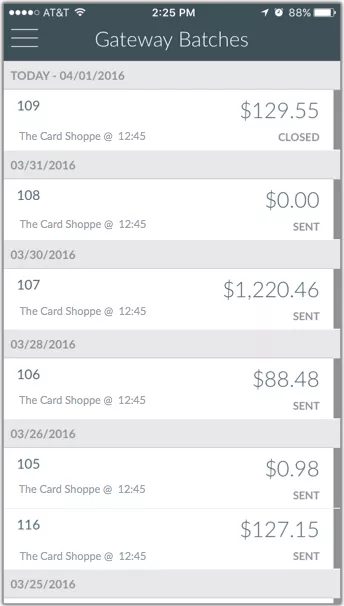
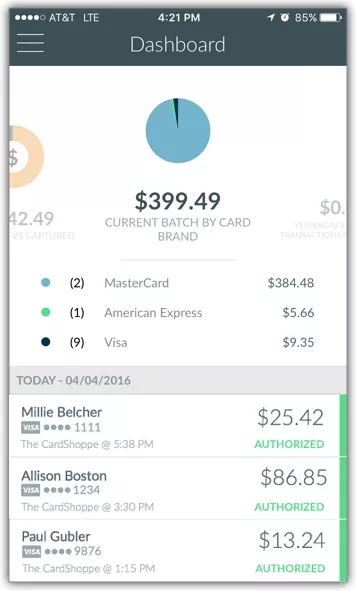
- Transaction Management - Easily view transaction statuses and perform actions against any completed transaction, including void, refund, re-process or emailing the customer a receipt. Additionally, you can access transaction trends, such as batches by card type, authorized vs. captured transactions, and previous day sales by card type - directly from your mobile device.
This guide includes examples and screen captures from the iOS version of the CardPointe Mobile app.