-
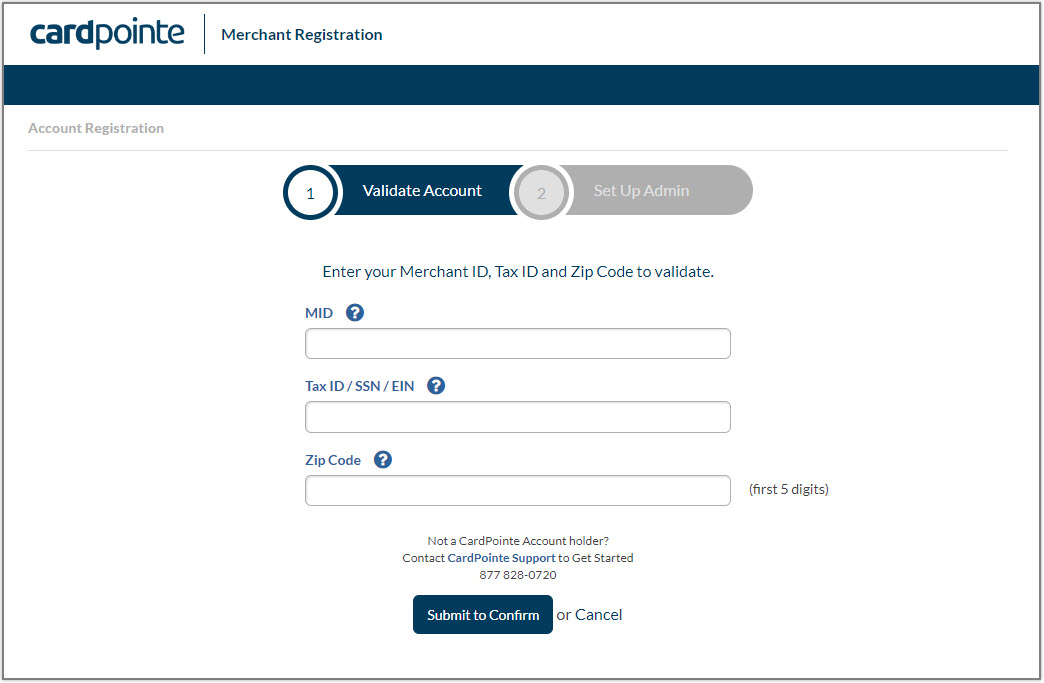
Enter your Merchant ID (MID), your Tax ID or Social Security Number (SSN), and your zip code in the corresponding fields.
-
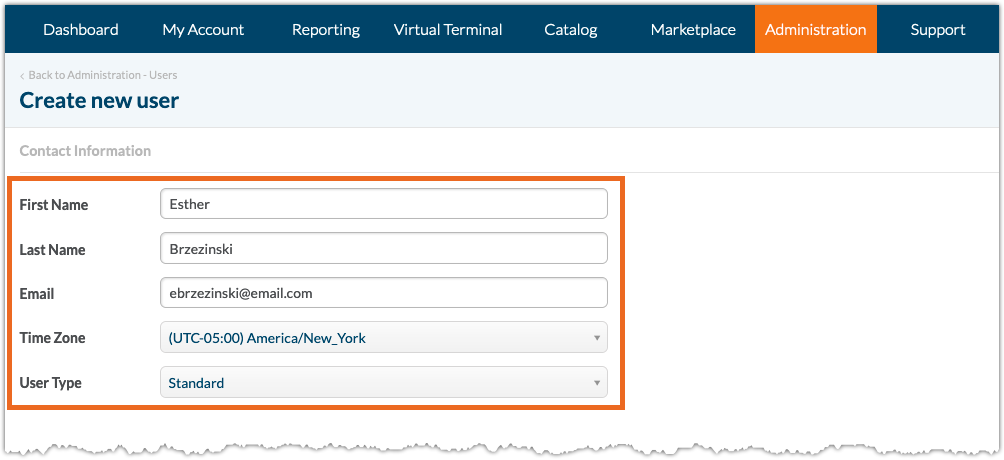
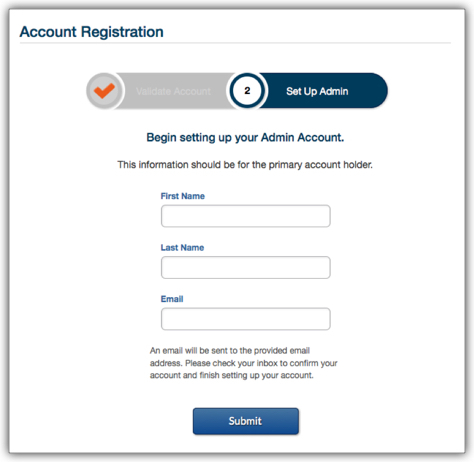
Click Submit to Confirm. The Set Up Admin screen displays, allowing you to associate an administrative user with your Merchant Account.
-
Upon completing these fields, click Submit. You will receive an email that includes a link to complete your registration.
What's New?
The following topics describe the latest updates and enhancements to the CardPointe web app.
To catch up on previous releases, see the CardPointe Release Notes.
CardPointe Release 1.77 (10/15/2025)
This release includes the following updates:
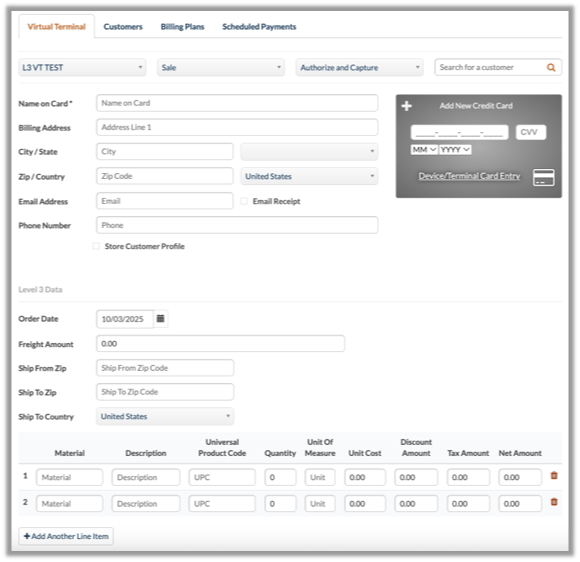
Virtual Terminal - Level 3 Data Fields
To help merchants comply with the updated Visa Commercial Enhanced Data Program (CEDP), the CardPointe VT now includes additional Level 3 transaction detail fields to allow you to specify additional order and line item details for applicable commercial and government purchase card transactions.
The Level 3 Data setting includes the following fields:
Order Details
- Order Date - The date that the order was created.
- Freight Amount - The freight cost for the order, if applicable.
- Ship from Zip - The zip code that the order ships from, if applicable.
- Ship to Zip - The zip code that the order ships to, if applicable.
- Ship to Country - The country that the order ships to, if applicable
Line Item Details
- Material - An optional material code for the item.
- Description - A description of the item.
- Universal Product Code - The Universal Product Code (UPC) or commodity code of the item.
- Quantity - The quantity of the item in this order.
- Unit of Measure - The unit of measure for the item (for example, "each" or "ton").
- Unit cost - The per-unit cost of the item.
- Discount Amount - The discount amount (in dollars and cents) for the item, if applicable.
- Tax Amount - The tax amount for the item (in dollars and cents) if applicable.
- Net Amount - The net cost for the item, where Unit Cost - Discount Amount + Tax Amount = Net Amount.
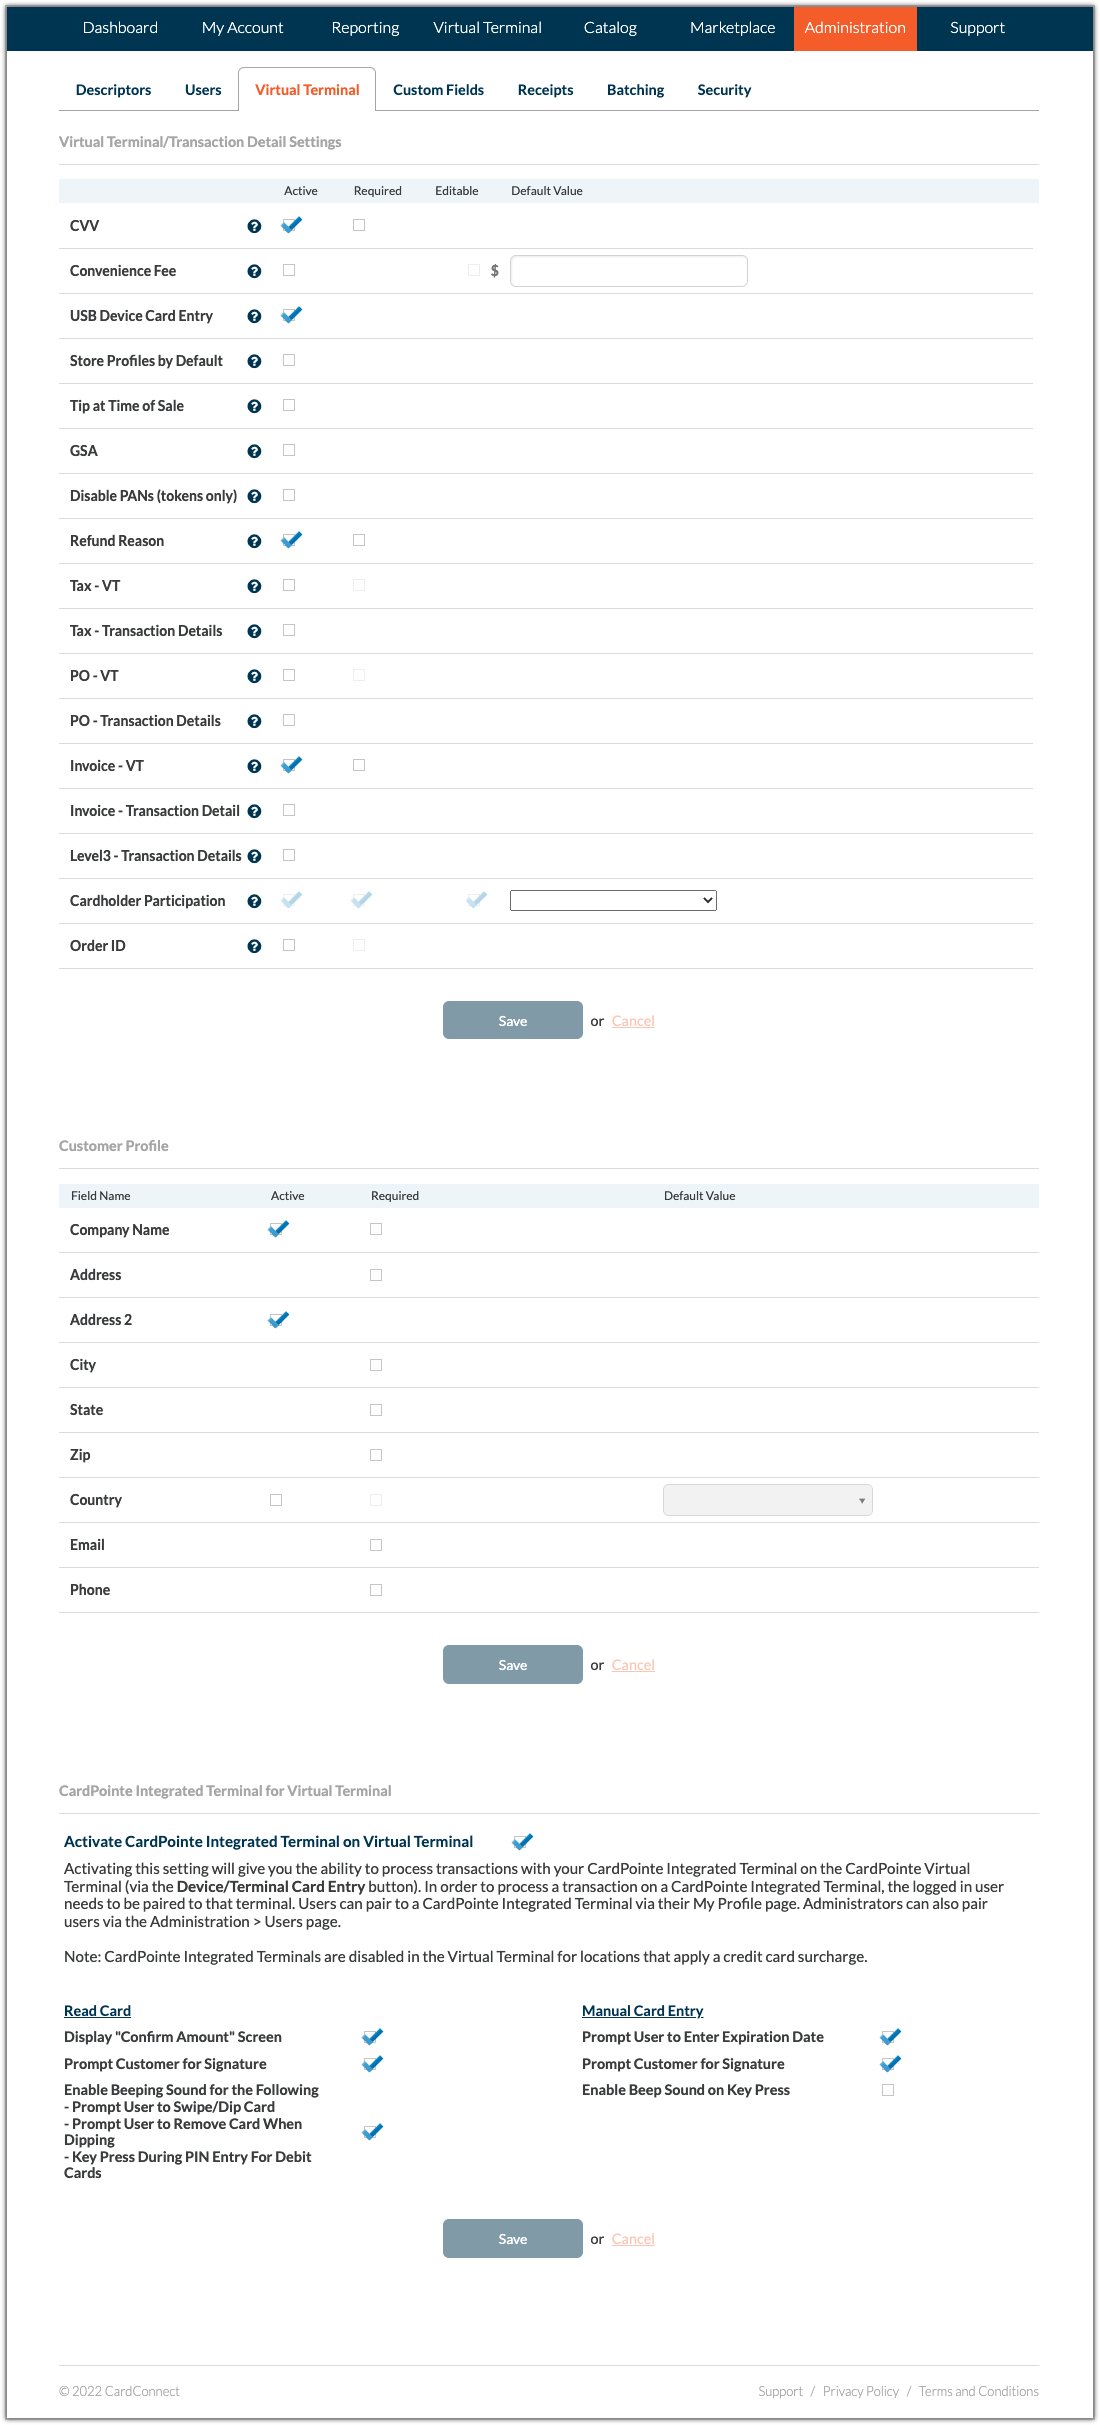
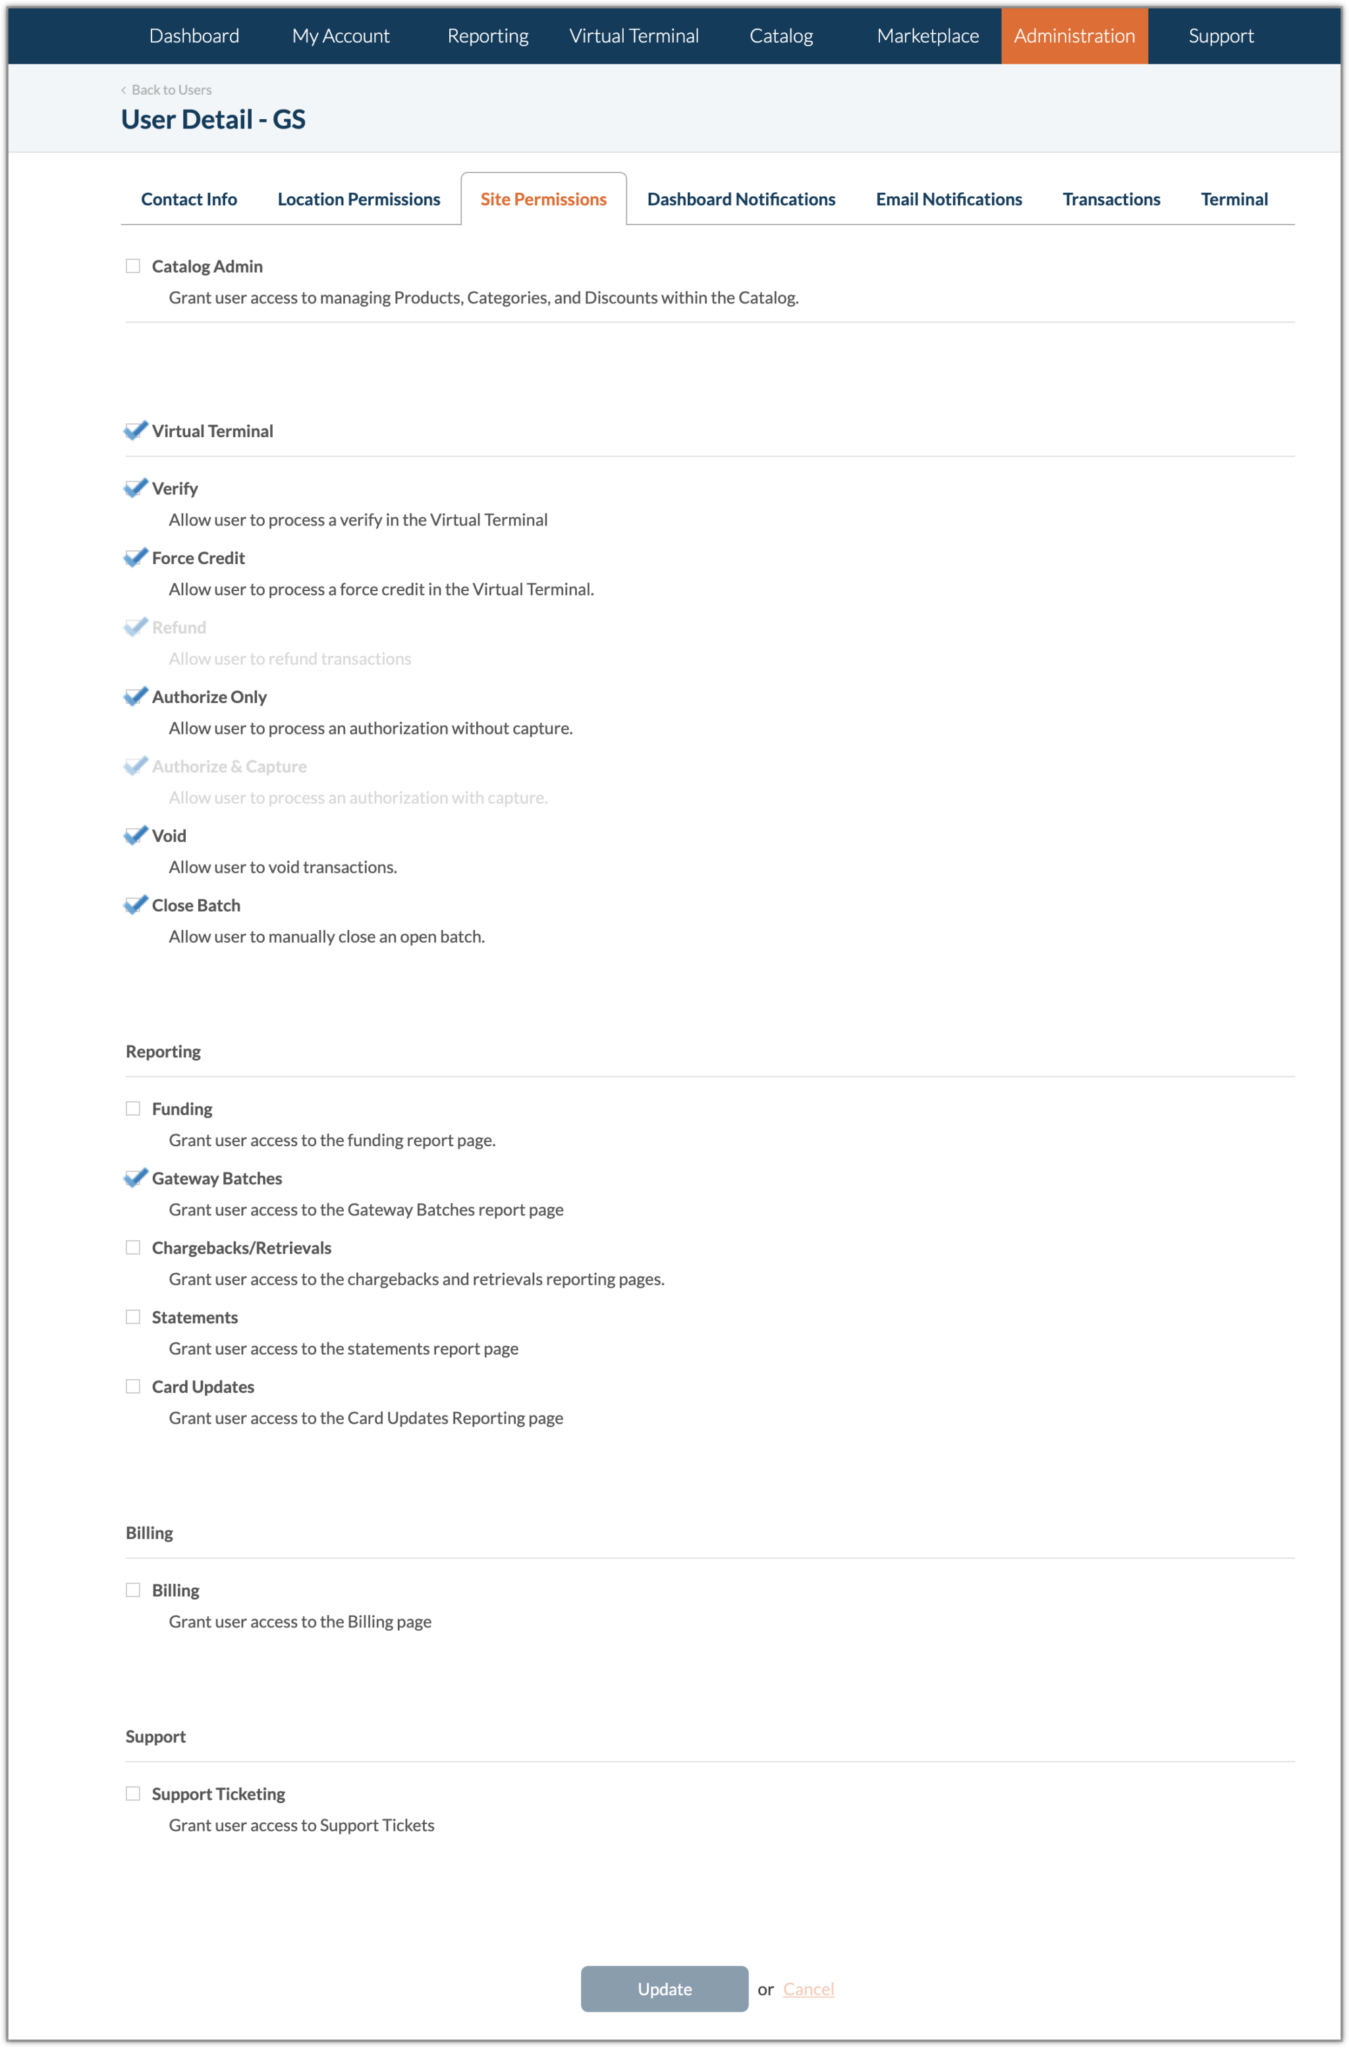
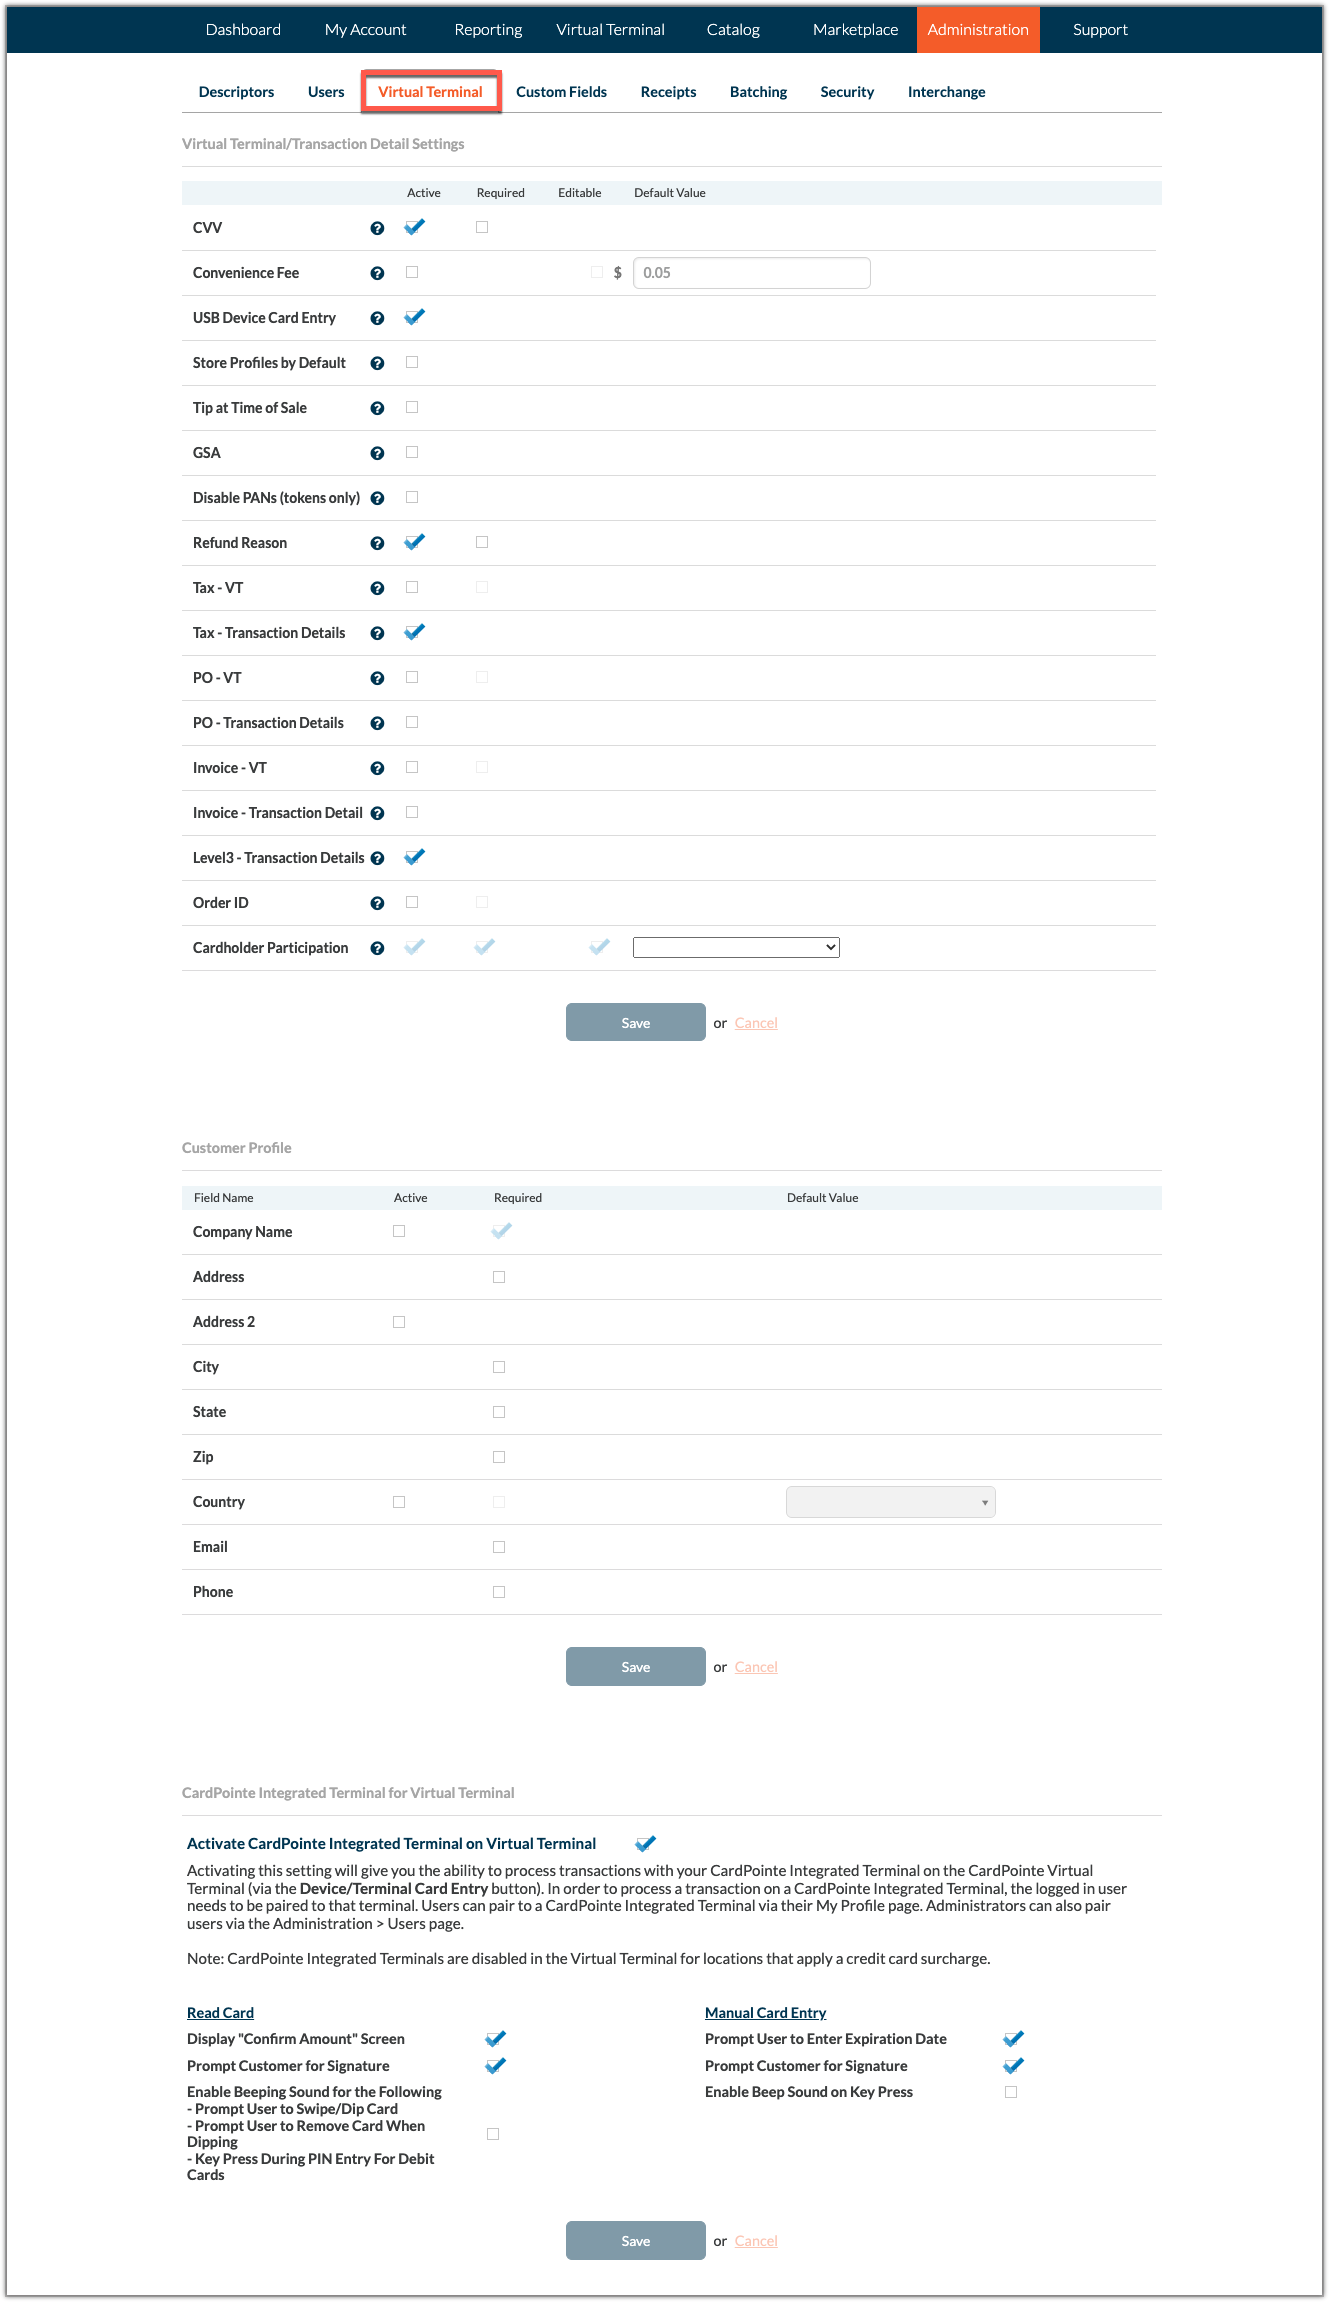
Note: To include the Level 3 Data fields on the Virtual Terminal and in the Transaction Details for reporting purposes, you must enable the following Virtual Terminal settings from the Administration tab:
- Level3 - VT
- Level3 - Transaction Details
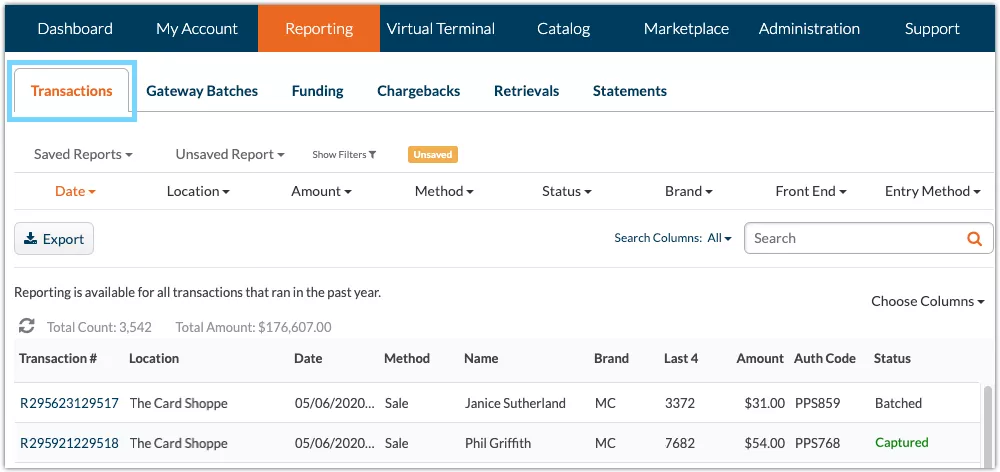
Reporting - Payment Type and Batch Type
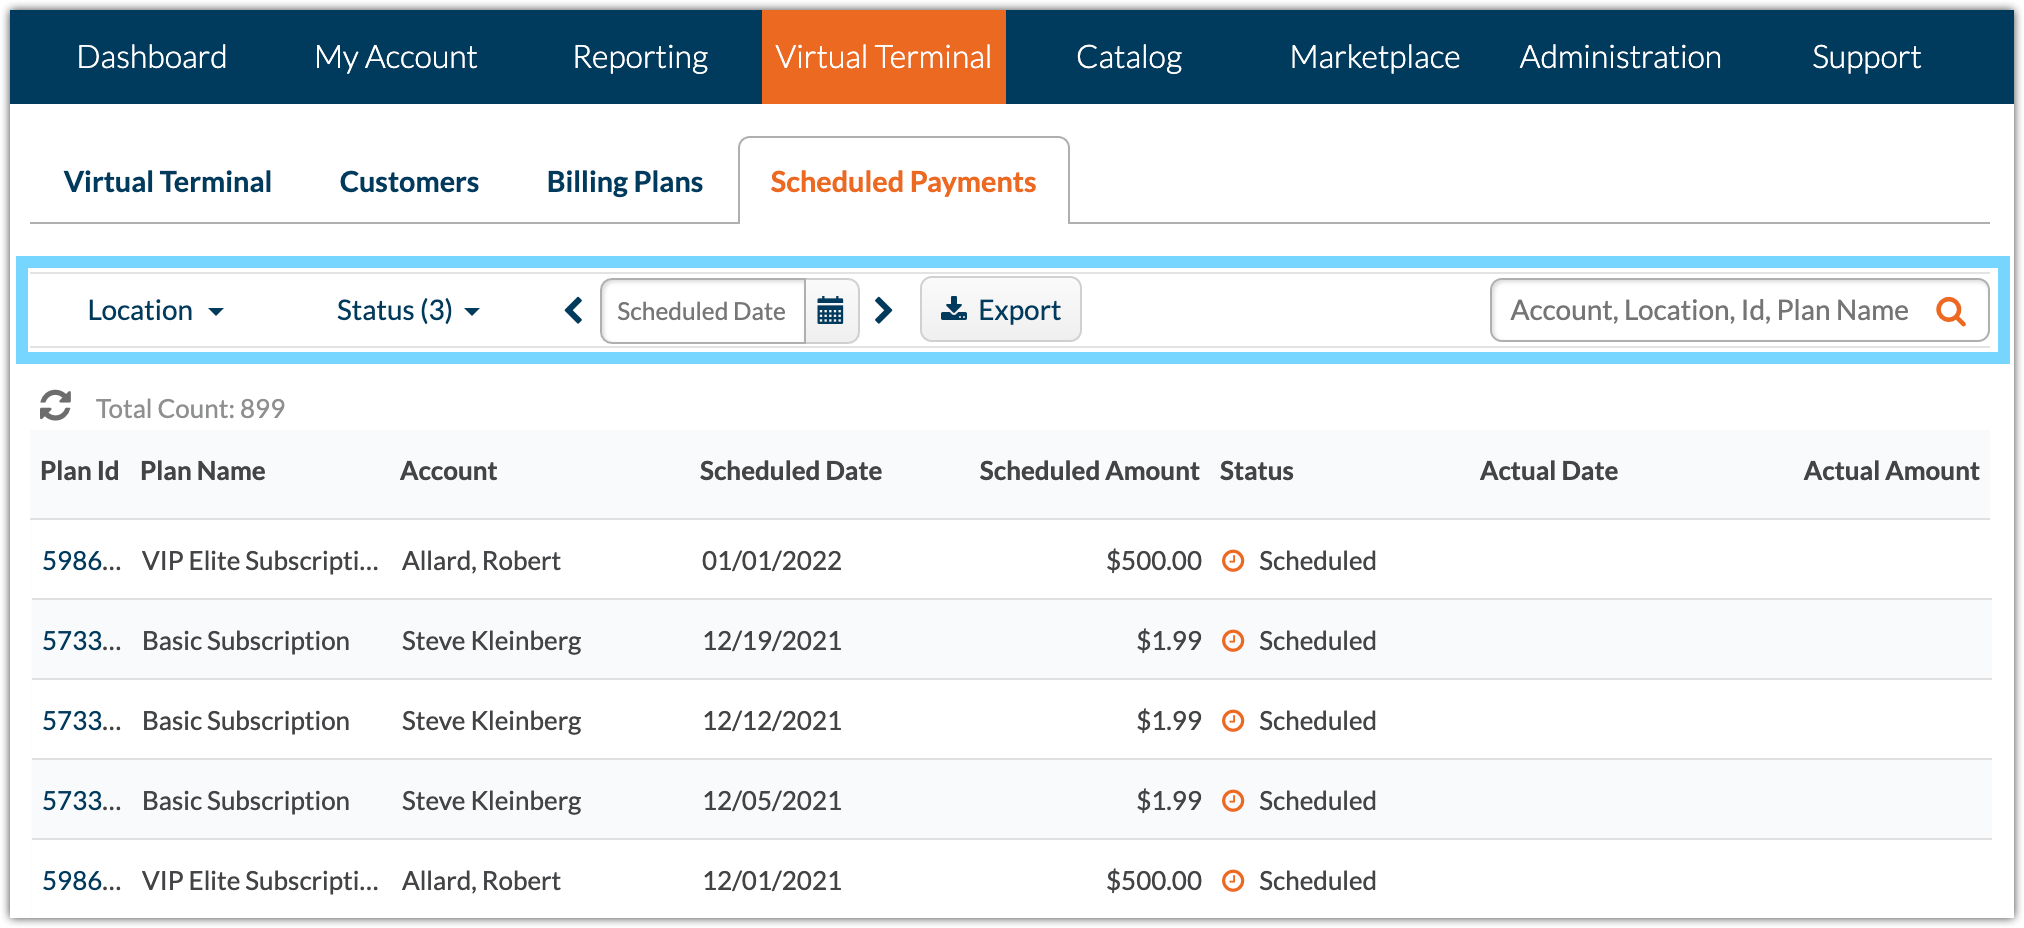
To improve reporting for merchants with consolidated credit card and ACH merchant accounts, we have added new Payment Type and Batch Type filters to CardPointe transaction, funding, and batch reporting.
Payment Type
A new Payment Type field and filter has been added to the following reporting components:
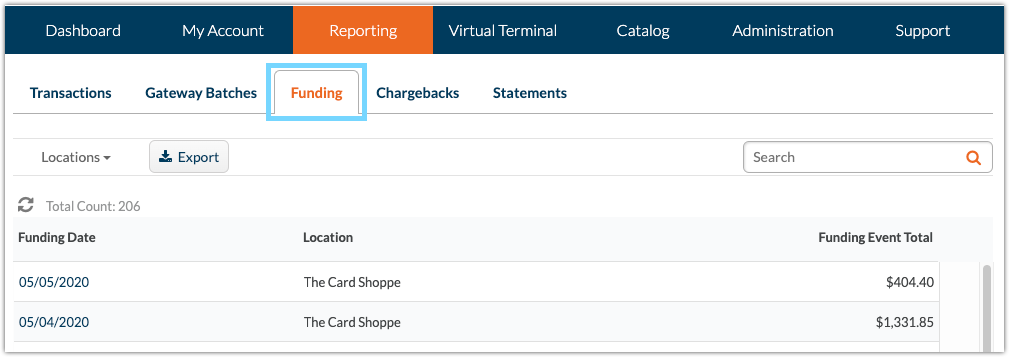
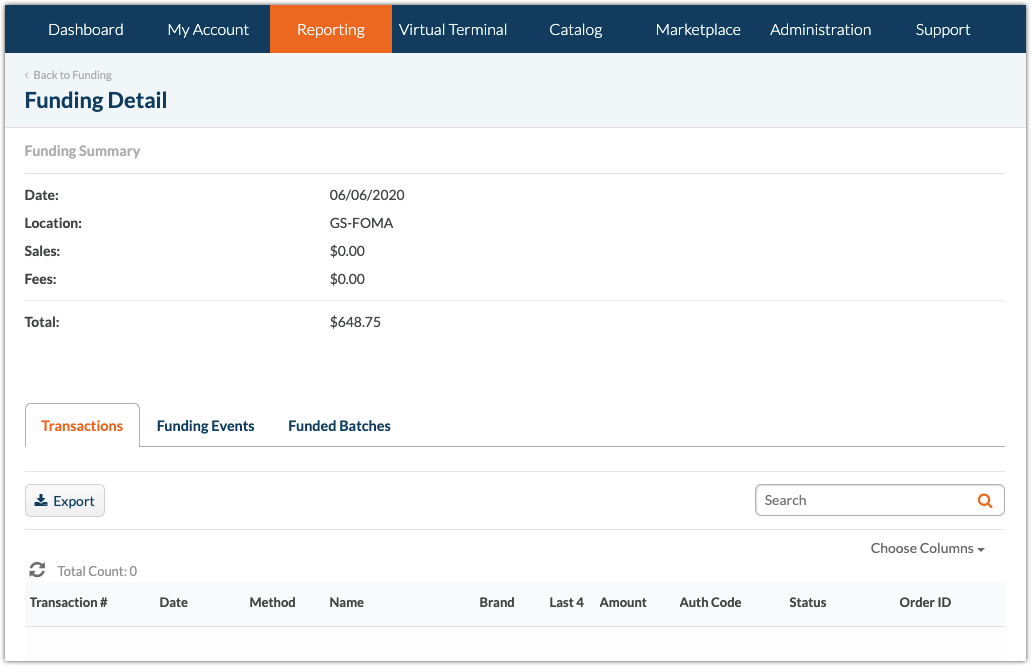
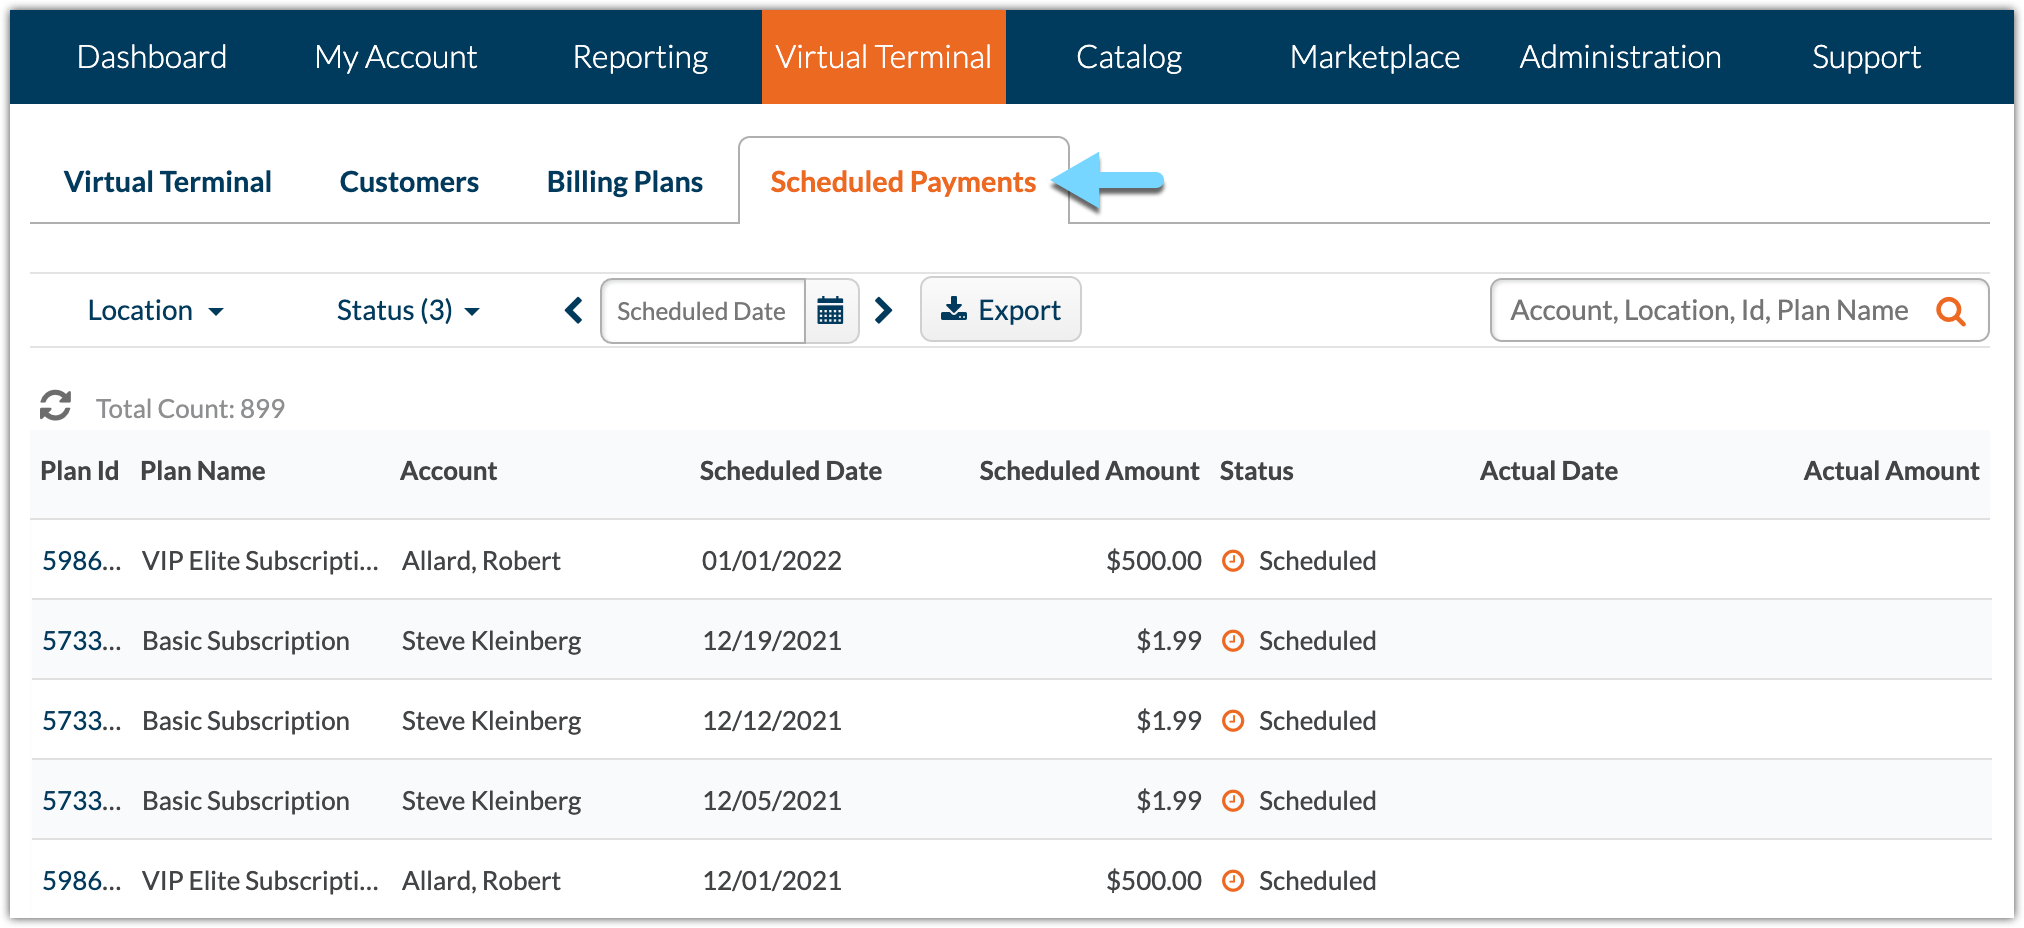
- Reporting > Funding > Funding Detail > Transactions includes a new Payment Type filter.
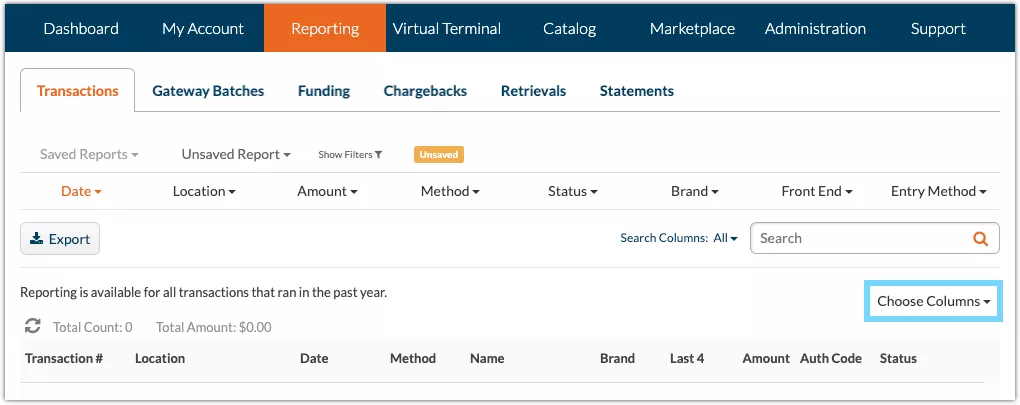
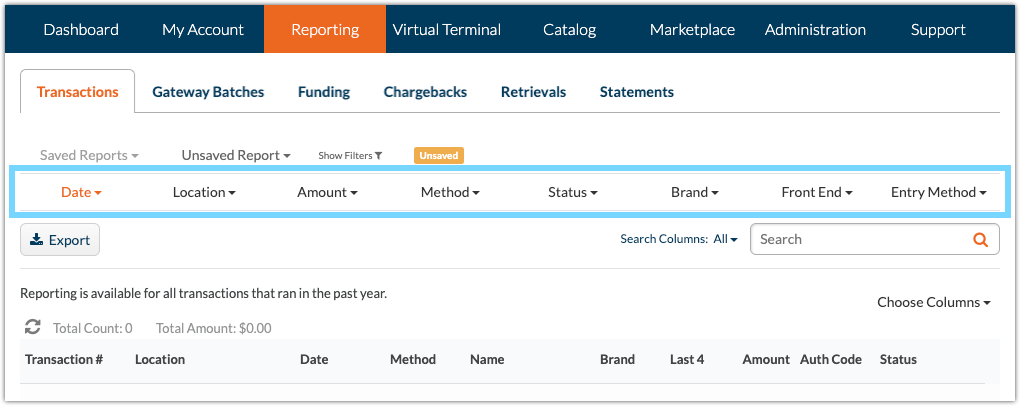
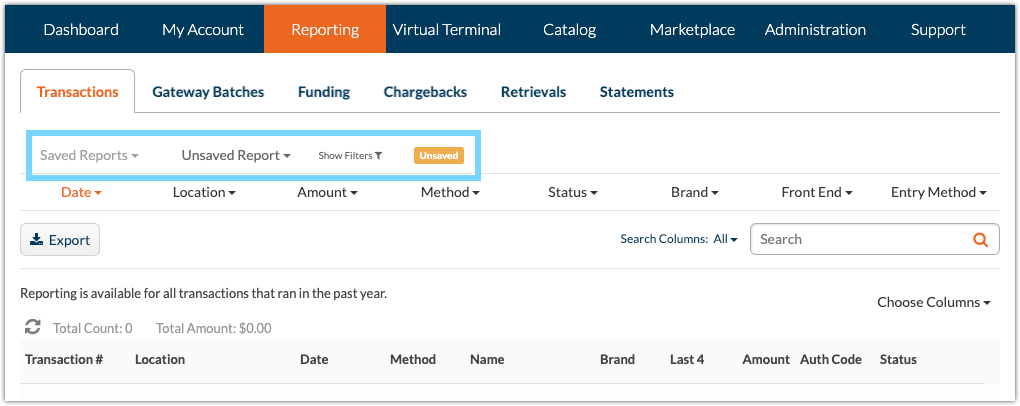
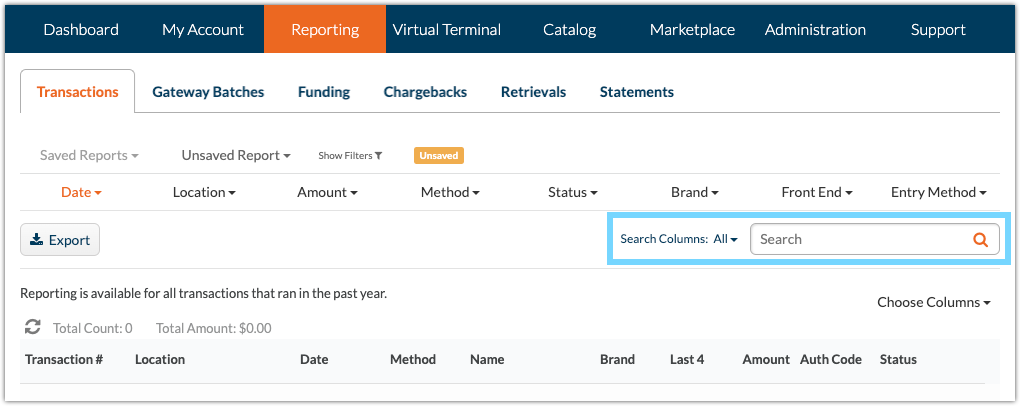
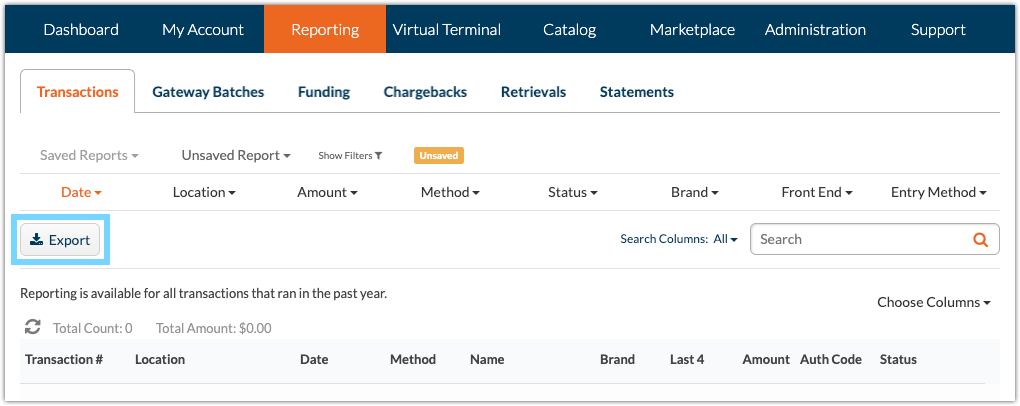
- Reporting > Transactions table and Transaction Detail include a new Payment Type field.
The Payment Type field and filter support the following values to help identify and filter transactions:
- ACH
- Cash
- Credit
- Pin Debit
Batch Type
A new Batch Type field and filter has been added to the following reporting components:
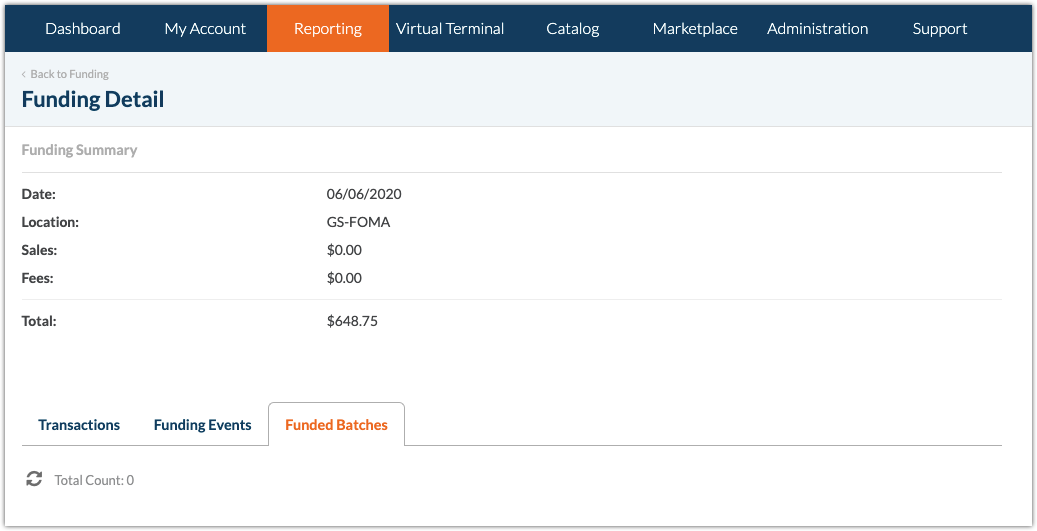
- Reporting > Funding > Funding Detail > Funding Batches includes a new Batch Type filter.
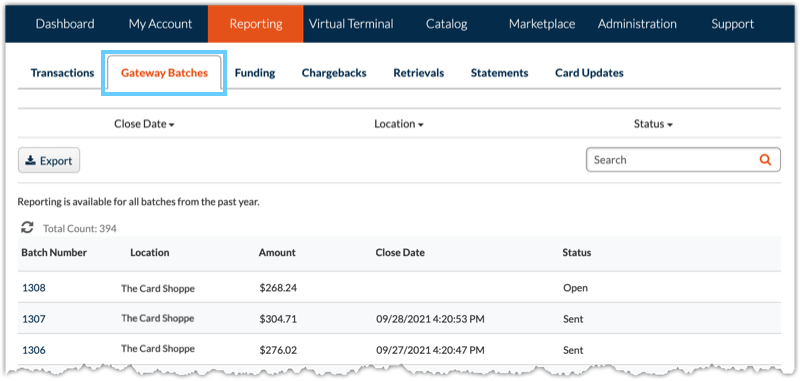
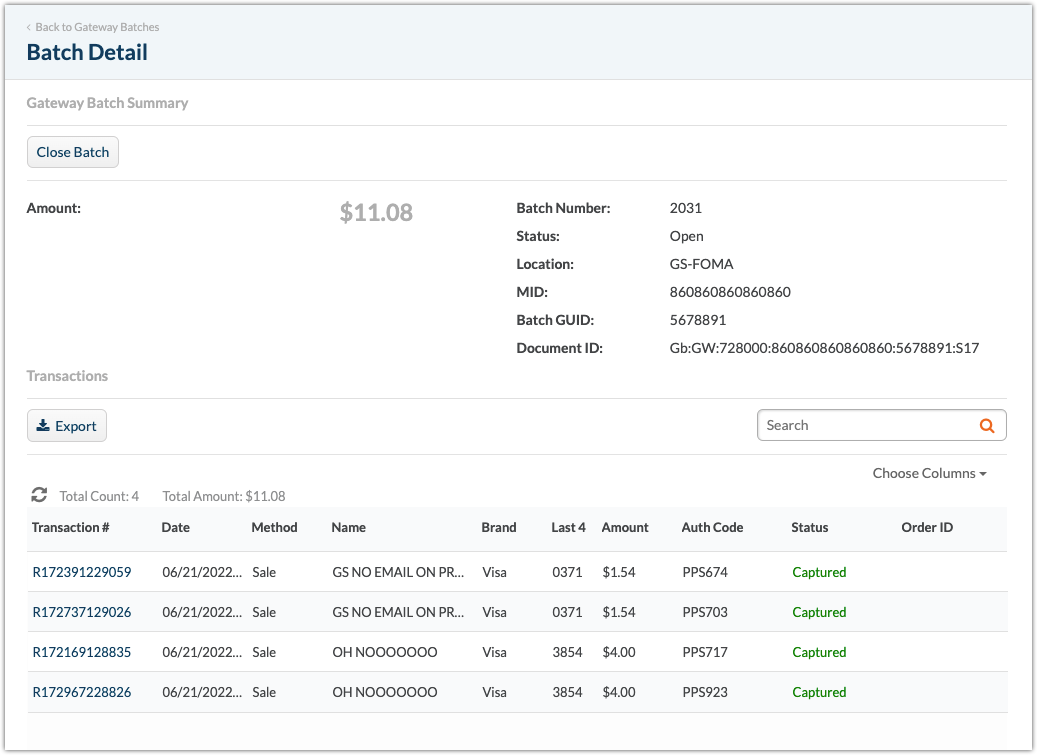
- Reporting > Gateway Batches table and Batch Detail include a new Batch Type field.
The Batch Type field and filter support the following values to help identify and filter batches:
- ACH
- Card
- Unspecified (returned for batches created prior to this release, where no batch type is available)
SMS for Two-Factor Authentication
You can now use SMS (text messaging) to receive your two-factor authentication (2FA) access code, when logging into CardPointe.
To set your 2FA Verification Method to SMS, do the following:
- Click the User icon in the top-right corner, and select My Profile.
- On the Contact Information tab, verify or add your Phone Number, where the access code will be sent.
- In the Two-Factor Authentication section, update the Method to SMS verification.
Note: Once you select SMS verification and click Save, you will not be able to switch back to Email to receive your access code. In a future update, SMS verification will be required for all users.
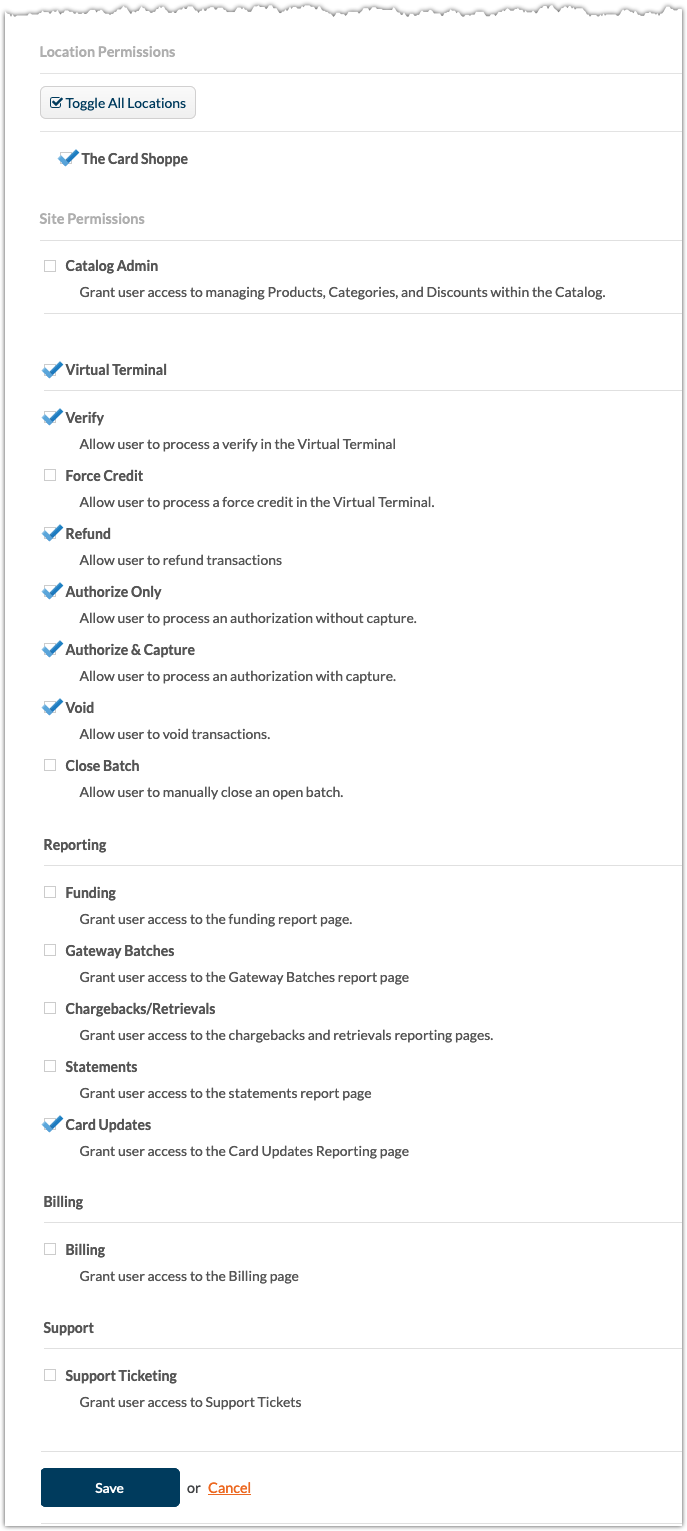
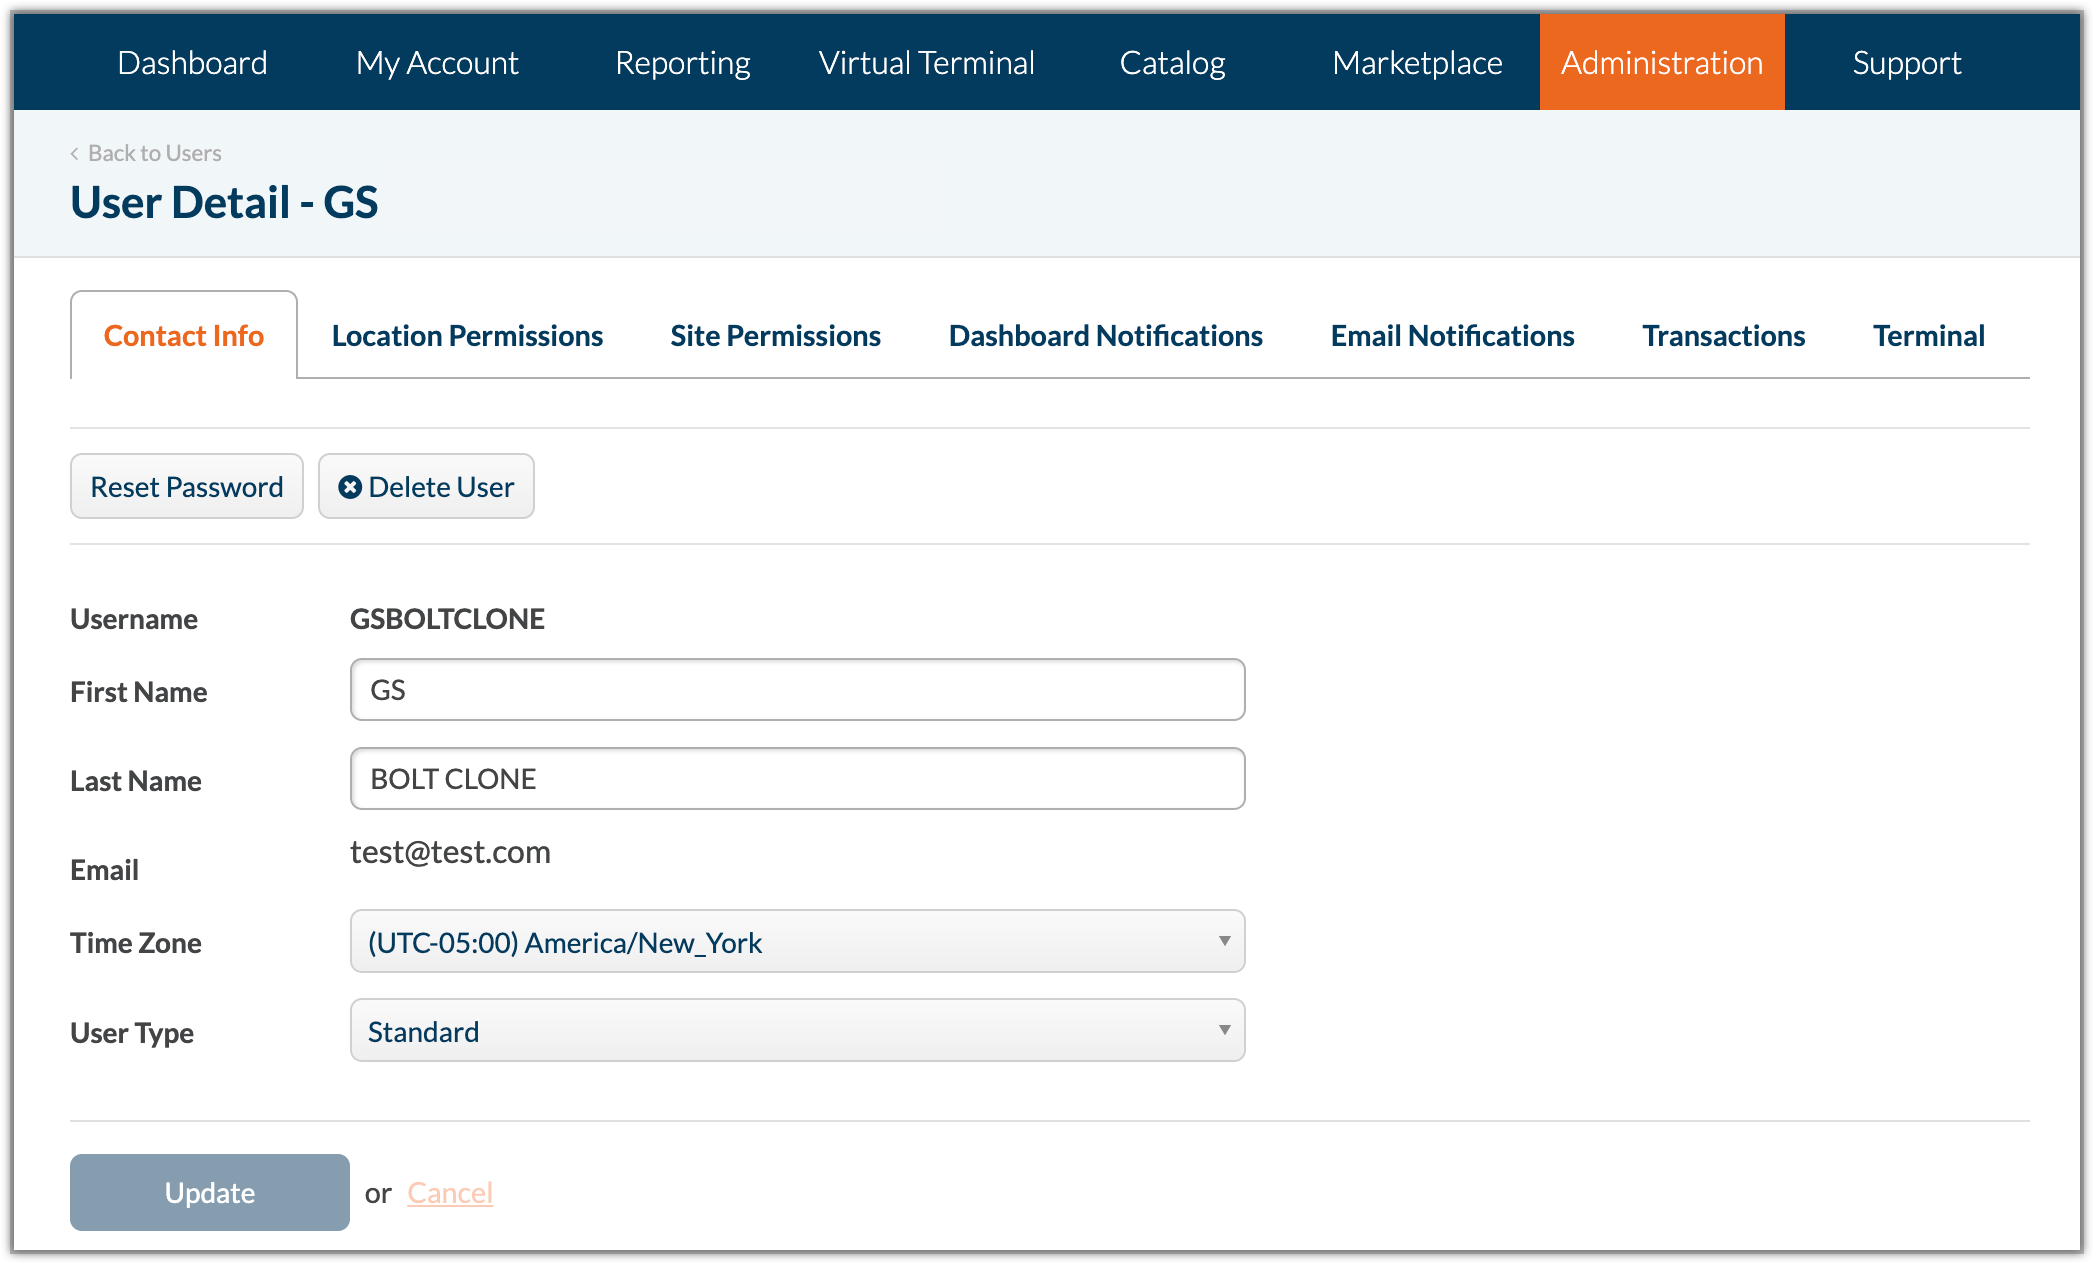
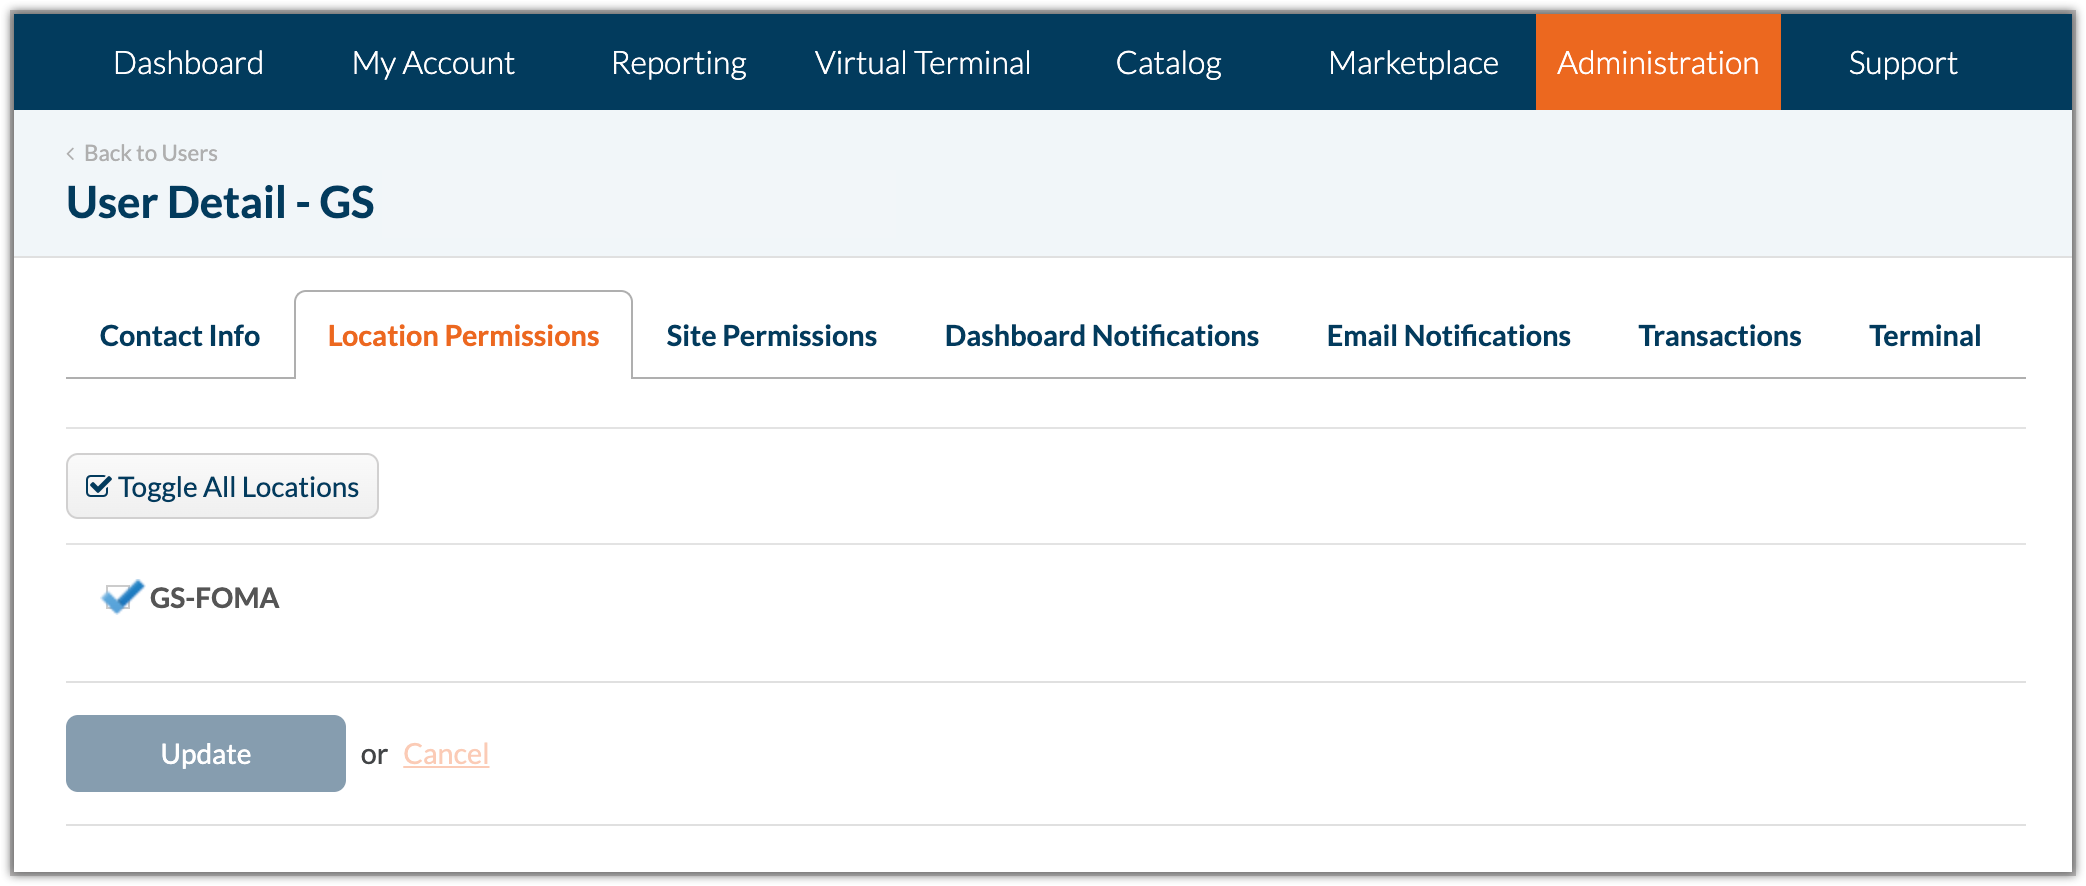
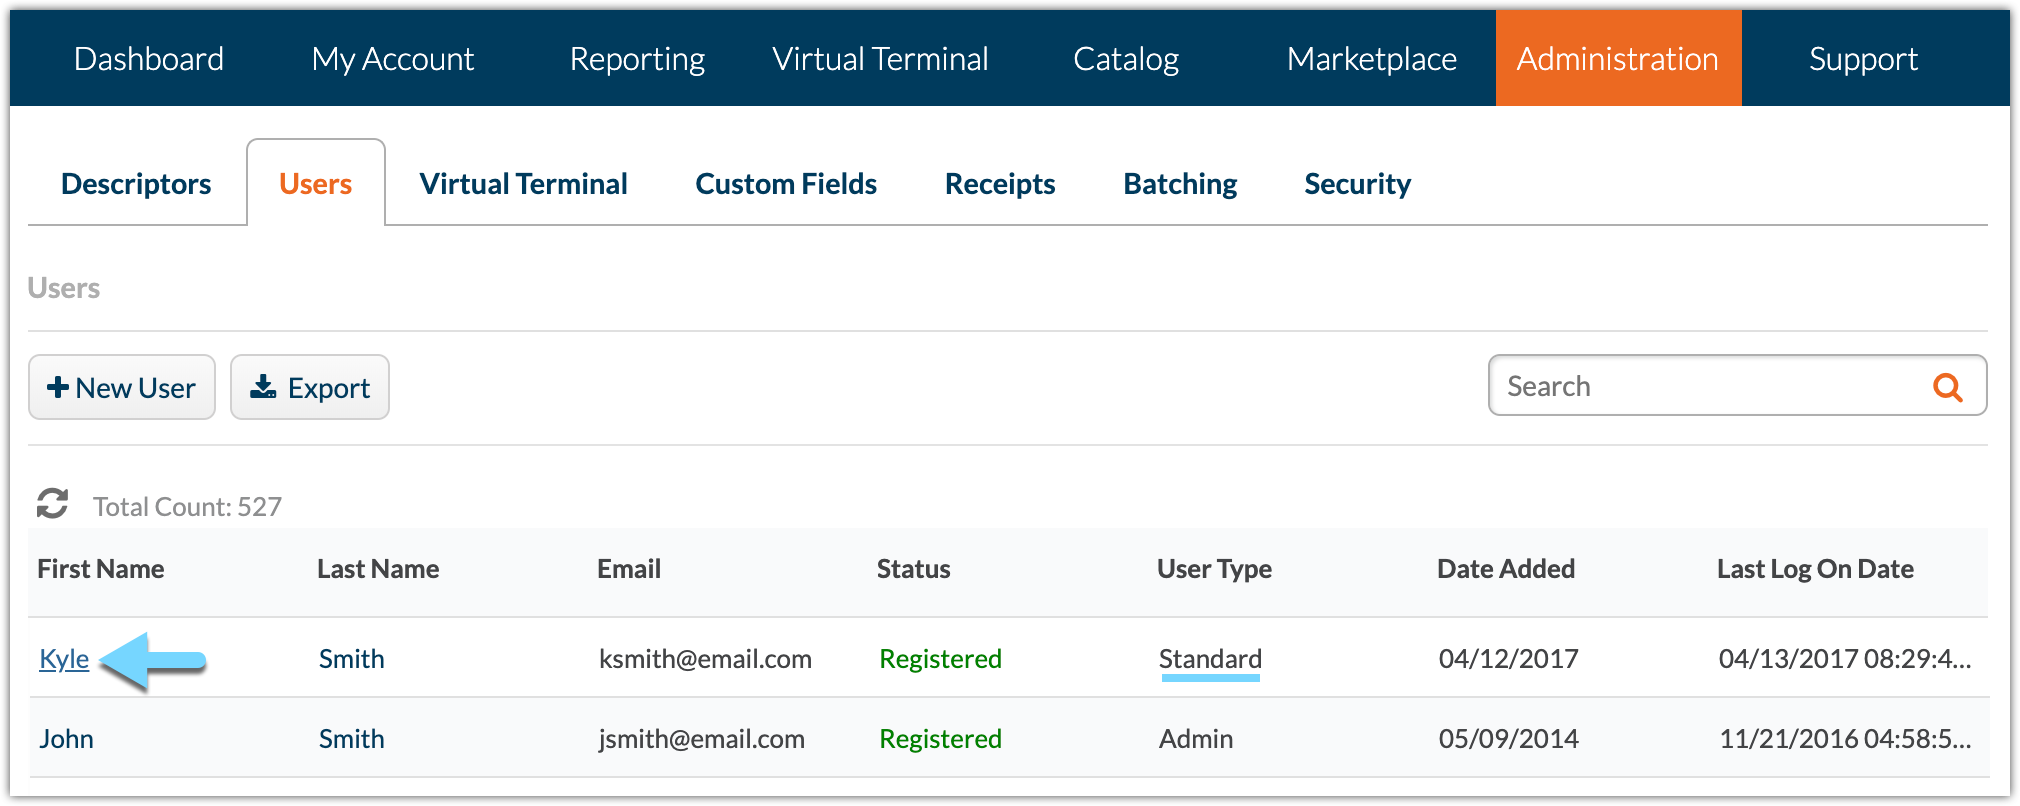
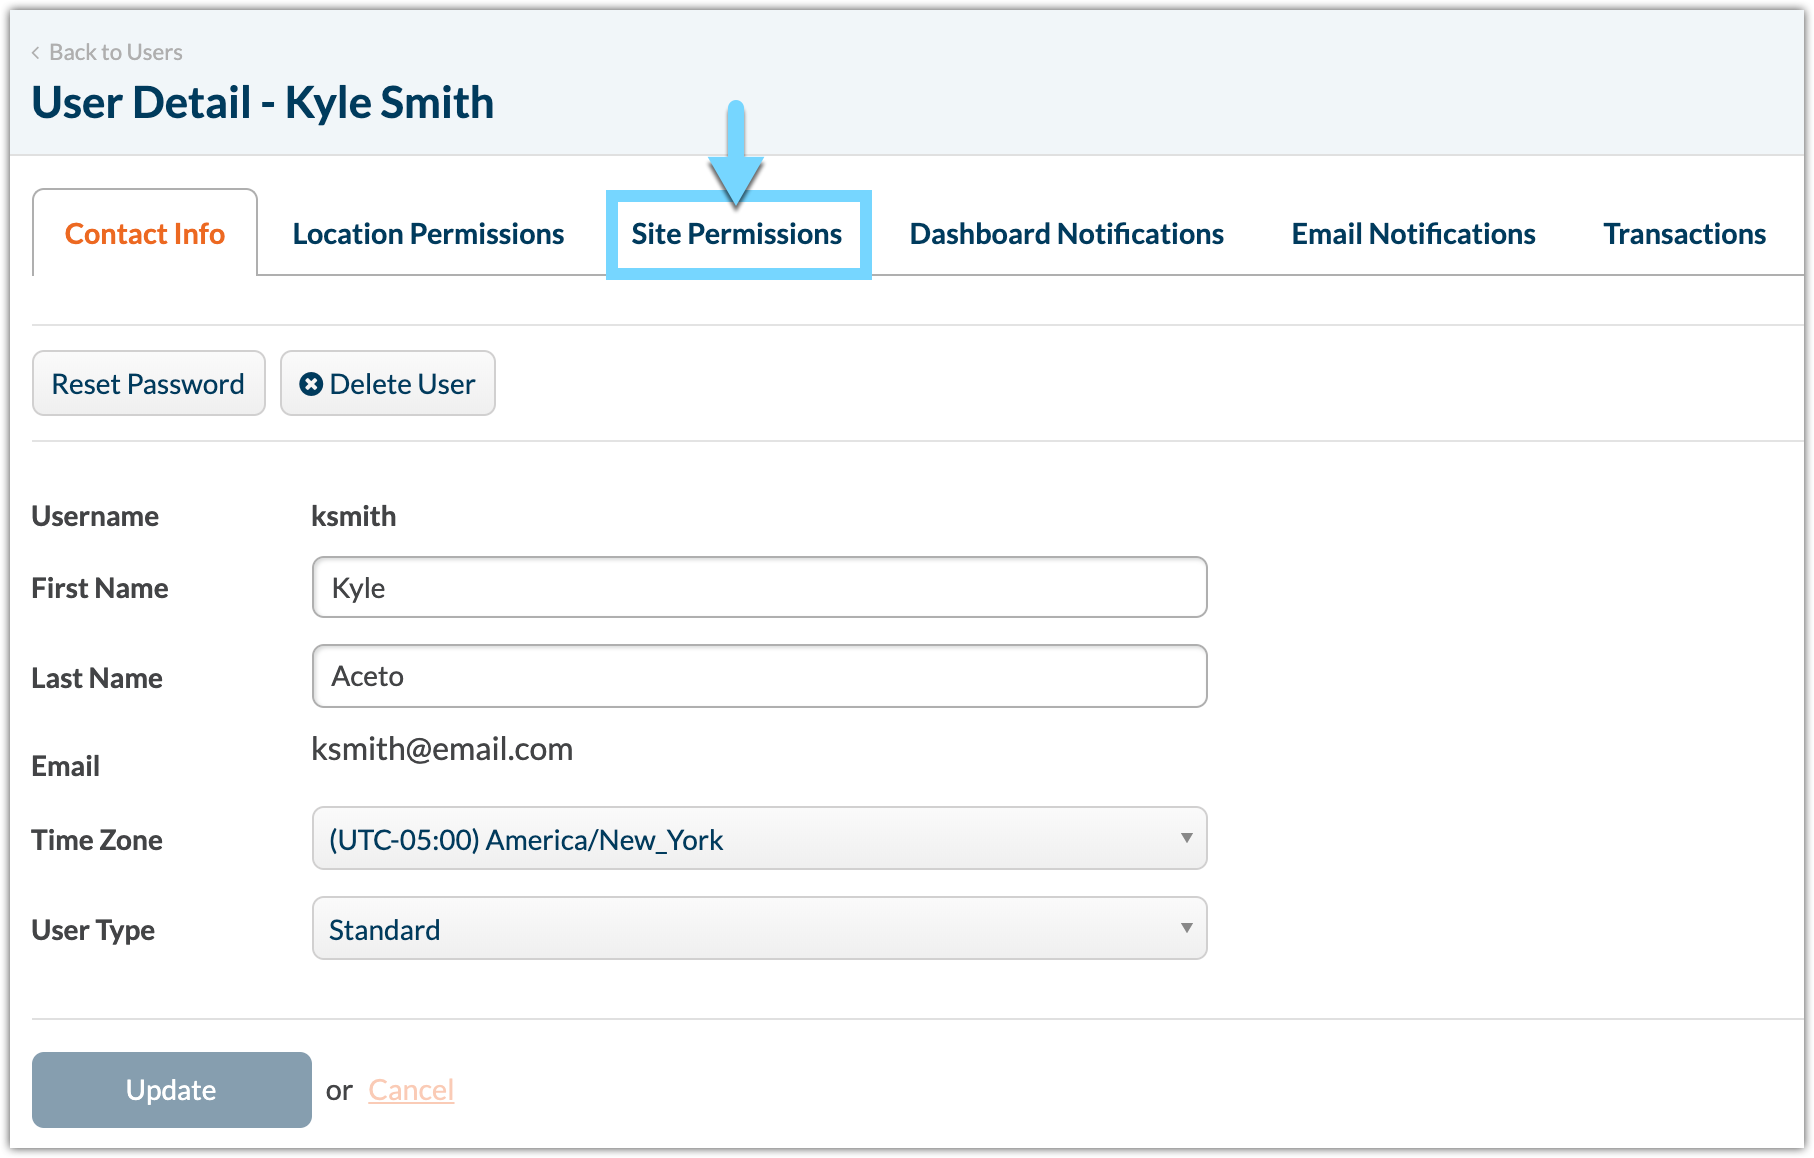
If you are an Admin or Super Admin and want to configure your Standard users to use SMS 2FA, these same options can be found by navigating to Administration > Users, and selecting the user profile you want to update.